This easy dinner rolls recipe delivers fluffy soft dinner rolls—EVERY TIME. Don't be intimidated: anyone can make these. And they're so much better than anything you would buy at a store!
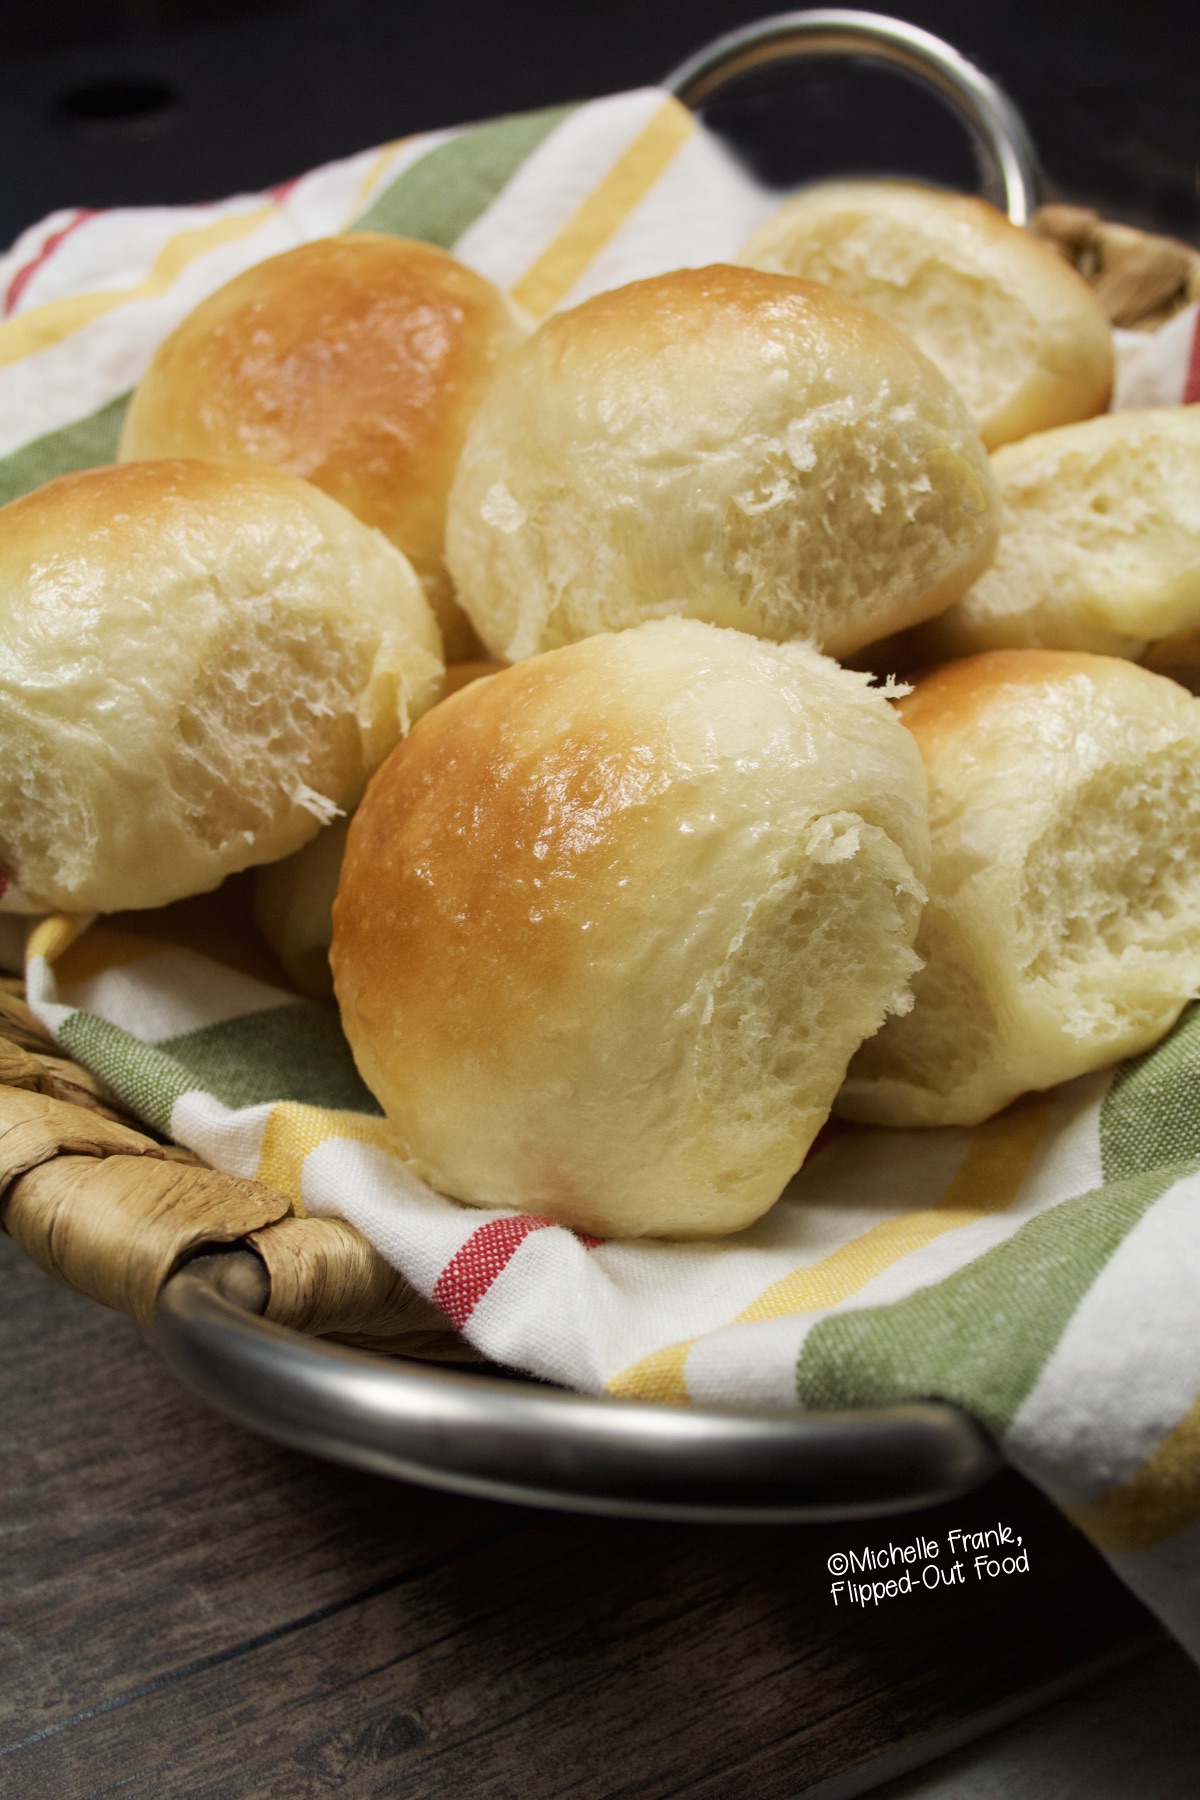
Dinner rolls go with so many different dishes: All types of pasta, soups, salads—and, of course, anything with gravy. Therefore, everyone needs an easy dinner roll recipe in their holster. And now you have one!
Interested in other bread doughs? Check out these recipes:
- Neopolitan style pizza or Pan pizza
- Rustic Bread (no knead)
- Naan bread
Prepare to be shocked at how great these dinner rolls turn out. They're so much better than any store-bought dinner rolls—even restaurant rolls, for that matter!
The insides of these rolls are really soft and fluffy. They're just begging for a pat of butter or some turkey gravy to sop up.
They are especially awesome when dipped into my Zesty Pizza Sauce or Easy Turkey Gravy!
And they're versatile too! Make sure to check out leftover dinner roll ideas at the end of the post. Teaser: there's one classic breakfast recipe that's truly elevated when you use these rolls. You'll definitely want to try it.
So take the next step and make these today. You won’t be disappointed!
Jump to:
Dinner roll ingredients
- All-Purpose Flour
- Whole Milk
- Egg
- Instant Dry Yeast
- Butter
- Sugar
- Salt
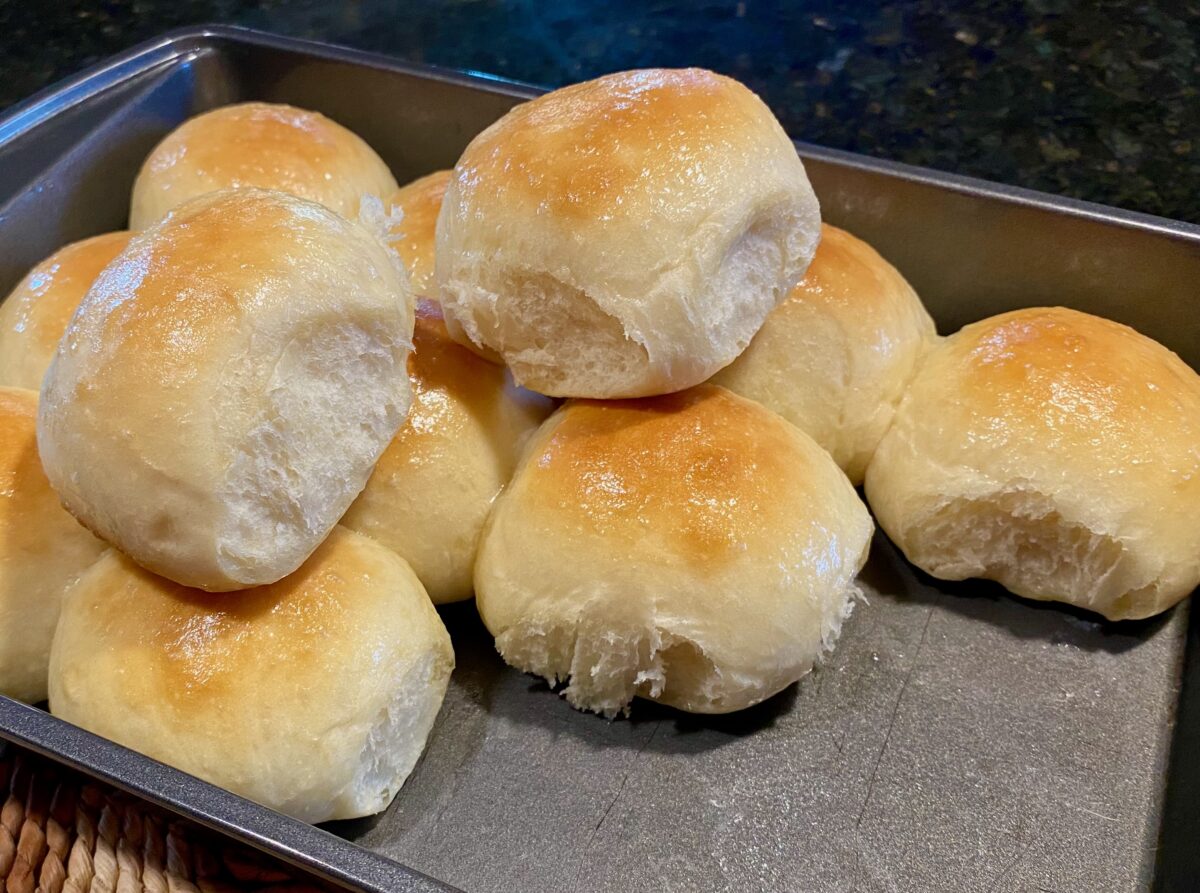
How to make dinner rolls
The recipe uses a stand mixer with a dough hook attachment.
If you don’t have a stand mixer, you can also mix everything in a bowl by hand, then transfer to a floured countertop and knead the dough.
Make the dough
Add 2 ¾ cups of flour, salt, sugar and instant yeast to the bowl of the stand mixer. Whisk thoroughly to combine.
Next, add the room temperature butter, egg and warm milk to the dry ingredients.
Don't cheat and melt the butter. It's not the same, and it will affect the dinner rolls. Room temperature butter creates a better rise and texture in the dinner rolls. Want more info? Go here.
Lower the dough hook into the bowl and set the mixer to level one to incorporate the ingredients. Once incorporated, set the mixer to level 3 for two minutes.
You will need to scrape the sides of the bowl so all ingredients get incorporated.
The dough will be very wet at this point, which is what we want. It allows us to thoroughly mix all the ingredients together before it gets too thick.
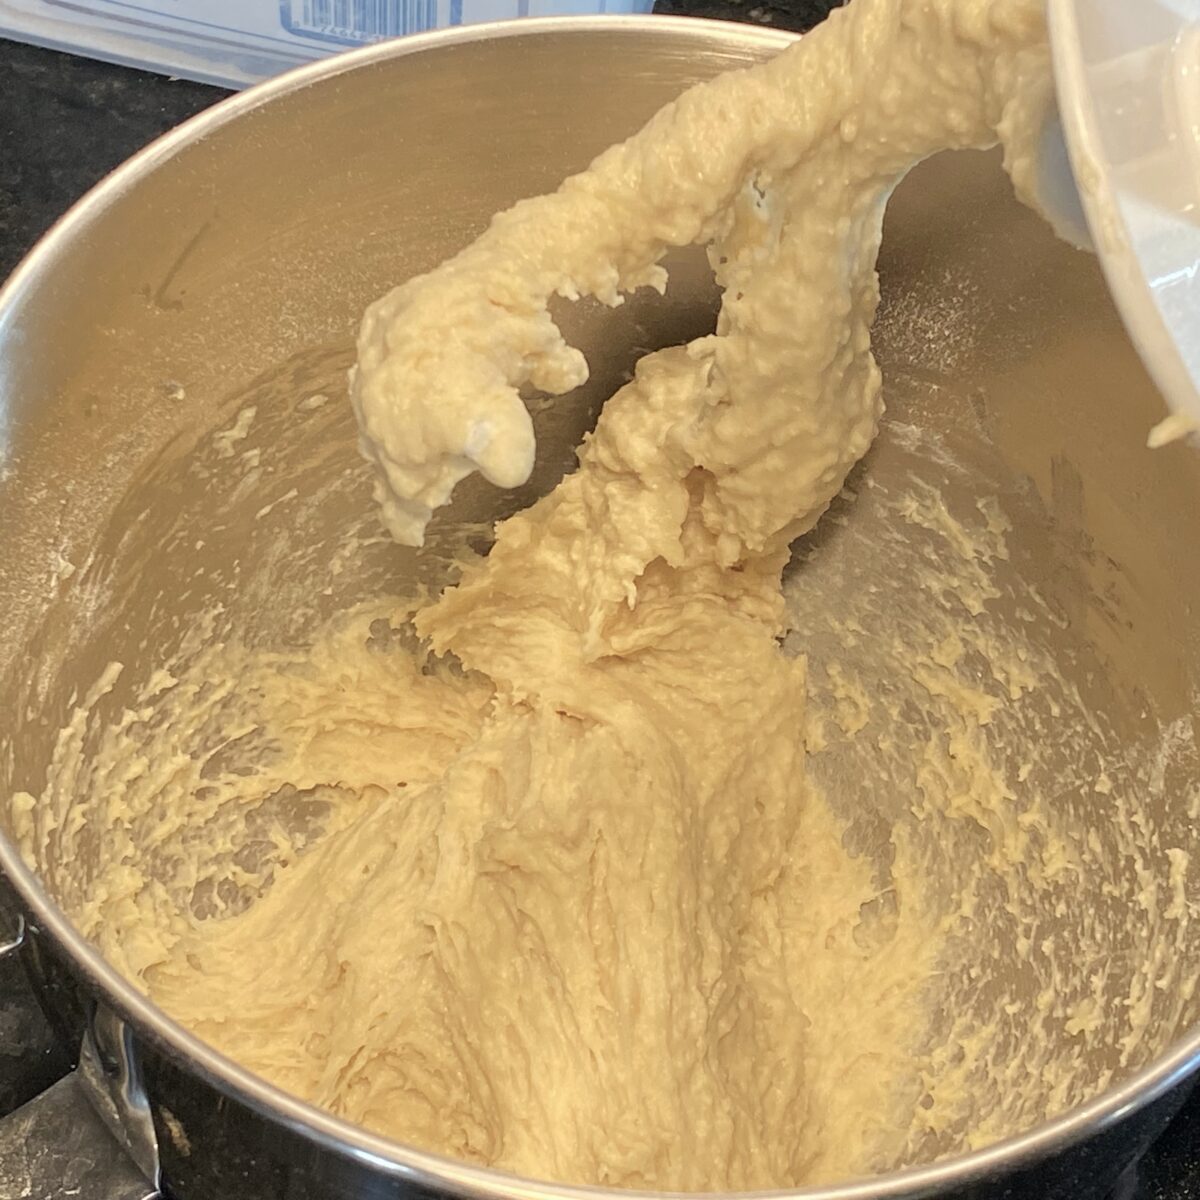
Now, add the remaining ¼ cup flour and mix on level 3 for another two minutes. Again, scrape the sides if necessary.
TIME TO EVALUATE THE DOUGH
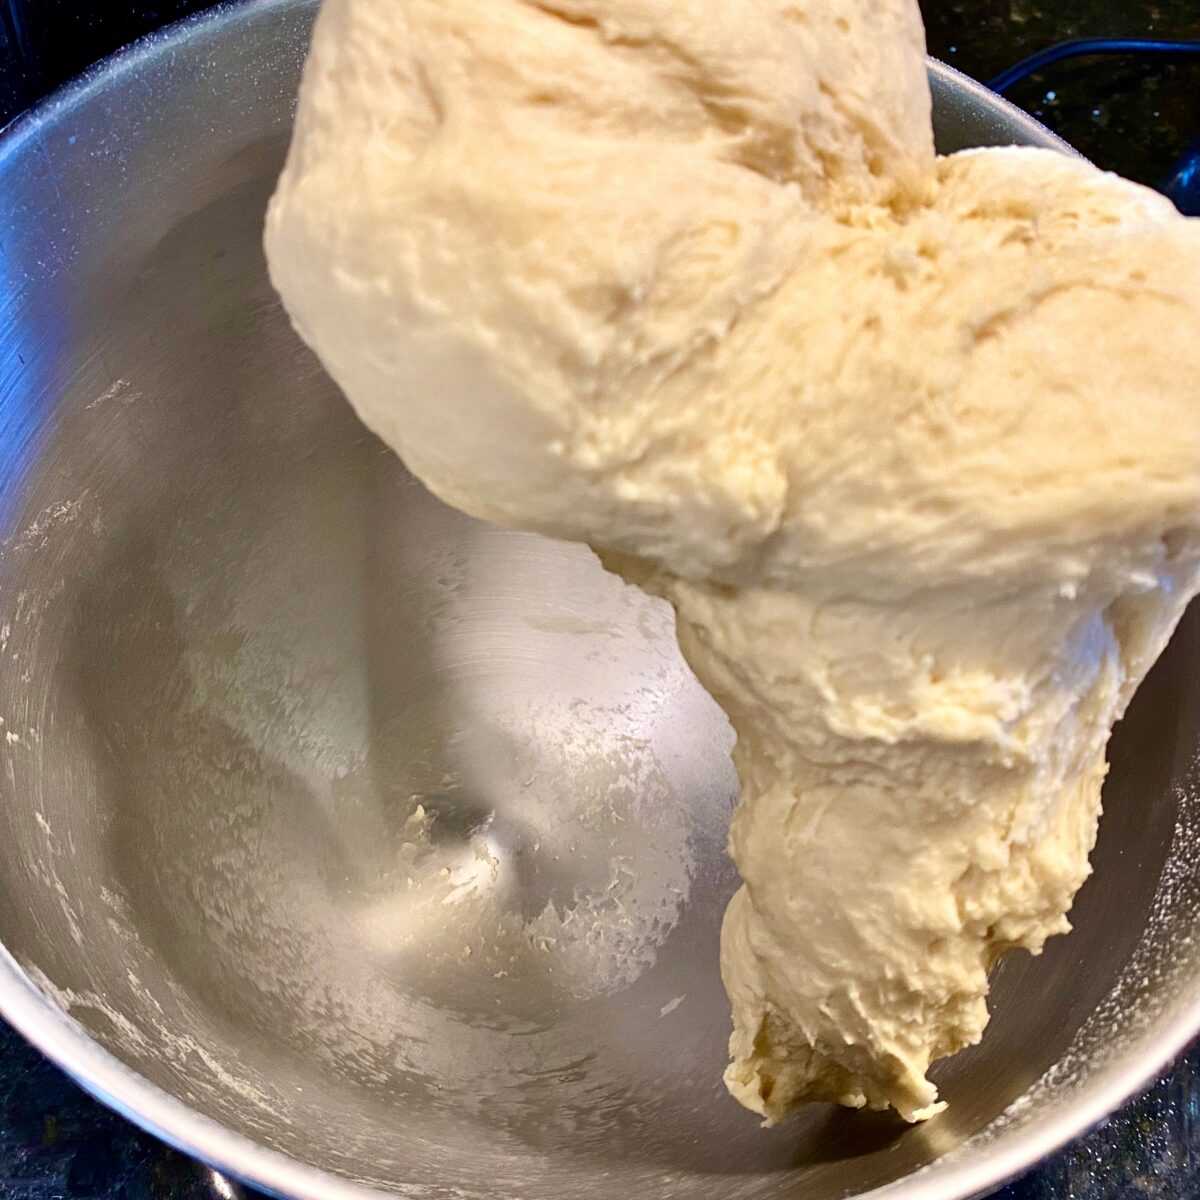
We are looking for dough that has pulled away from the sides and bottom of the bowl. Most, if not all, will be stuck to the dough hook. If that is the case, you're done.
If the dough is sticking to the bowl, add another tablespoon of flour and mix again. Continue this process until it no longer sticks.
It's time to remove the dough and let it rest. You should notice the dough is very soft and pliable. Even a bit tacky, but it shouldn't stick to your hands. If it does, you need to mix in a bit more flour.
First rise
Using your hands, form the dough into a smooth ball. Then place it into a lightly greased bowl. I use a non-stick cooking spray but a brushing of olive oil would be fine too.
Cover with plastic wrap and allow it to rest for 60-90 minutes until it has doubled in size.
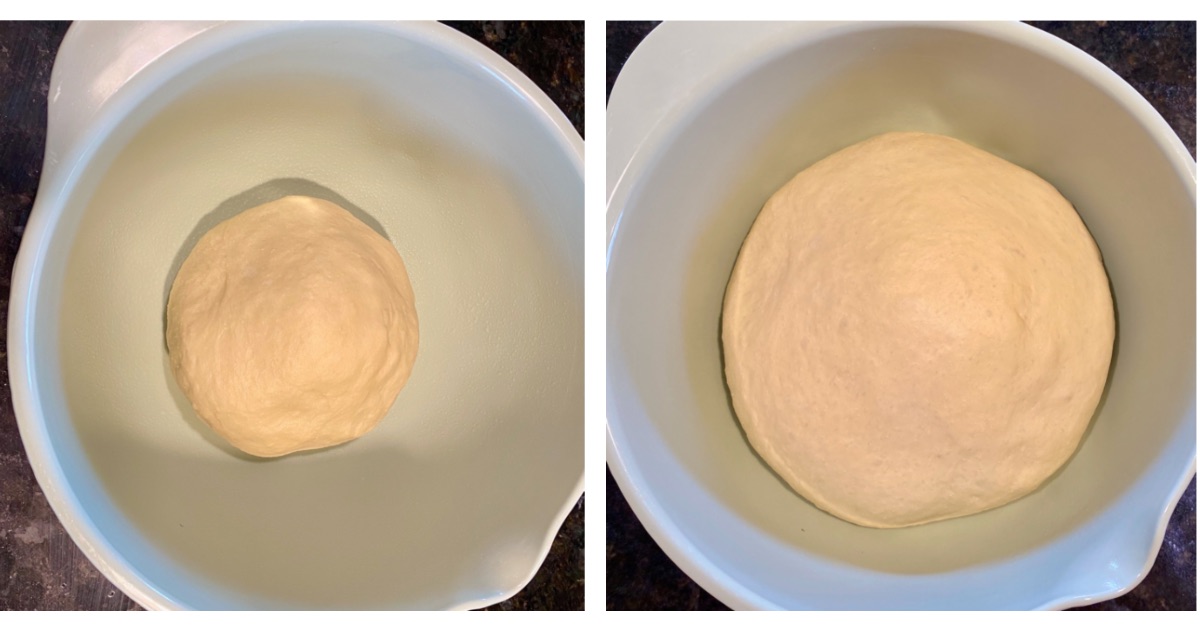
The ideal temperature for dough to rise is in a range of 75 - 78 ºF. If your temps are higher or lower than this, it's fine, but be aware that warmer temps will result in shorter rise times and colder temps will have longer rise times.
PRO-TIP: If your house is below 75 degrees, just turn the light on in your oven 60 minutes before making the dough. This little light will generate enough residual heat making your oven the perfect place to let your dough rise.
Portion out the dough
While the risen dough is still in the bowl, push it down a bit to press out the air. Then dump it onto a clean, lightly floured work space.
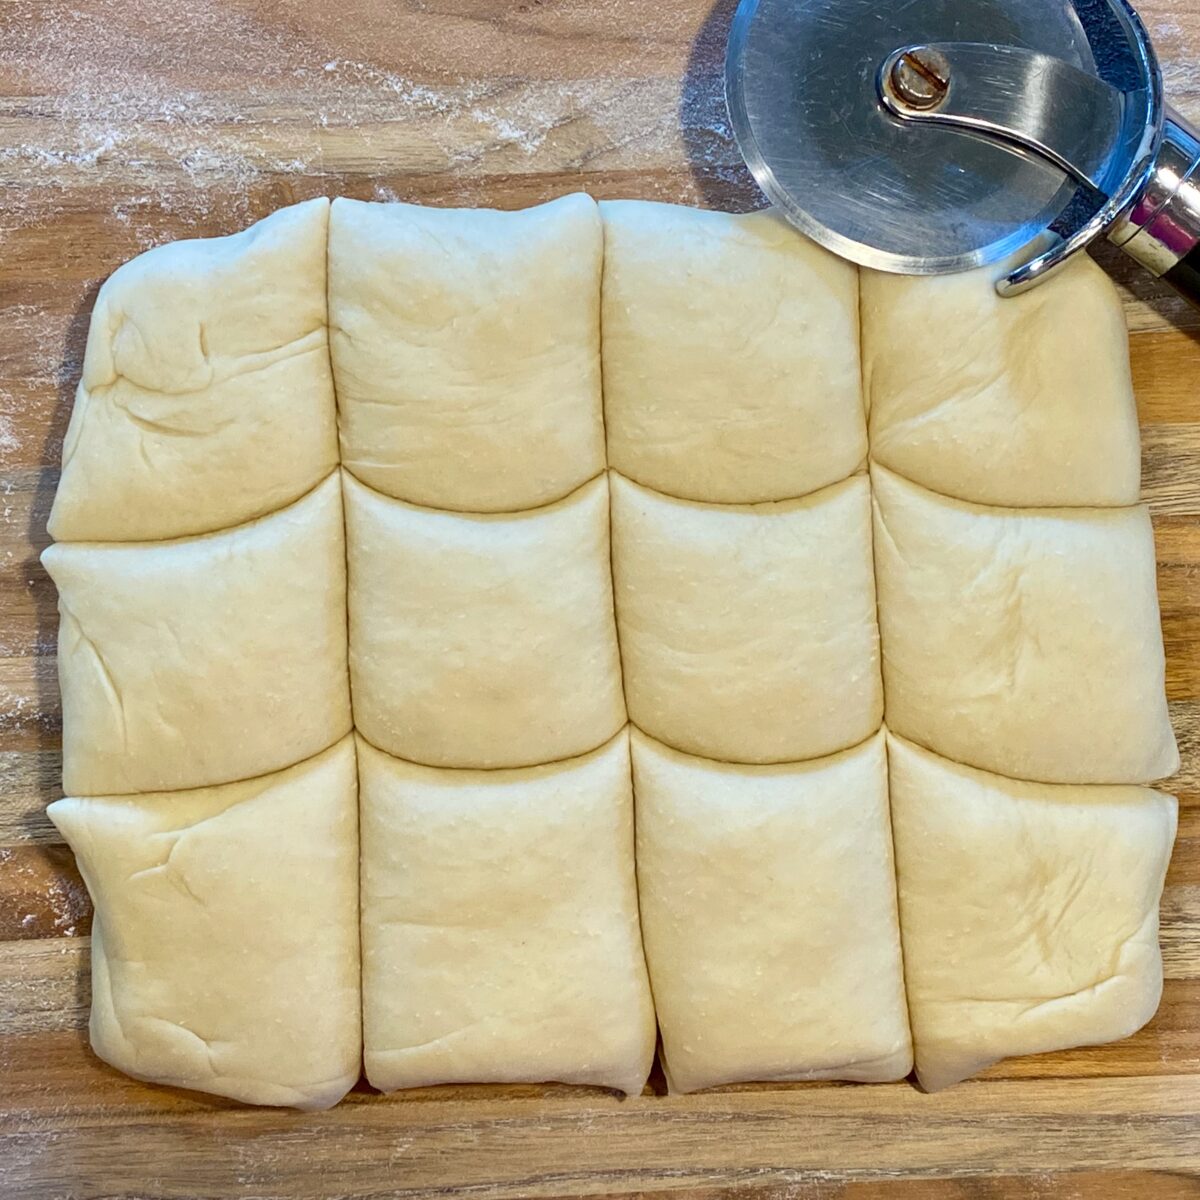
Shape the dough with your hands and form it into roughly an 8 x 6 inch rectangle. Do your best to keep a uniform thickness throughout.
Using a pizza cutter, cut the dough into roughly 12 equal pieces (each will be about 2 x 2 inches)
Form the dinner rolls
Now we need to form these squares into round dinner rolls with smooth tops.
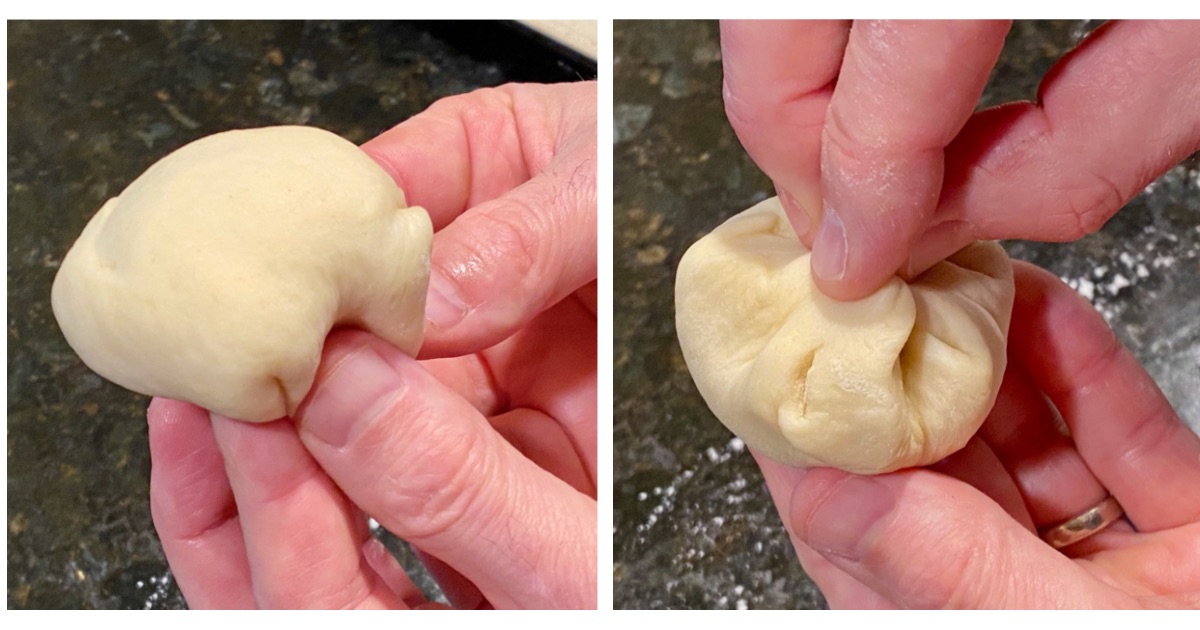
To do this, grab a dough square and with your fingers, pull the 4 corners underneath it. This stretches the top side of the dough, creating the smooth top, while also rounding them into balls.
Now turn the dough over to pinch and seal the underside a few times.
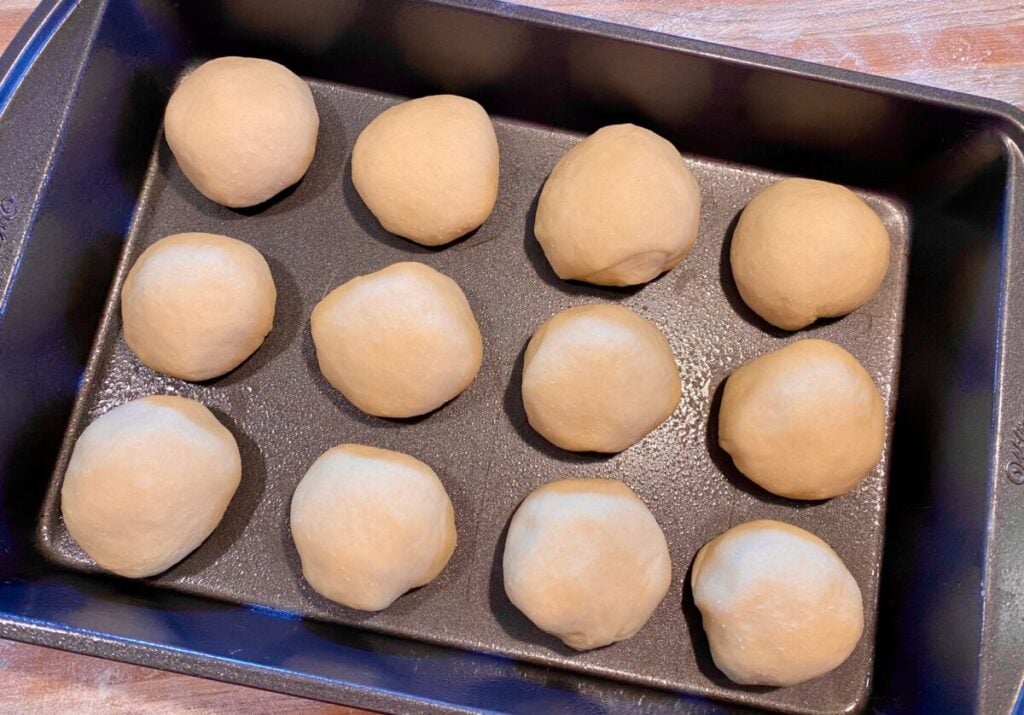
After forming the dough balls, place them onto a lightly greased 9 x 13 cake pan, smooth side up (sealed side down).
Second rise
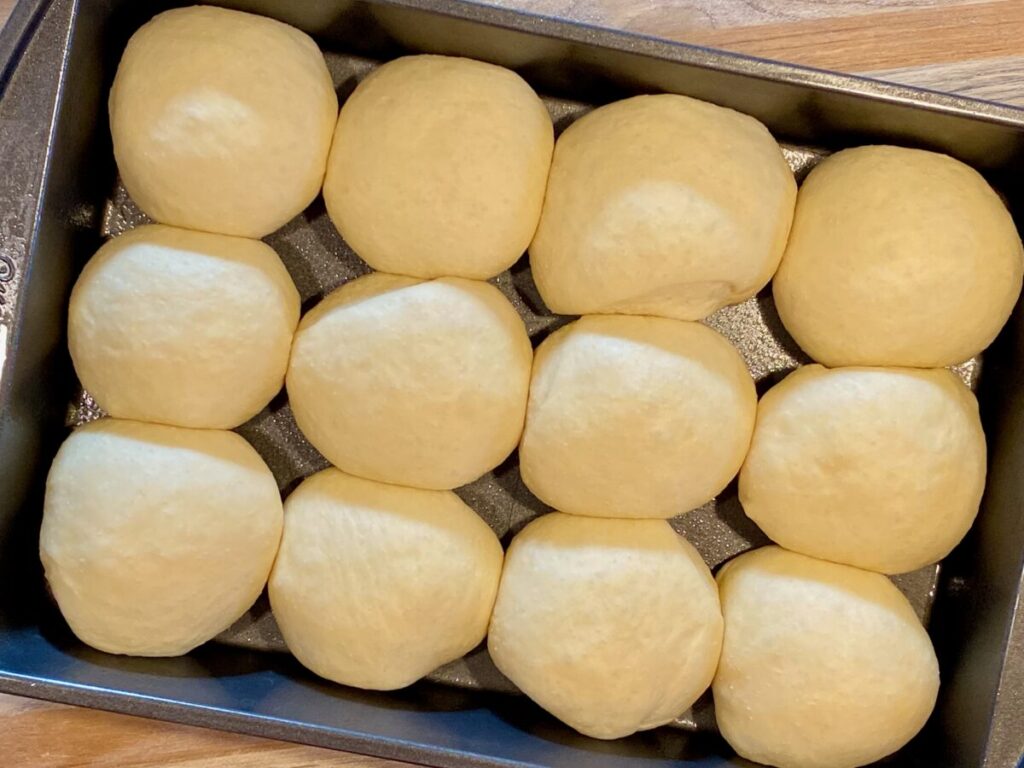
Once the dough balls have been arranged, cover the pan with plastic wrap and let it rest for 45-60 minutes until they have almost doubled in size. You'll see the dough balls expand so much that they end up pressing up against each other.
Bake the rolls
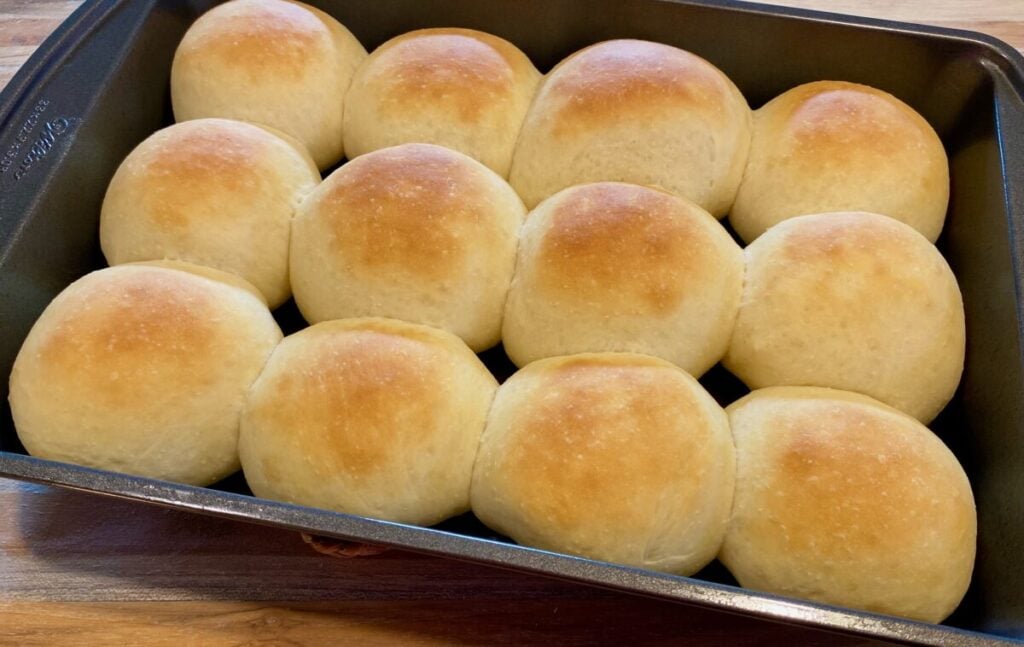
Place the tray of dough balls on the middle rack of a pre-heated 375 ºF oven.
Let them bake 12-14 minutes or until you see nice, golden brown tops.
Brush with butter
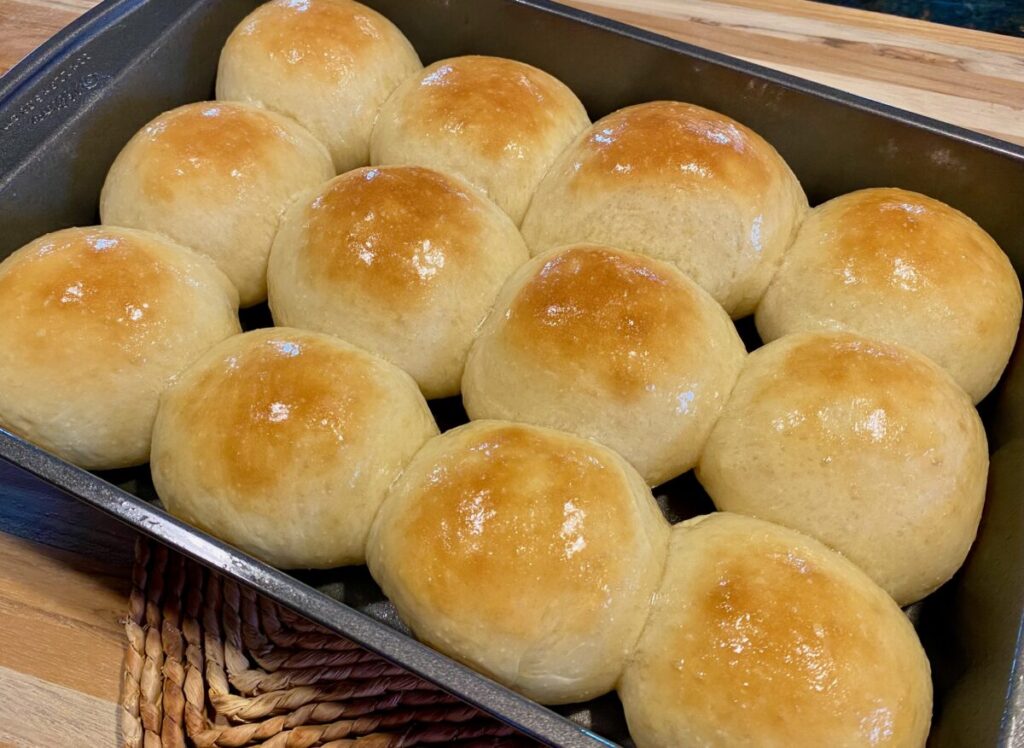
Once you remove the rolls from the oven, brush the tops of them with melted butter: this provides a beautiful sheen and adds flavor. Now, serve and enjoy!
How to reheat dinner rolls
You can reheat dinner rolls three different ways. Each has their advantages.
In a Slow Cooker
This method produces the best results and is perfect whenever you need to keep large amounts of buns warm—for example, holiday get-togethers or family potlucks. It also frees up the oven in case you have other foods to cook or warm up.
Simply line the bottom of your cooker with a damp kitchen towel (not wet, just ever-so-slightly damp). Make sure the towel goes up the sides. Then place your buns on top and inside the towel. If your towel is big enough, fold it over the top of your buns. If not, just add another damp towel to cover them.
Lid the cooker and set it to warm (or low). They will be good for 2-3 hours on this setting.
In an Oven
Position your dinner rolls on a baking pan. Brush some melted butter along the tops, then cover with a piece of tinfoil and seal the edges.
Place the pan on the middle rack of a pre-heated 325 ºF oven. Remove the rolls after 10 minutes. The butter is key because it adds the moisture needed to soften the rolls. And let's face it: butter is awesome.
In the Microwave
I use this method when I'm heating up only a few buns at a time AND I know that they'll be eaten within a few minutes after they're hot. They will get a bit chewy if you don't eat them quickly.
Line a plate with a damp paper towel, place your rolls on top and lay another damp paper towel on top. Now, microwave on high for 10-15 seconds and you are good to go.
Leftover dinner roll ideas
With any luck you will have leftover rolls. Here are some of my favorite ways to use them up.
French toast
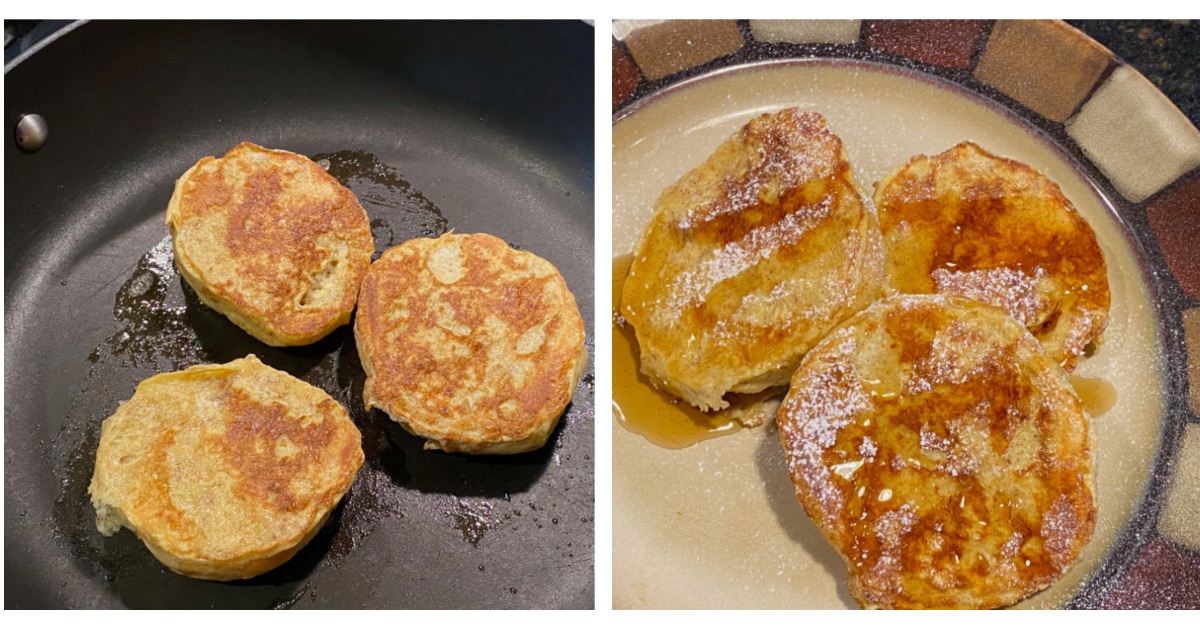
I am not exaggerating when I say these buns make the BEST French toast. On more than one occasion, I have made these rolls strictly for the purpose of making French toast with them. They're that good!
Just take a thin slice off the top and bottom to remove the crust. Then allow for a good soaking in your French toast batter before frying them up.
Perfect slider buns
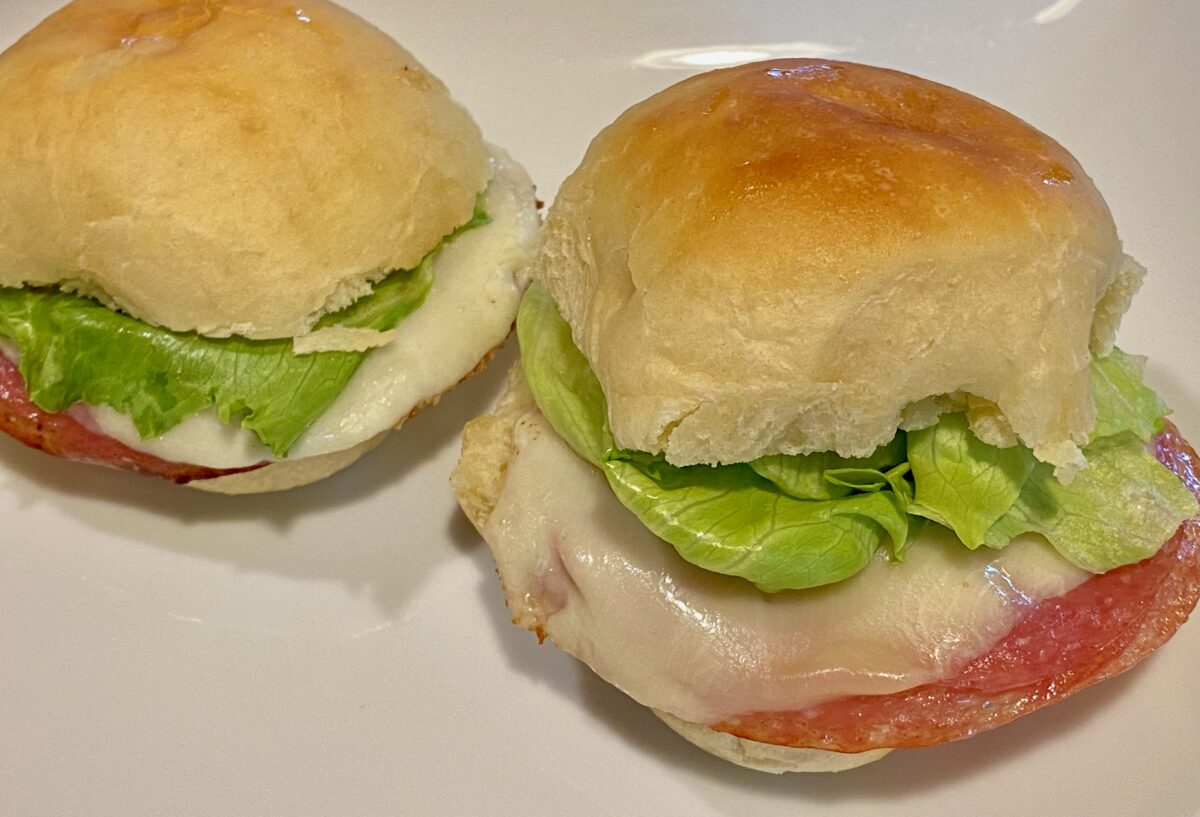
These dinner rolls make perfect buns for ham and cheese sliders, Smash Burgers, or any small sandwich. Try them with Ham, Chicken or Egg Salad!
Homemade Croutons
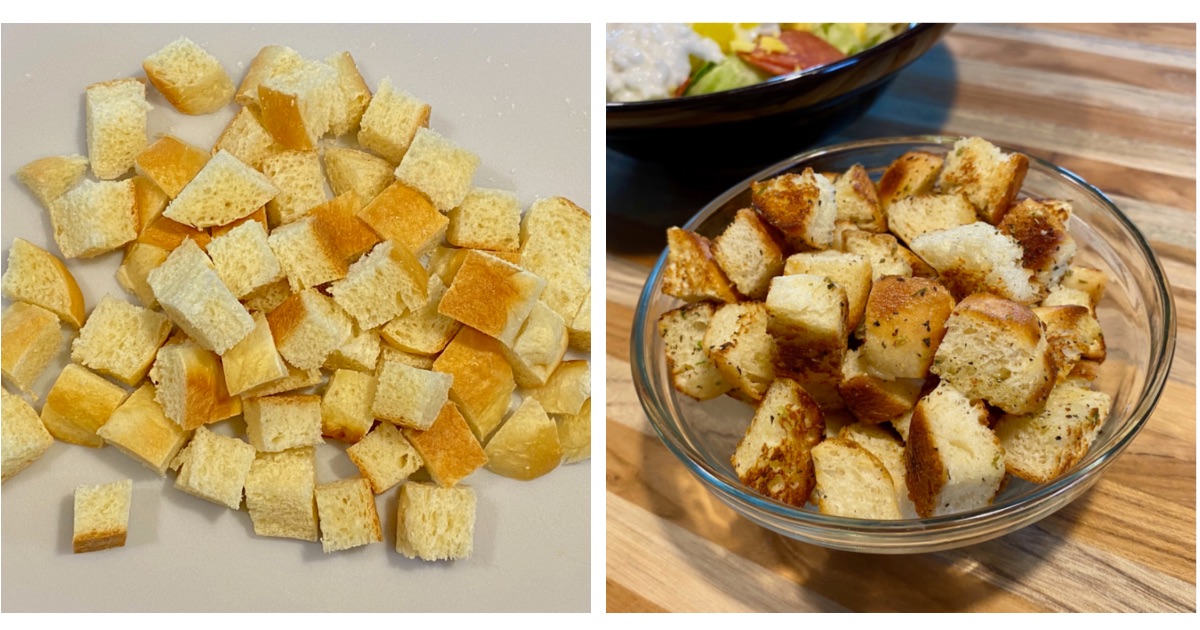
Slice up the rolls into one inch cubes and follow my Easy Stovetop Croutons recipe. These croutons are perfect on any salad or soup.
How to store dinner rolls
Always wait to store the dinner rolls until they have completely cooled off, or moisture will condense on the container or wrap and make the rolls soggy.
At room temperature
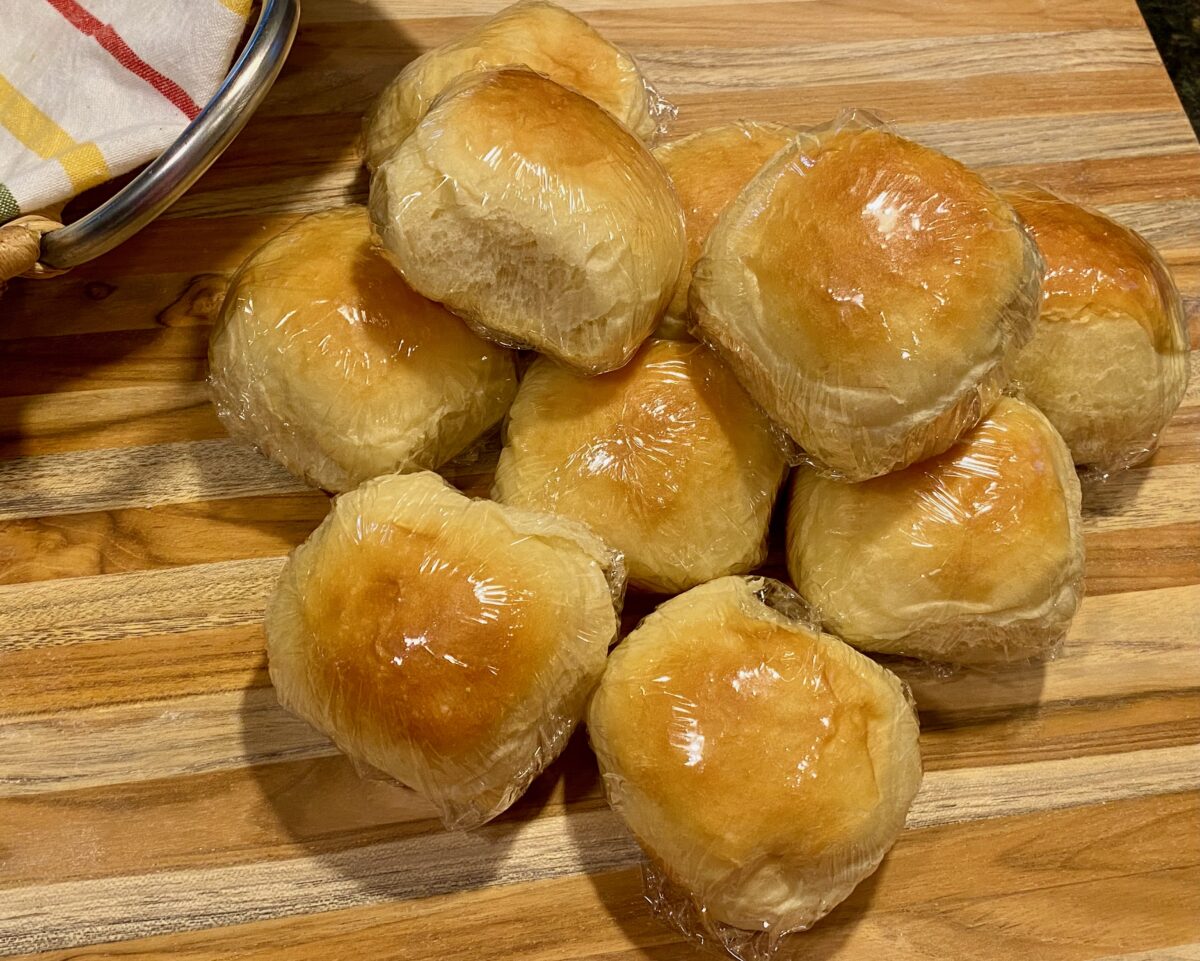
I like to wrap the rolls individually with plastic wrap. Or, you can put them in a sealed (or tied) plastic bag and store them like a loaf of bread. They should be good for up to 5 days.
In the freezer
I always make double batches of these dinner rolls because they freeze (and re-heat) so well.
Once you've wrapped them in plastic, you can simply put them in the freezer. Then, whenever you want a few rolls, just pull out what you need. (Personally, I don’t worry about the rolls getting freezer burned because we always eat them in less than 3 weeks, but if you're storing them longer, put the individually wrapped rolls into gallon freezer bags.)
Dinner rolls go great with:
Pasta alla Vodka Sauce
Date Night Prime Rib Roast
Herb-Roasted Rack of Pork
Baked Lasagna Bowls
Linguine in Clam Sauce
Mediterranean-Style Meatloaf
That's it! These rolls kind of changed our lives because they got us into baking just about everything. I hope you love them as much as we do!
Easy Dinner Rolls
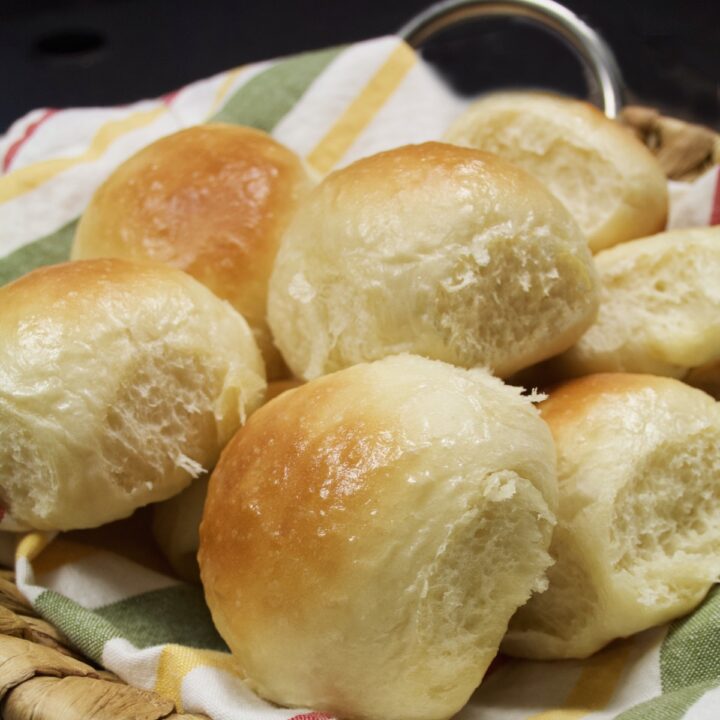
This easy dinner rolls recipe delivers flavorful, soft dinner rolls—EVERY TIME. Don't be intimidated: anyone can make these!
Ingredients
- 3 c flour, all purpose (plus additional; see Recipe Note #1))
- 1 c milk, whole (at 110 ºF)
- 1 egg, large
- 2 tablespoon sugar
- 1 tablespoon instant yeast
- 1 ¼ teaspoon table salt
- 3 tablespoon unsalted butter (at room temperature)
- 1 tablespoon melted butter (for brushing on baked rolls)
Instructions
- Add 2 ¾ C flour, salt, sugar, and yeast to stand mixer bowl. Whisk to combine.
- Add egg and the 3 tablespoon room temp butter (See recipe note #2) and warm milk.
- Set stand mixer to level 1 to combine, then increase speed to level 3 for a total of 2 minutes.
- Add remaining ¼ C flour and mix on level 3 for 2 minutes.
- If the dough is sticking to sides or bottom of bowl, add a tablespoon of additional flour and mix again. Repeat as necessary until dough no longer sticks to bowl.
- Remove the dough from the dough hook and form into a smooth ball and place into a lightly greased bowl. Cover with plastic wrap and allow to rest at 75–78 ºF until doubled in size, 60-90 minutes (see Recipe Note #3).
- Once risen, punch down dough in the bowl and place onto a lightly floured workspace. With your hands, form the dough into an 8 x 6 inch rectangle.
- Using a pizza cutter, cut the dough into 12 roughly equal pieces, each approximately 2 x 2 in size.
- Form the dough squares into balls by folding the corners of each square underneath itself and pinching the underside to seal the bottom of the roll. (Review tips and photos in the post above for more details.)
- Place the dough balls into a lightly greased 9 x 13 inch cake pan and cover with plastic wrap. Rest 45-60 minutes (again at 75-78 ºF) until dough balls have doubled in size.
- Place tray of dough balls on the middle rack in a pre-heated 375 ºF oven. Cook for 12-14 minutes until tops are golden brown.
- Remove and brush the tops of the rolls with melted butter. Serve immediately or store in plastic bag once cooled.
Notes
- You may need 1–2 additional tablespoon of flour if the dough is too sticky. You'll also need flour for dusting your work surface.
- Do not use melted butter. Room temp butter allows for a better rise and texture. Cutting cold butter into smaller pieces will bring it to room temperature quicker.
- If you don't have a warm enough place to let the dough rise, turn your oven light on for an hour before you start making the dough. Place the covered dough in the oven, leaving the light on: this raises the temperature just enough for an ideal rise.
Recommended Products
As an Amazon Associate and member of other affiliate programs, I earn from qualifying purchases.
Nutrition Information:
Yield: 12 Serving Size: 1 rollAmount Per Serving: Calories: 177Total Fat: 5gSaturated Fat: 3gTrans Fat: 0gUnsaturated Fat: 2gCholesterol: 28mgSodium: 266mgCarbohydrates: 27gNet Carbohydrates: 26gFiber: 1gSugar: 3gProtein: 5g
Nutrition data provided here is only an estimate: if you are tracking this information for medical purposes, please consult a trusted external source. Thanks!


Leave a Reply