This homemade pan pizza recipe is easy to follow and comes out amazing. The crust has that crunchy fried texture while the inside is airy, soft and flavorful. Prepare to be impressed!
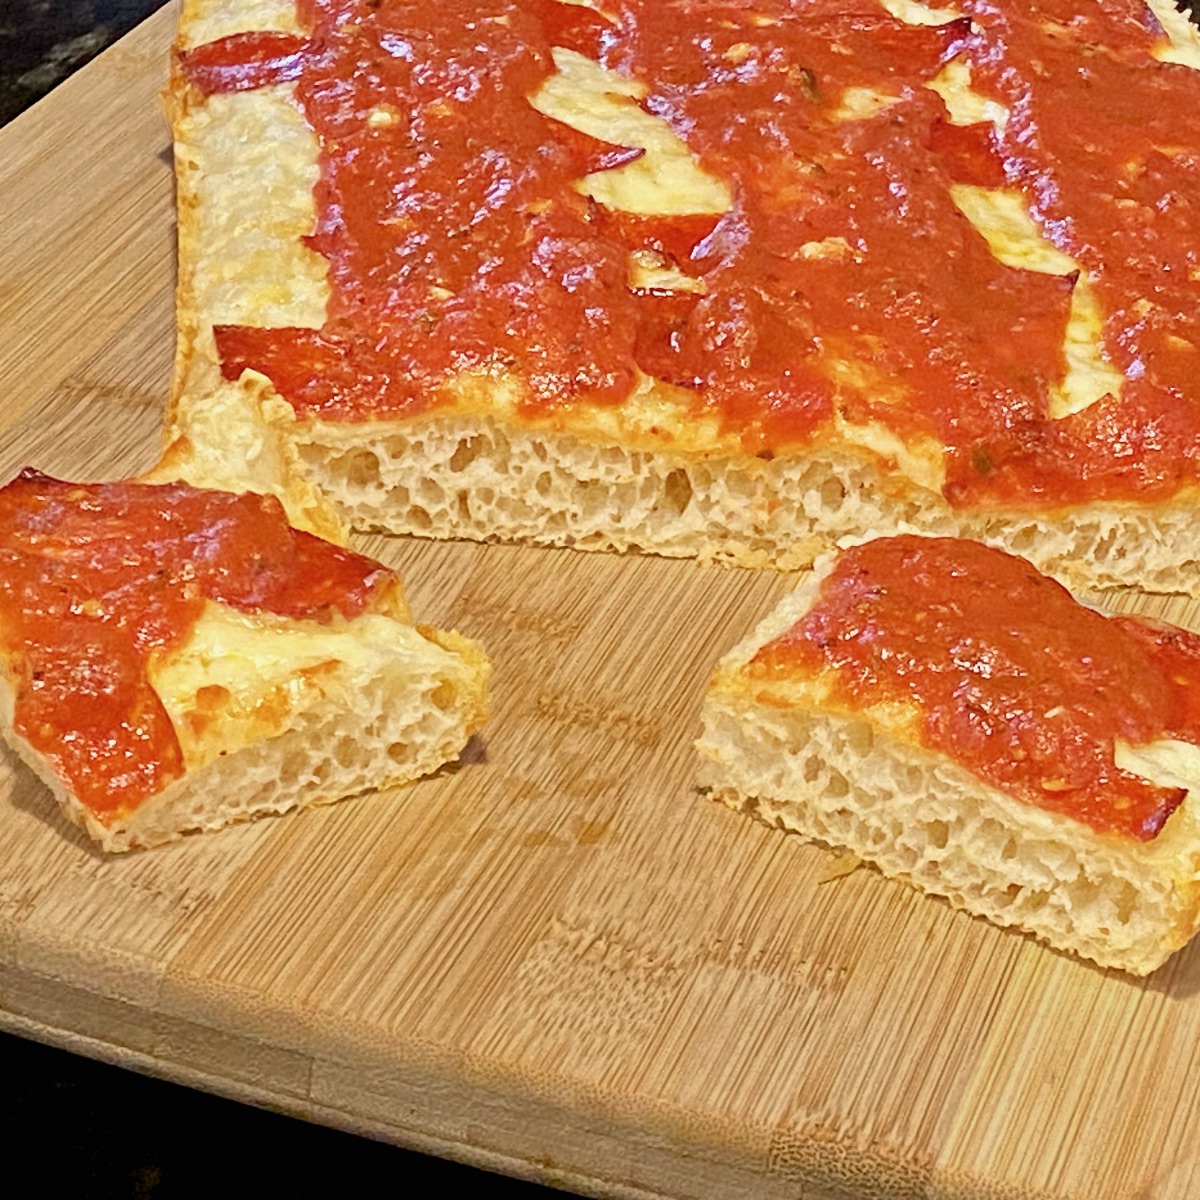
Like most families, we love our pizza.
But, between the ever increasing cost and usually subpar quality of take-out pizza joints, I decided to make it my mission to make BETTER pizza at home.
I began this homemade pizza journey with my hand tossed Neapolitan type crust recipe. It took me 2 years to perfect, but it was worth the wait.
But then I realized that sometimes I crave a thick pan pizza crust.
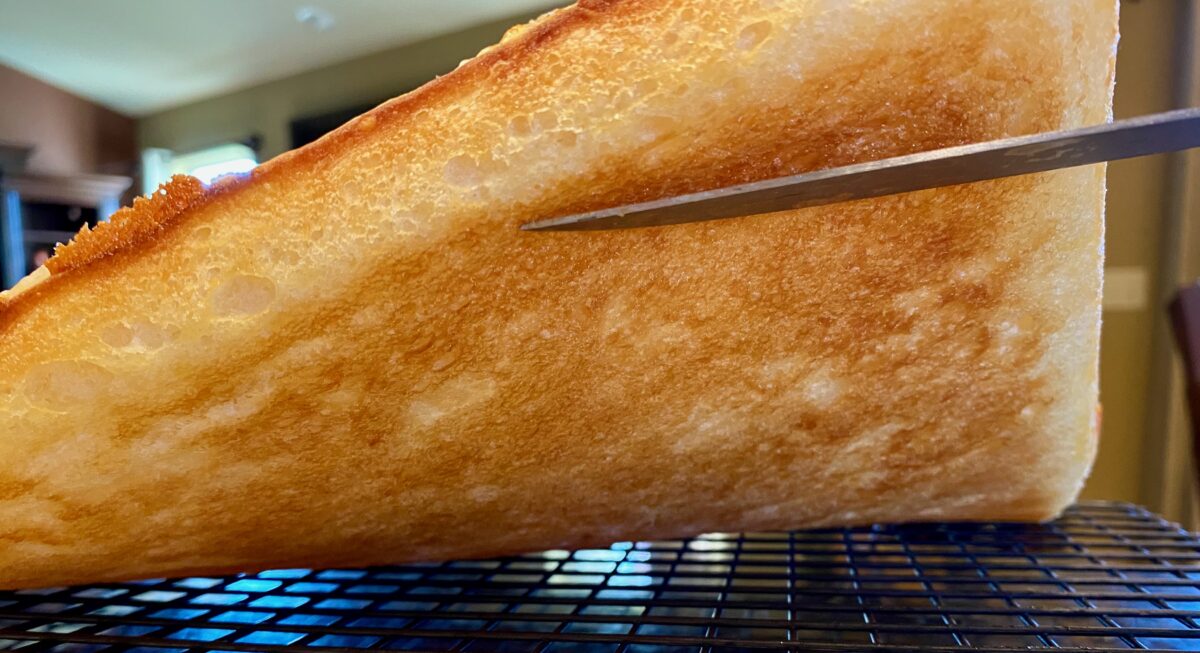
You know the crust I'm talking about: it looks like it was was fried in butter, with a perfect crunch on the outside and a soft, airy texture inside. Check it out:
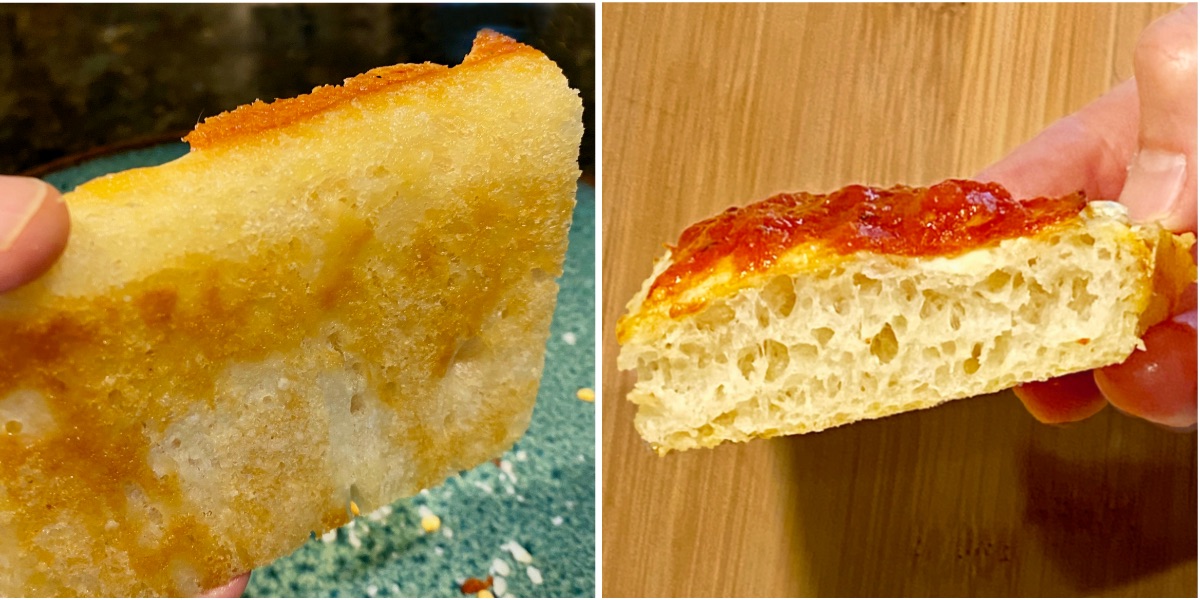
Well, that's the type of pan pizza you're going to get here.
Achieving a crust that's airy and fluffy throughout the entire pizza was not easy. I learned some unique, but necessary steps that allowed this to happen...which you will only find here.
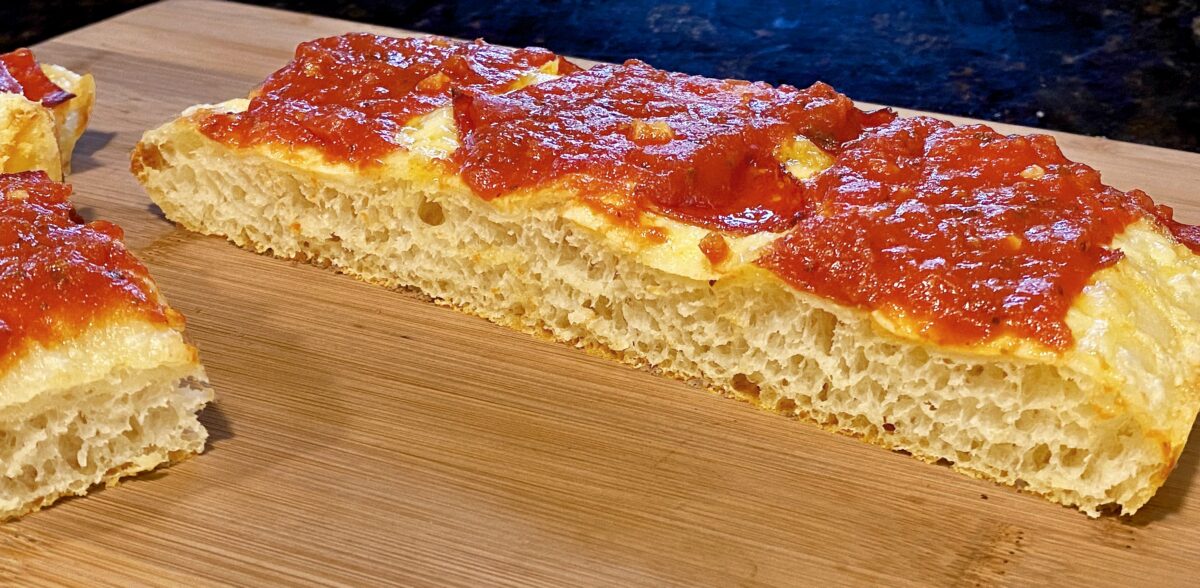
This is not difficult!
Don't be intimidated and think you can't make pan pizza at home. Trust me, making pizza dough isn't hard...especially when I share every detail with you.
Also, this pan pizza recipe doesn't involve any special equipment. We're working with a basic 9x13 inch cake pan and your standard home oven.
Don't have a 9x13 pan? No problem! There's a section below that shows how to scale this recipe to fit ANY size pan.
Ingredients for making pan pizza dough
The quantities below will yield one 9 x 13 inch pan pizza.
| Ingredient | Amount | Weight | Bakers % |
|---|---|---|---|
| Bread Flour | 2 C | 260 g | 100% |
| Water (85ºF) | 13/16 C* | 195 g | 75% |
| Instant Dry Yeast | ¾ tsp | 2.4 g | .92% |
| Sugar | 1 tsp | 4 g | 1.5% |
| Salt | 1 tsp | 6 g | 2.3% |
| EV Olive Oil | 2 tsp | 9 g | 3.5% |
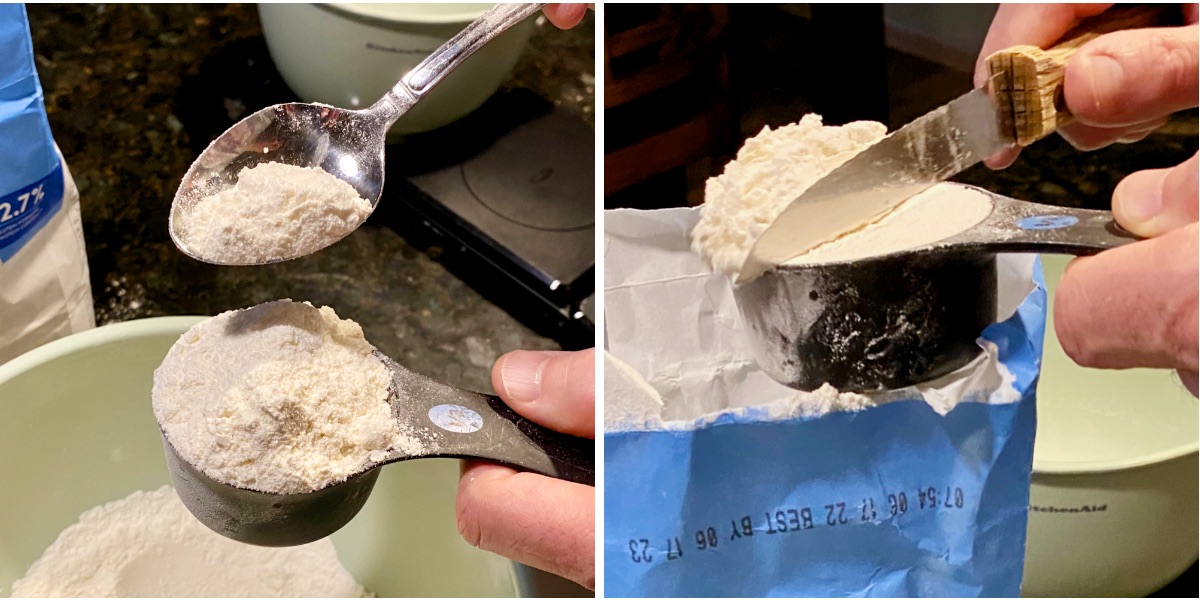
If you don't have a food scale, make sure to measure the flour using the spoon & level method:
How to make homemade pan pizza
There are 5 basic steps to making pan pizza dough. We will cover each in detail:
- Make the pizza dough
- Cold ferment the dough
- Shape the dough in the pan
- Top the pizza
- Bake the pizza
1. Make the pizza dough
This recipe uses a stand mixer with a dough hook attachment. If you don't have one, you can always mix everything in a bowl with a wooden spoon and knead by hand.
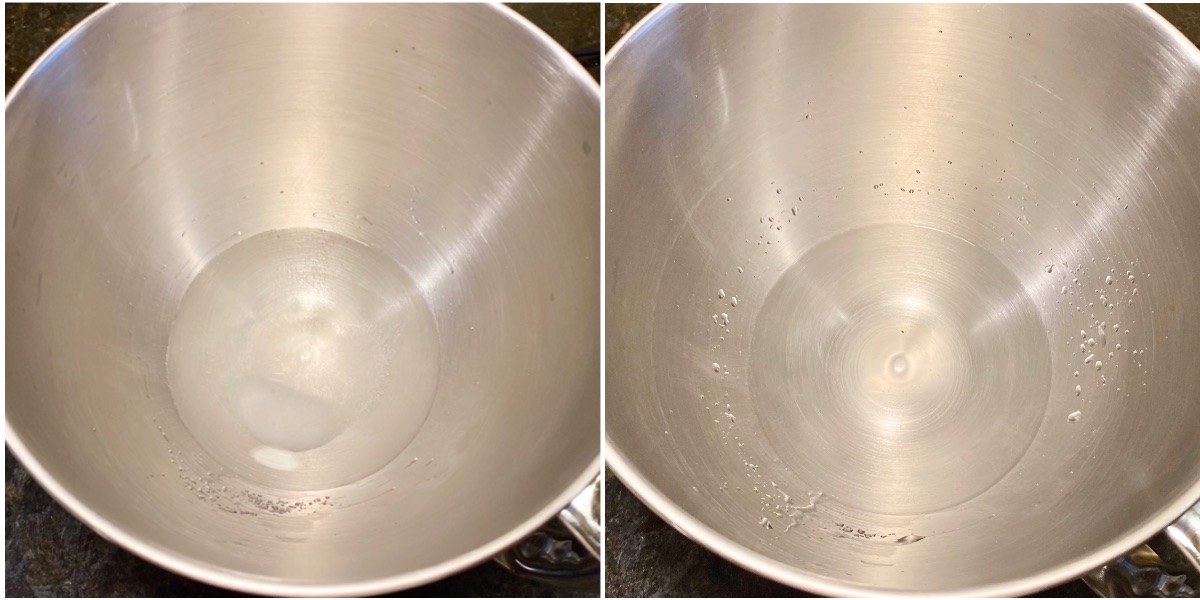
Start by adding the ~85º F water to the stand mixer bowl along with the sugar and salt. Whisk thoroughly until dissolved.
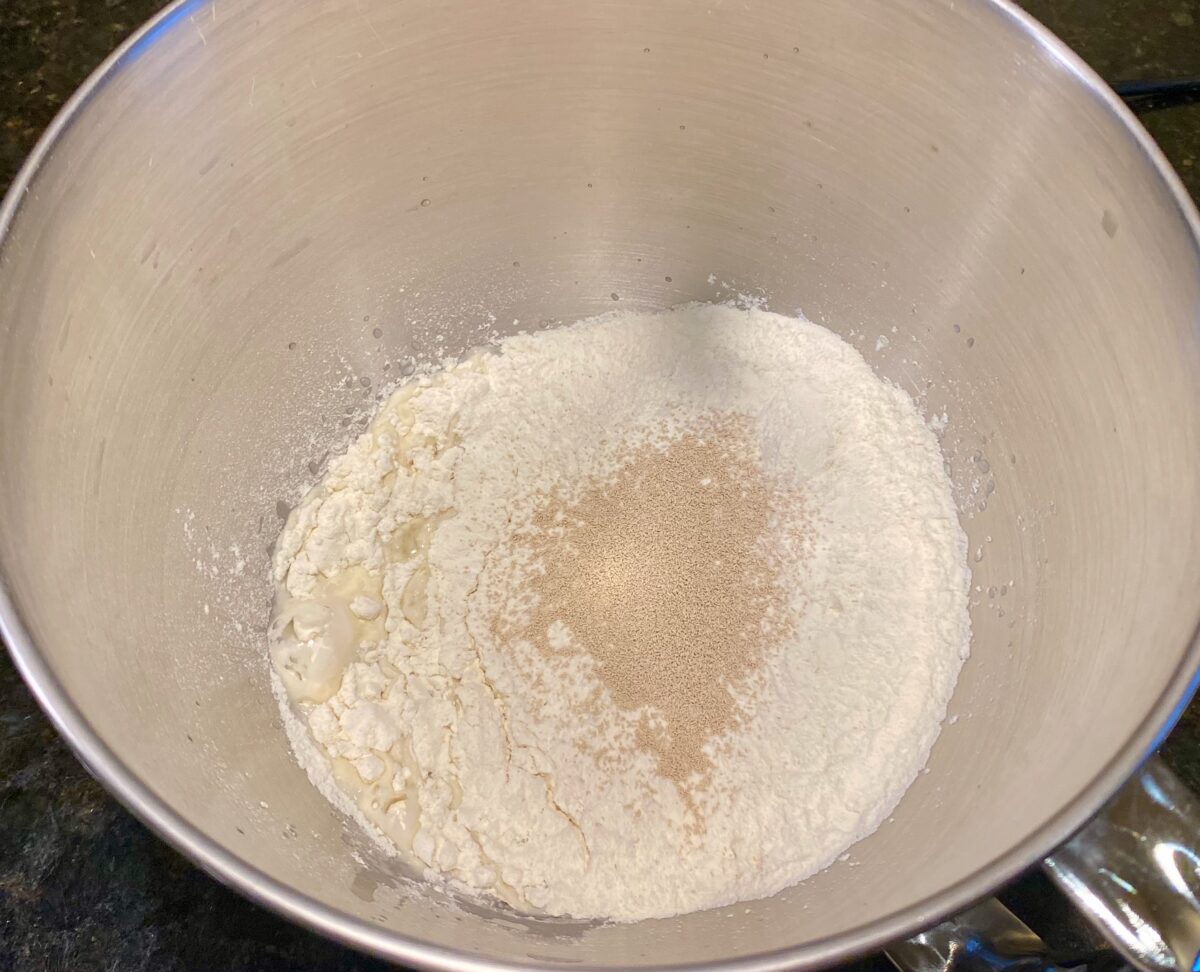
Then add the flour and yeast on top.
Turn your mixer on to level one and let it mix for about 1 minute.
Scrape the sides as necessary to ensure that all the flour gets incorporated.
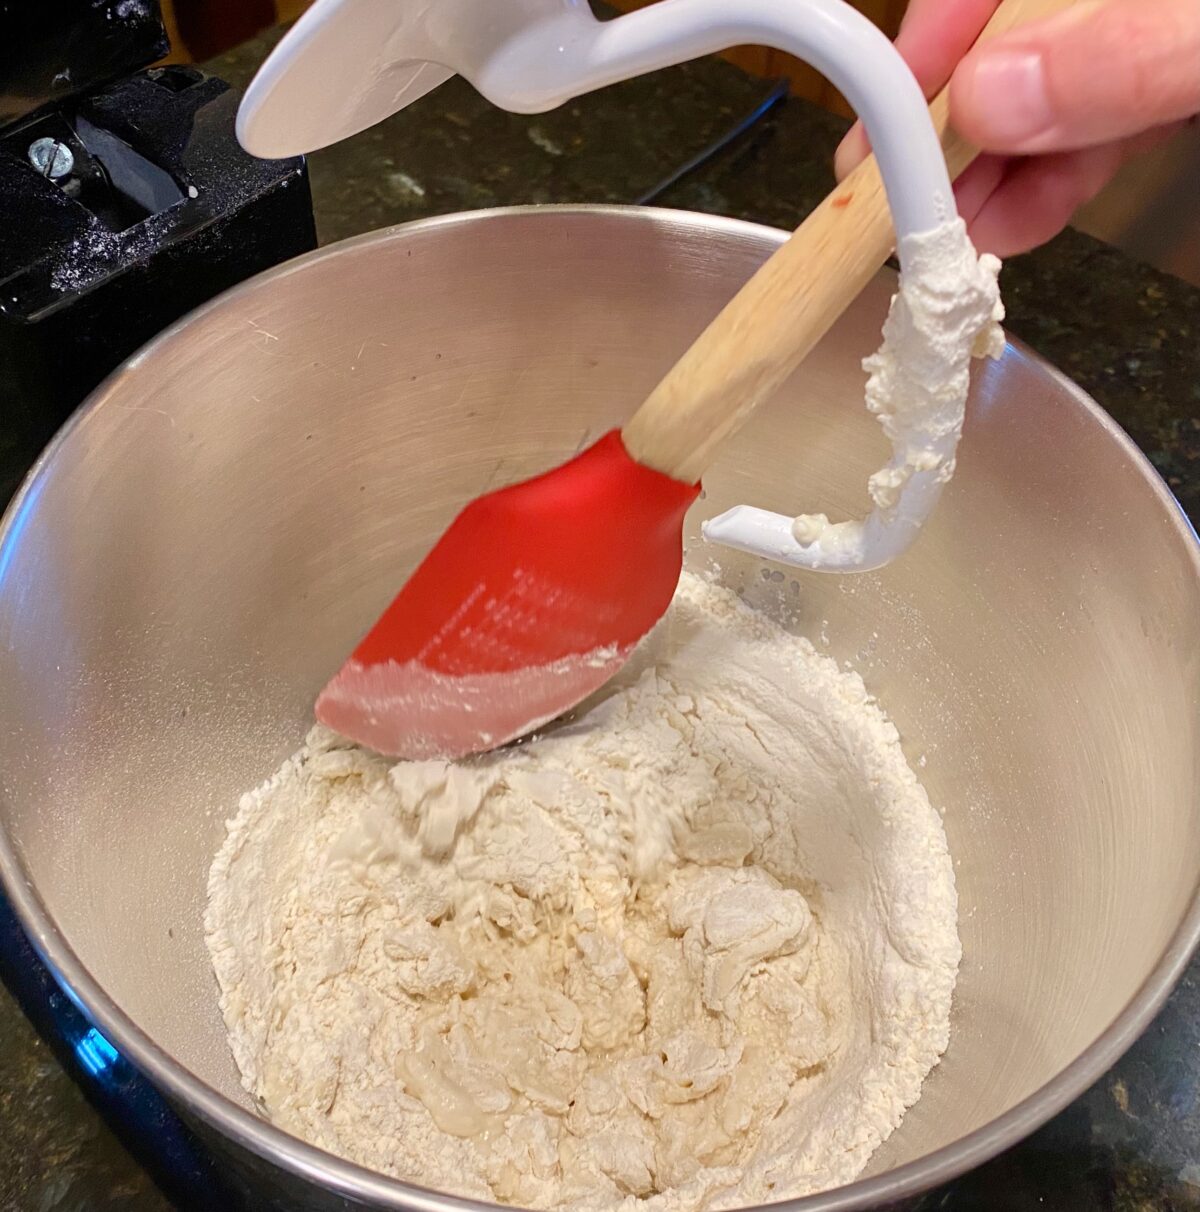
After about 1 minute, the flour should be incorporated, BUT the overall dough will look shaggy.
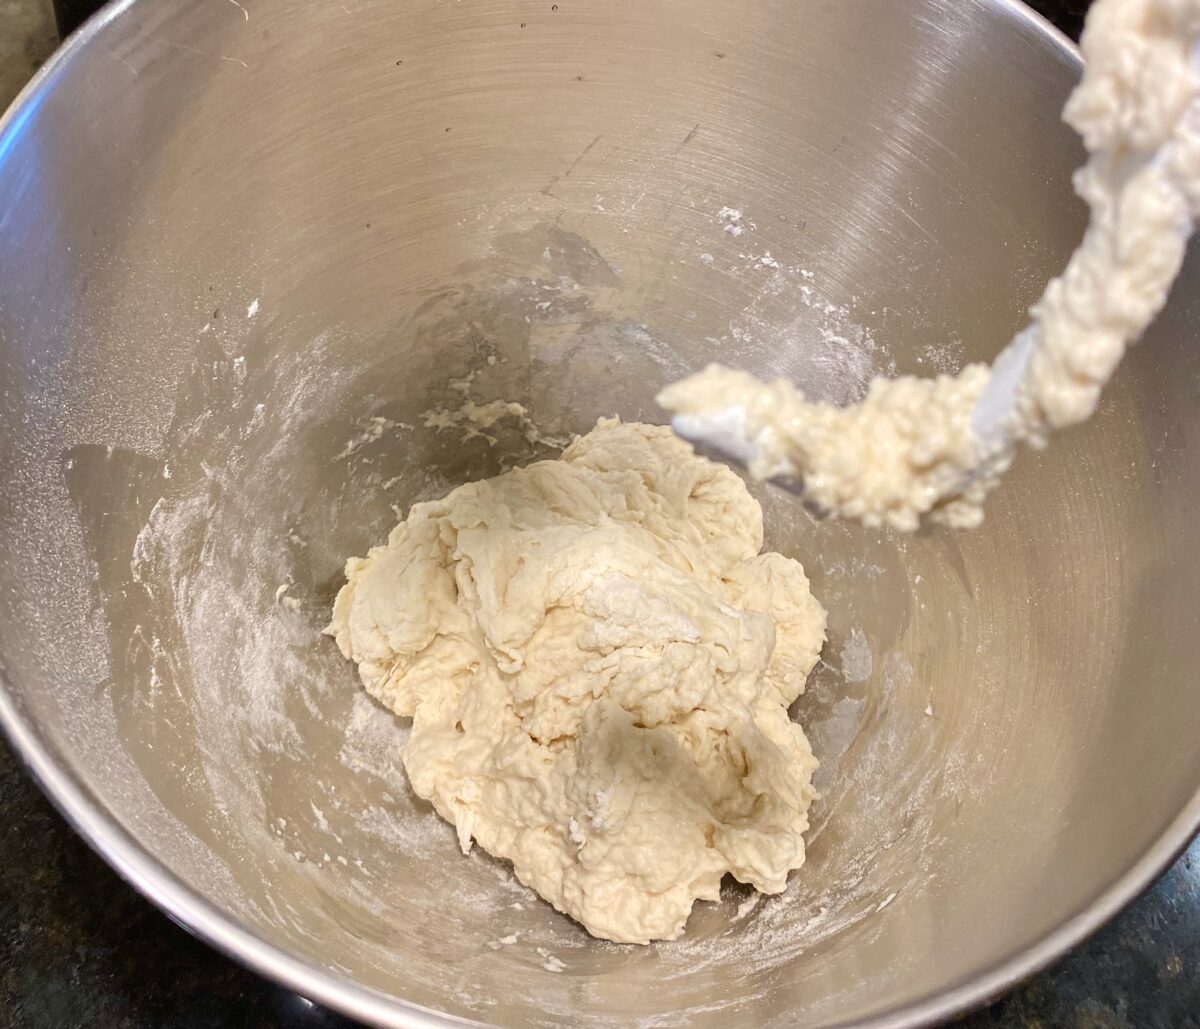
Now, cover with plastic wrap and let the shaggy dough rest for 10 minutes.
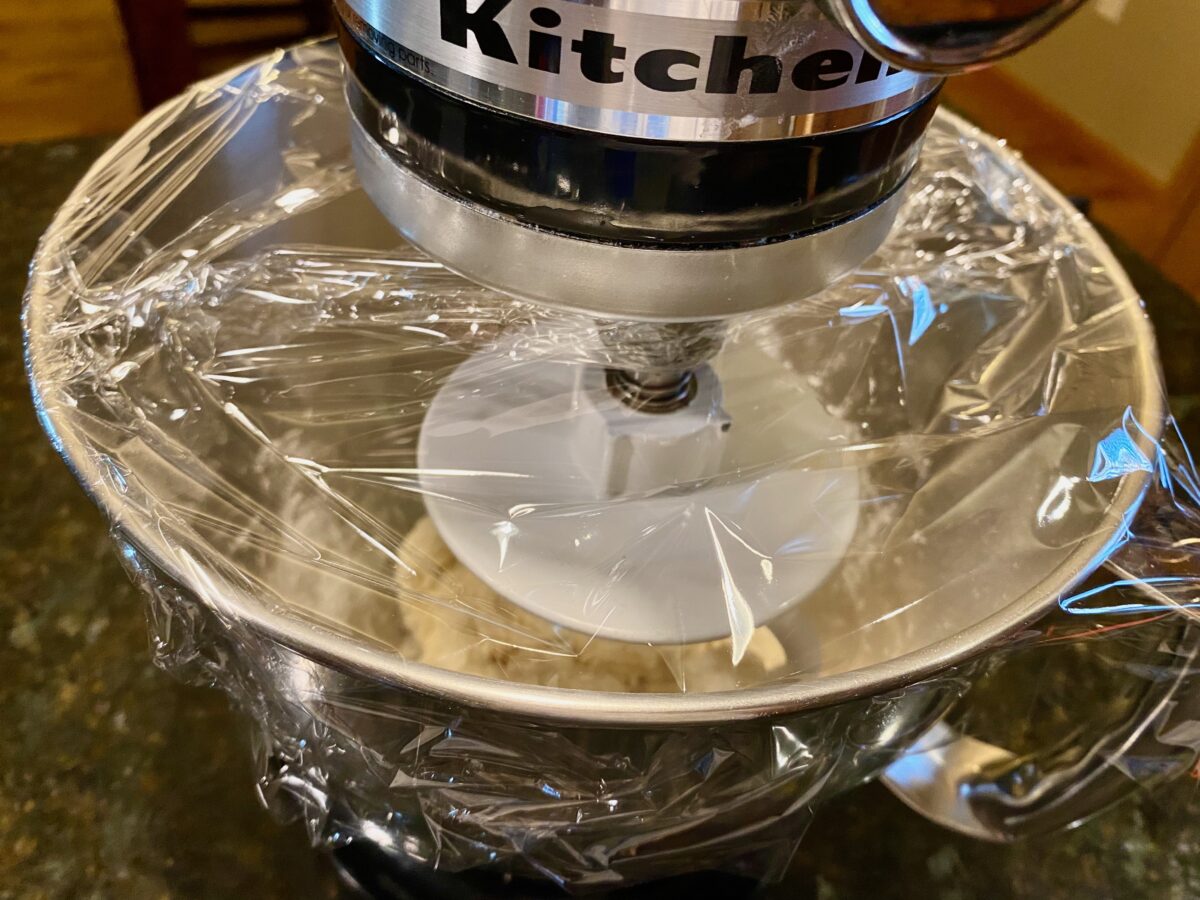
This short rest time jump starts gluten development.
Add the olive oil
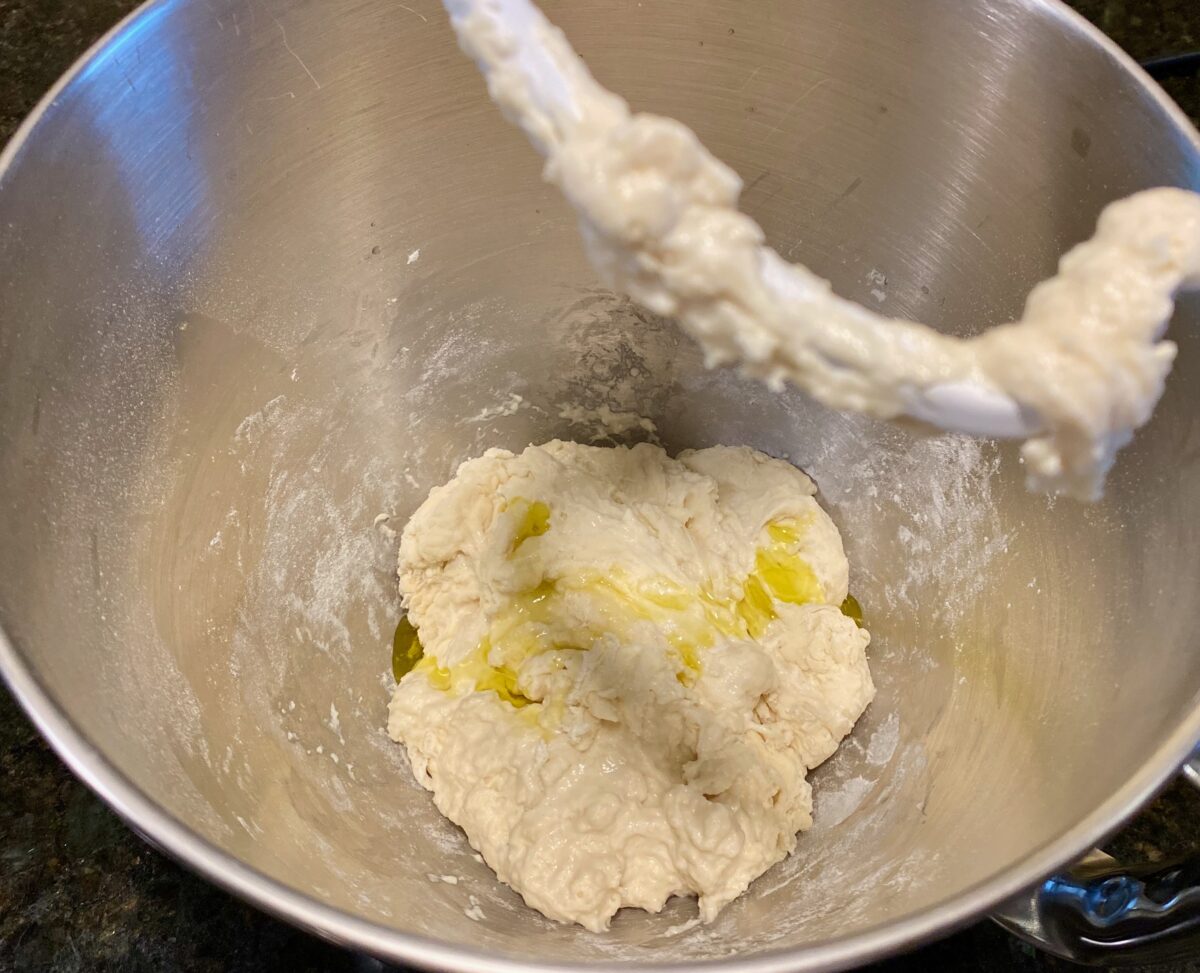
Adding the oil later allows the flour to fully absorb the water during the 10 minute rest. This results in an improved dough consistency and uniformity.
Once added, mix on level 3 for three minutes.
During this 3 minute mix, I stop the mixer 3 or 4 times and use a non-stick spatula to scrape dough off the hook and reposition the dough a little bit inside the bowl.
These periodic dough adjustments ensure that the hook reaches all the dough and kneads it properly.
After 3 minutes, you will notice that the dough is very wet and will be sticking to the bottom of the bowl. This is good!
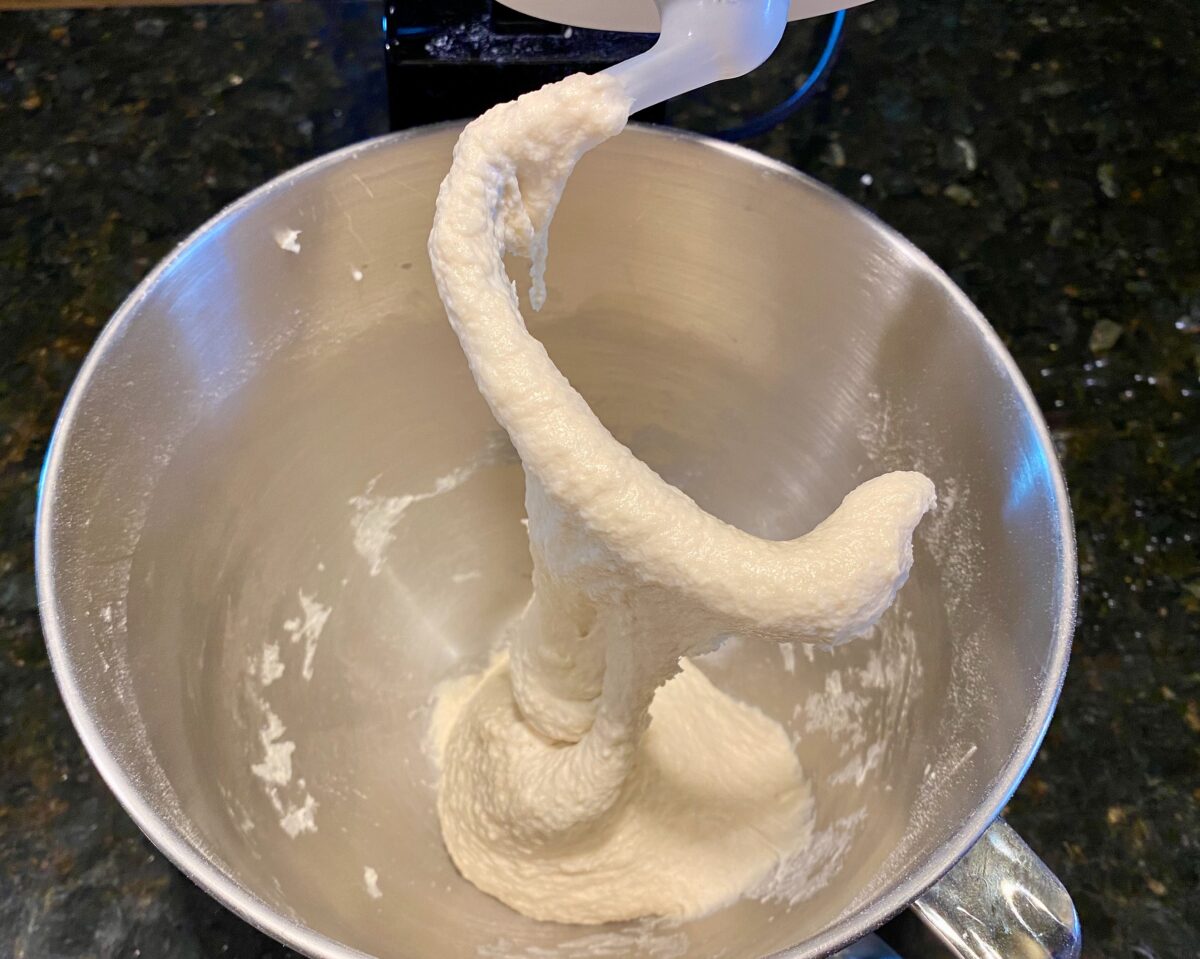
WHY YOU WANT A WET DOUGH:
A well hydrated dough is another critical step to achieving an airy pizza crust. The water softens the gluten strands, which allows large air pockets to form inside your crust while baking.
Remove the dough
The wet dough now needs to be removed and placed into a greased bowl for fermentation.
Use a non-stick cooking spray or olive oil to grease your bowl.
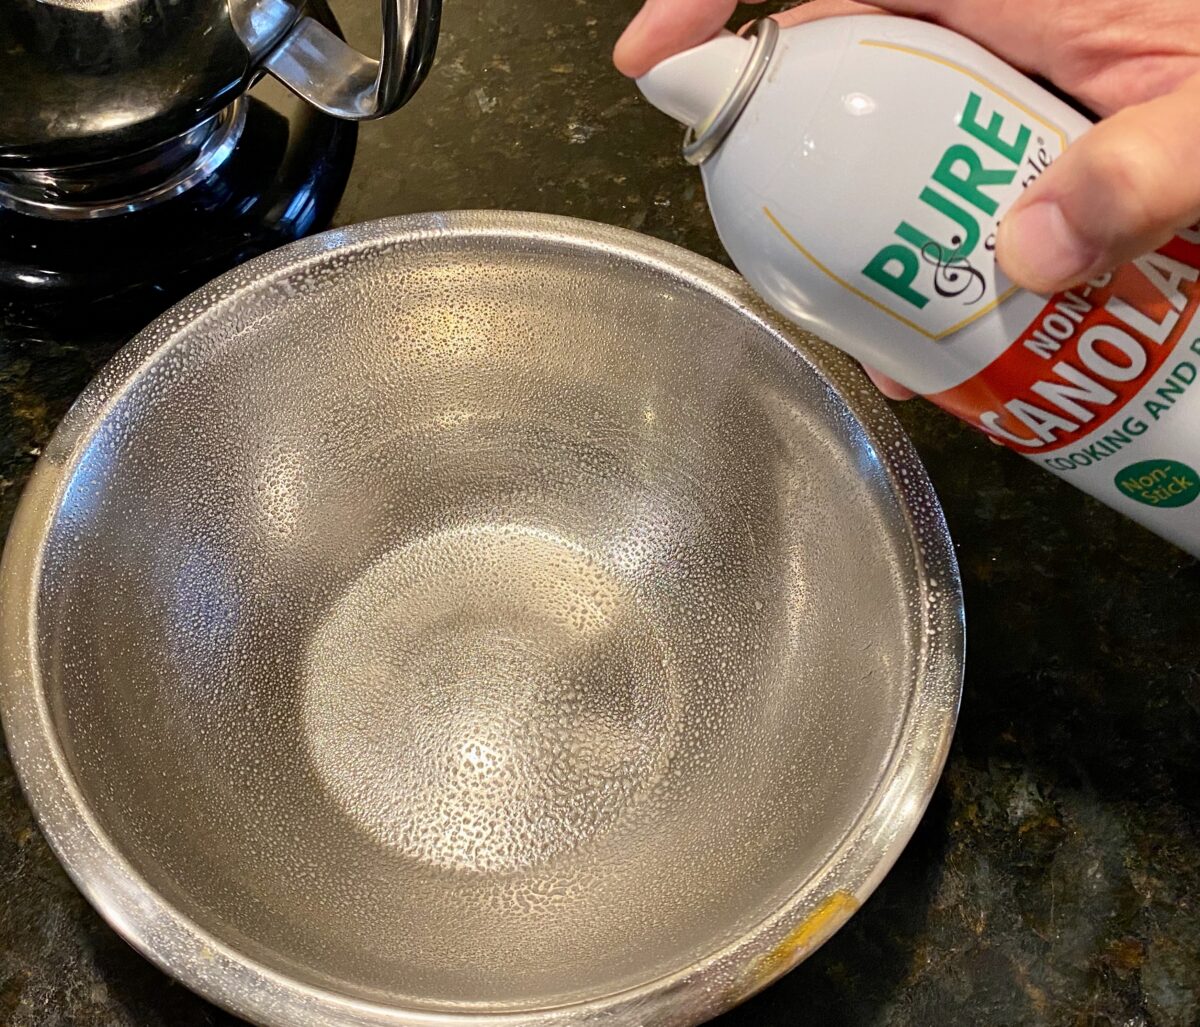
Since this dough is so wet, you'll need to use a non-stick spatula to scrape it off the hook and out of the mixing bowl.
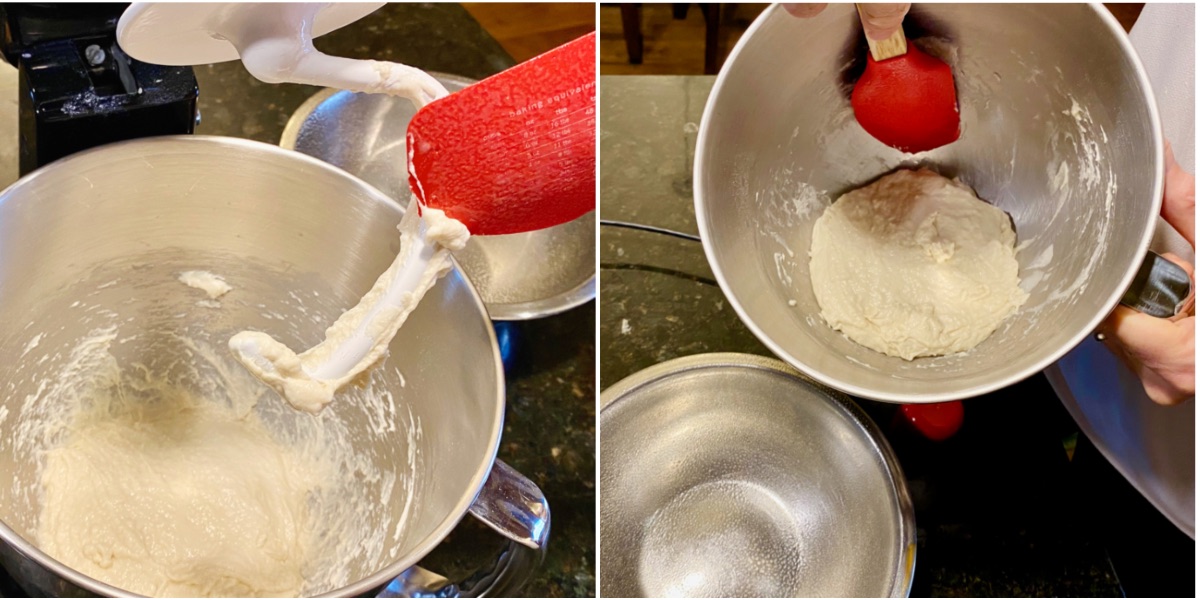
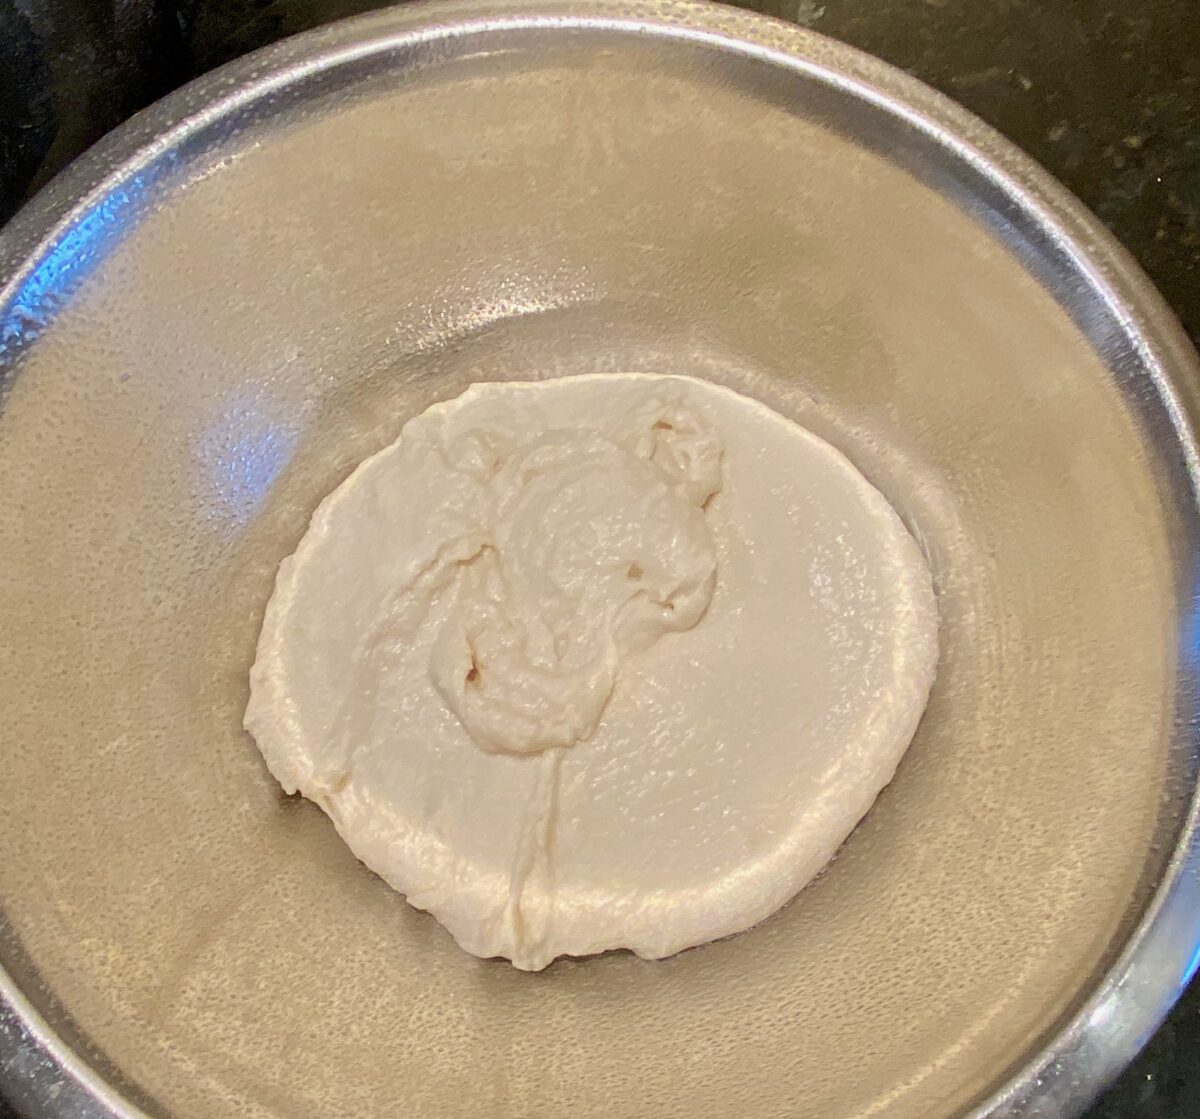
After scraping the dough into the greased bowl, spritz the top of the dough with non-stick spray or olive oil.
Oiling the top prevents the dough from drying out and forming a skin.
2. Cold ferment the dough for 24 hours
Cold fermenting is the best way to impart flavor into a pizza crust. This can't be done by resting your dough only a few hours at room temperature. Want to know why? Read this Serious Eats article.
There are two phases to this cold fermentation.
Phase 1 - UNCOVERED
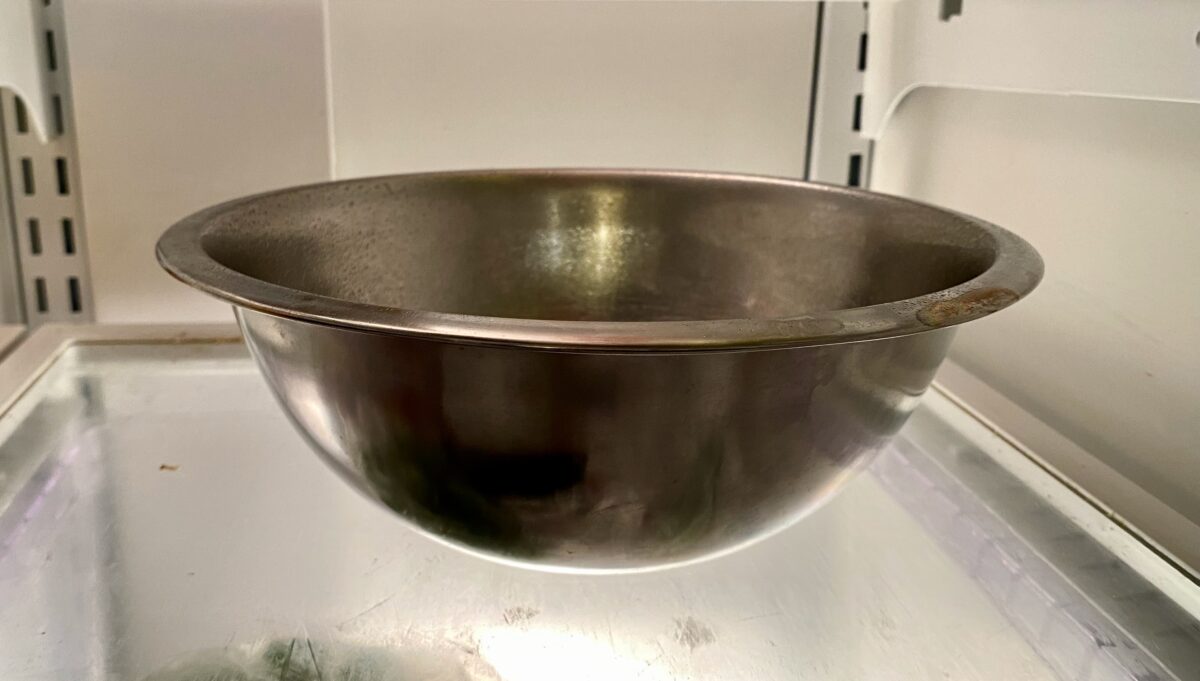
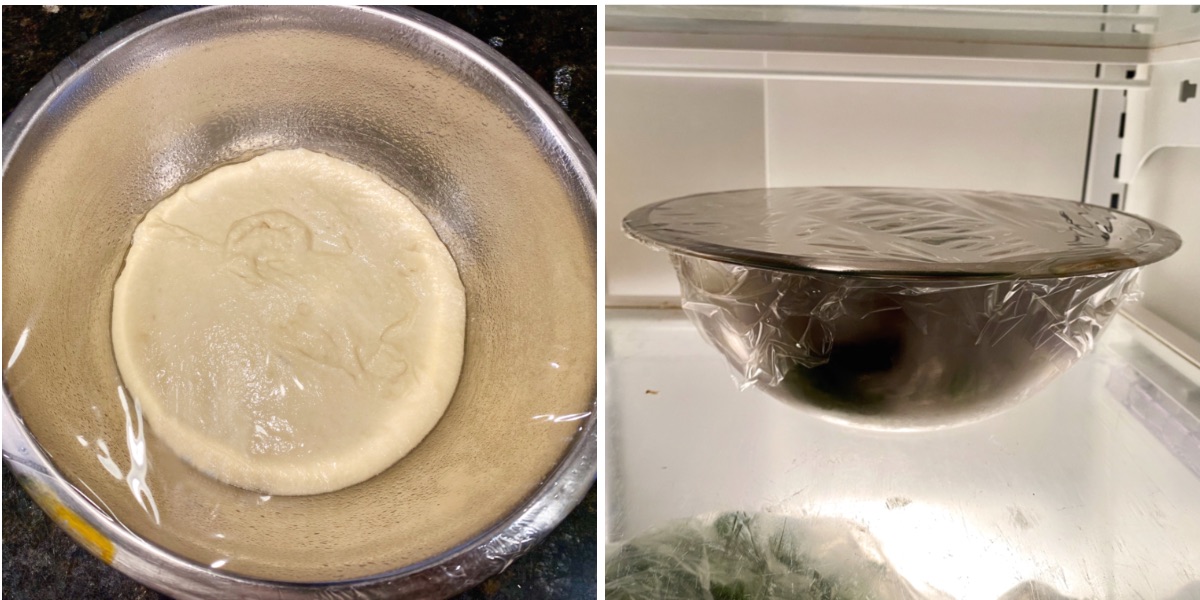
Place the bowl of dough into the fridge - UNCOVERED - for 2 hours.
This starts the cool-down process.
Uncovered dough will cool down quickly and at a consistent, uniform rate. If we covered right away, the heat from the dough would be trapped. This would accelerate the fermentation process and could result in over-proofed dough and condensation issues.
Phase 2 - COVERED
After the uncovered dough has been in the fridge for 2 hours, simply cover the bowl and place it back into the refrigerator to cold ferment for 24 hours.
If your bowl has an airtight lid, use that. If not, use plastic wrap.
3. Shape the dough in the pan
After 24 hours of cold fermentation, the time has come to bake the pizza. YAY!
The time it takes from shaping the dough until baking the pizza is about 2 hours, so plan accordingly.
First, prep the pizza pan
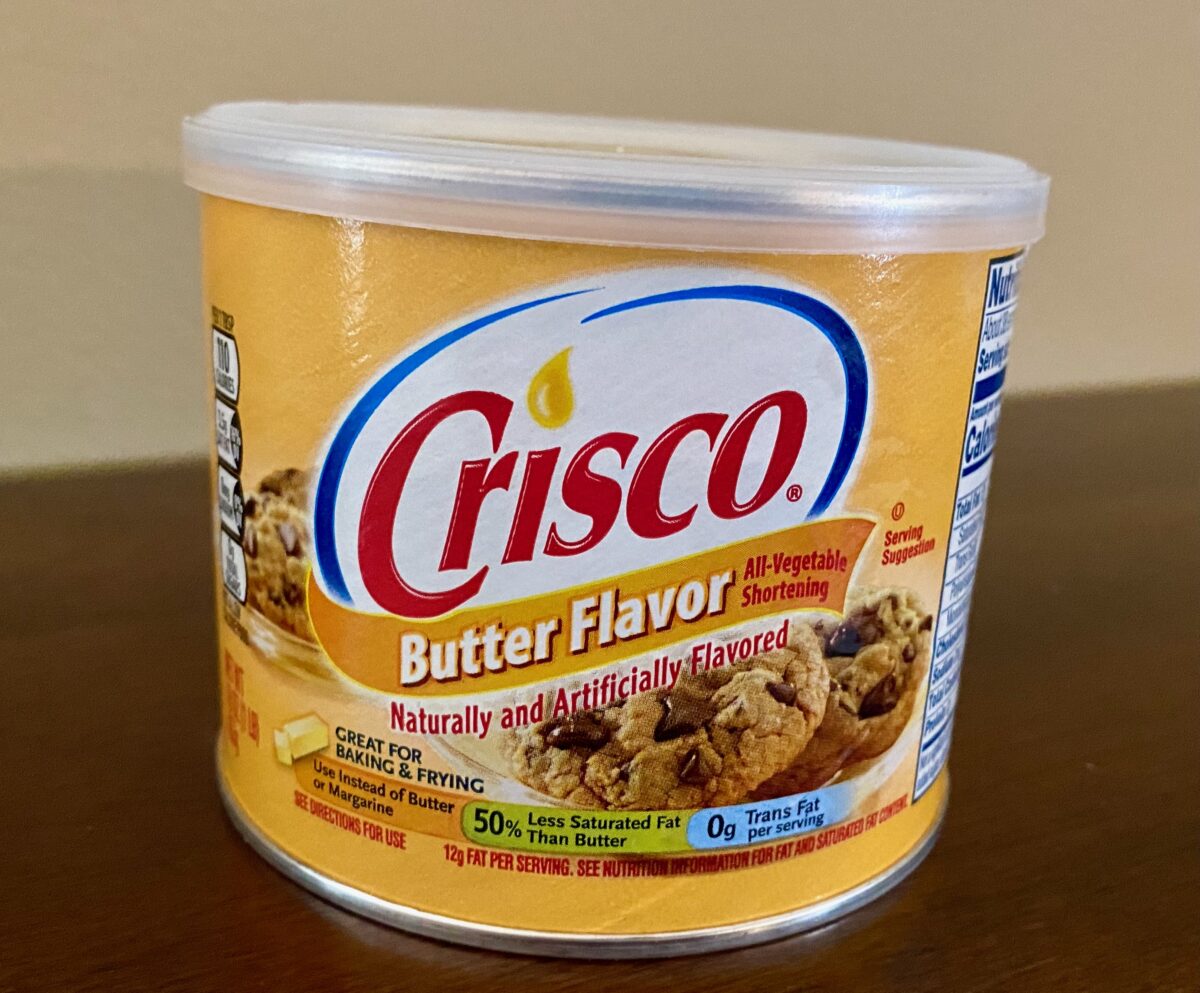
We need to grease the pan before adding the dough. We've found that the best grease to use is butter flavored Crisco vegetable shortening.
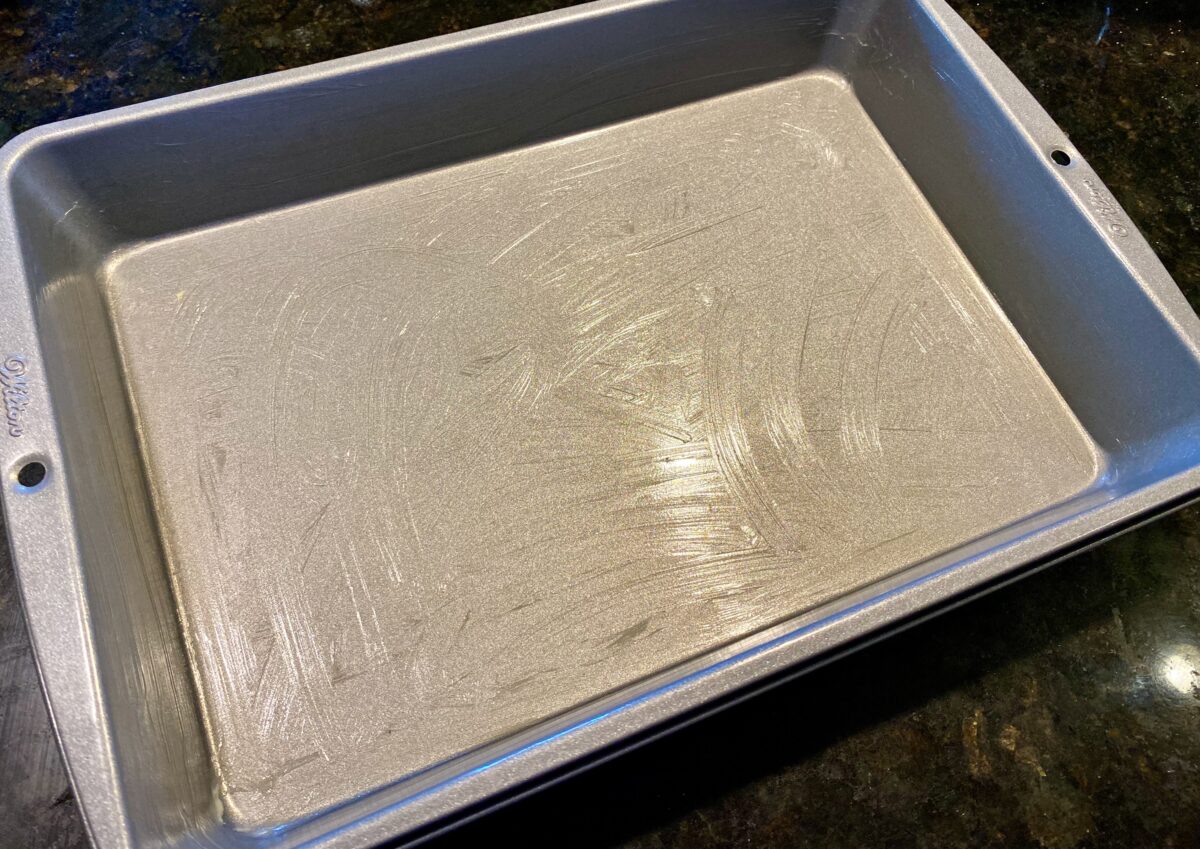
Spread around a thin layer of the shortening until the bottom and sides of your pan are fully covered.
A teaspoon is all you'll need.
Why is buttery Crisco is the best choice?
You will notice that Crisco is sticky and clings to your pan. This is a good thing.
This keeps your dough from springing back as you stretch it in the pan (which is exactly what would happen if you used olive oil).
Also, the buttery version of Crisco adds a great flavor to the crust. I mean, who doesn't like butter?
Add the dough to the greased pan
Again, use a non-stick spatula to gently scrape the cold dough from the fermentation bowl into your Crisco greased pan.
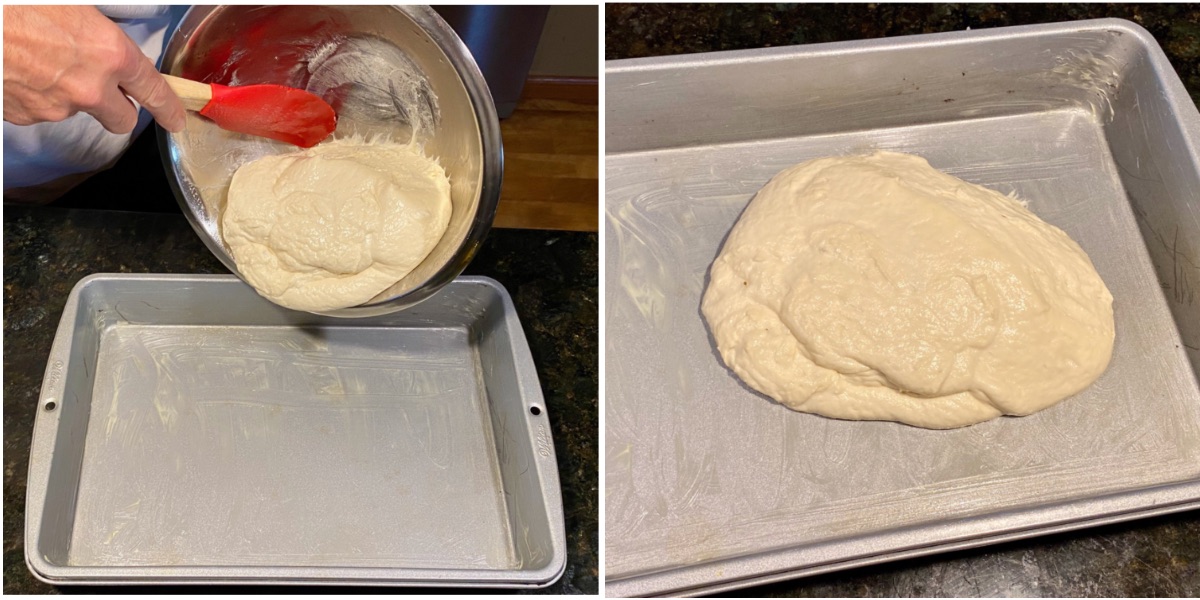
Once in the pan, use greased fingers to gently press the dough across the entire pan.
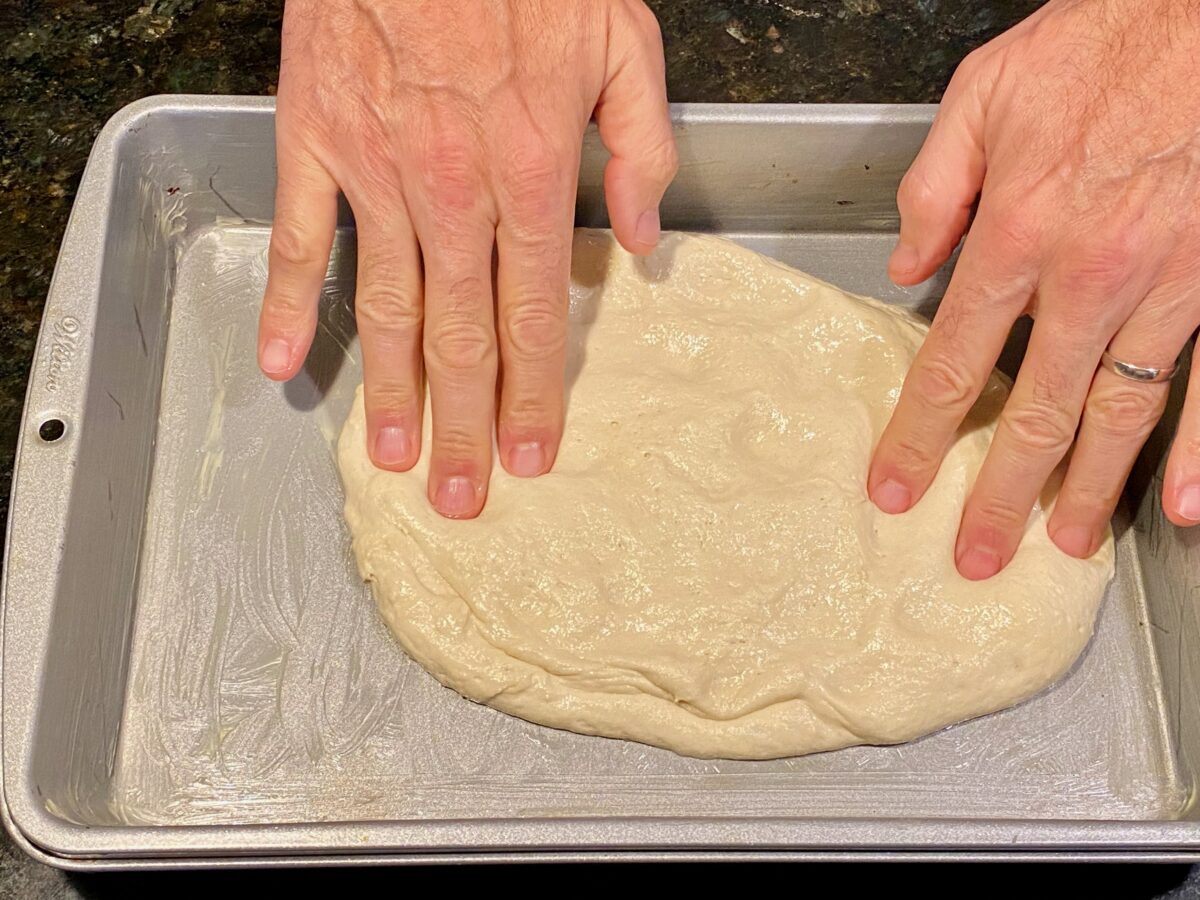
Do your best to make one even layer of dough across the entire pan.
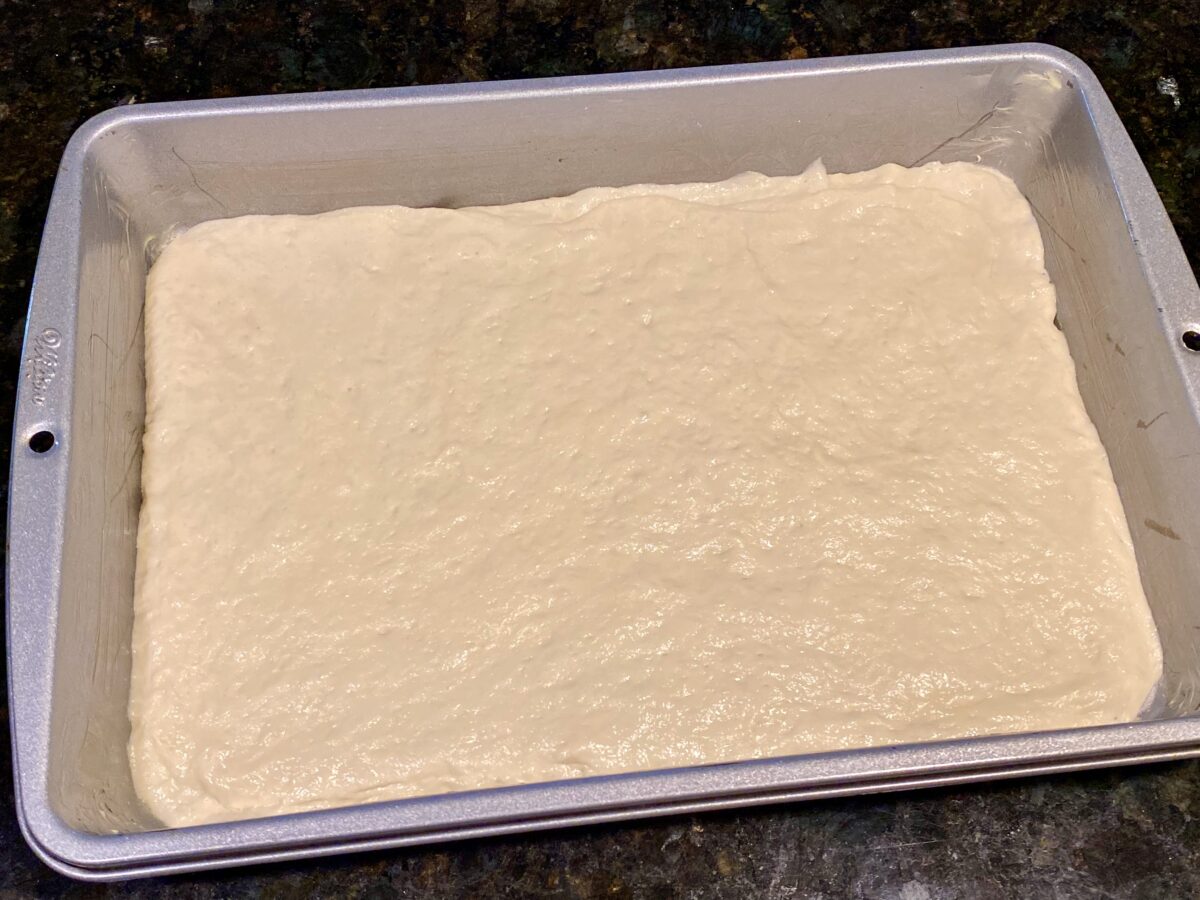
If you find that your dough is tight and not pliable, simply cover the pan with plastic wrap and allow it to rest 15 minutes. Then try again.
Lastly, cover the pan in plastic wrap.
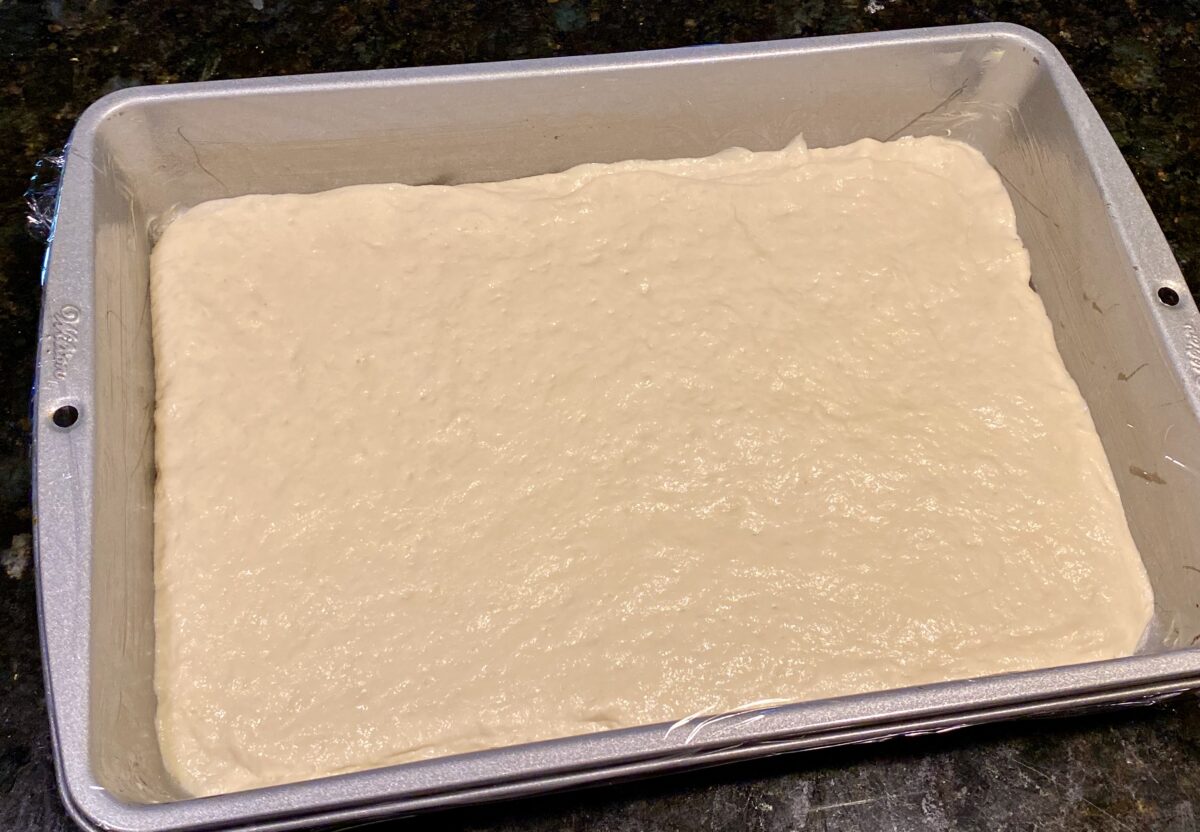
Room temperature proof
Allow the dough to remain covered in the pan at room temperature for 2 hours.
PRO-TIP: If your house is under 72º F, place the pan in your oven with the oven light on. This light provides a few degrees of residual heat that brings the oven closer to the ideal proofing temperature of 75º F.
This final proof is critical to achieving that airy crust. It should puff up a little bit during this time.
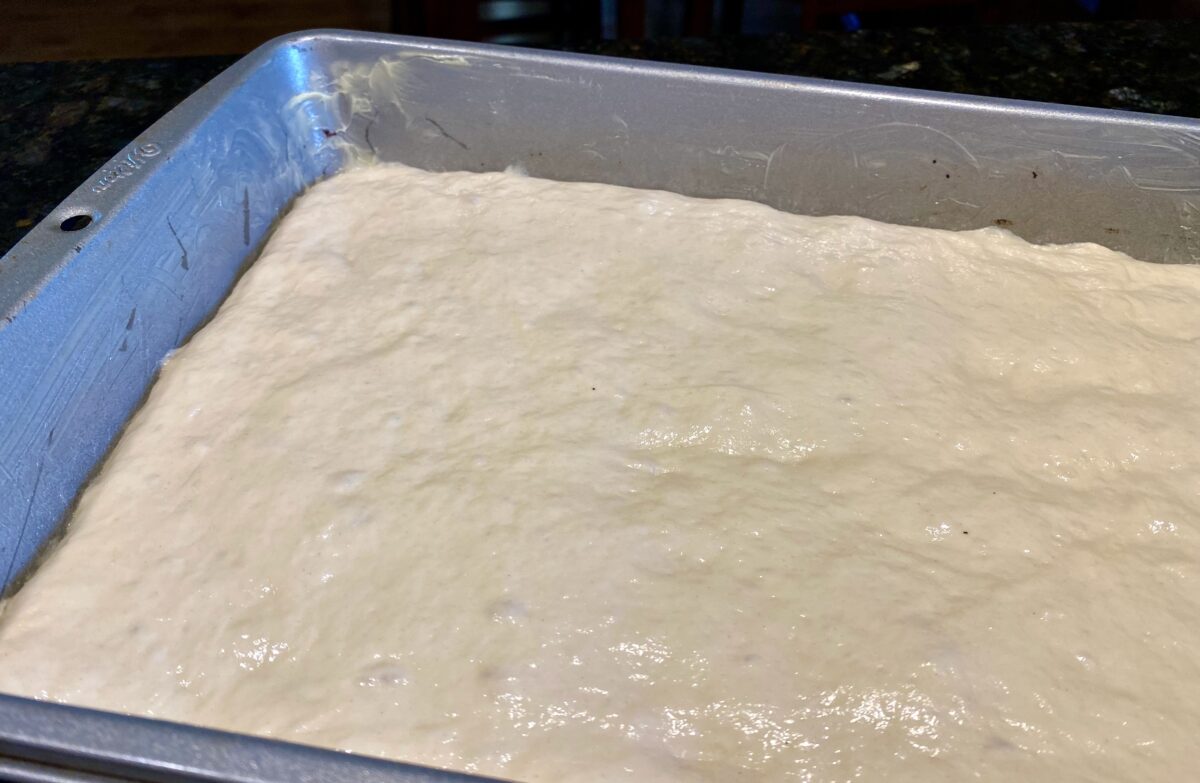
PRO-TIP: After 1 ½ hours of proofing, preheat your oven 450 ºF so it will be ready to go when the proofing is done (remove pizza dough first if you've been proofing it in the oven).
4. Top the pizza
Do not begin topping your pizza until the oven is fully pre-heated to 450º F and your dough has finished its final 2 hour final proof.
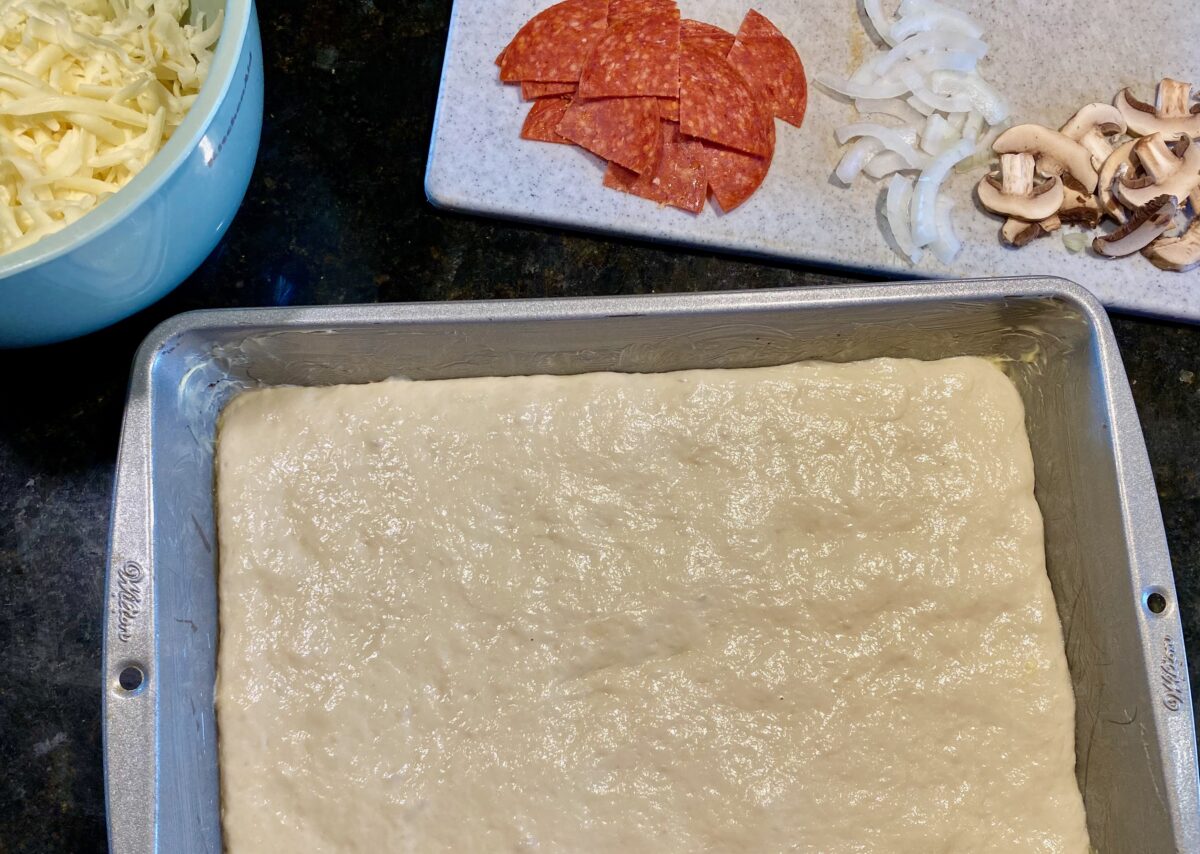
Before topping your pizza, here are some best practices:
- Your dough is very puffy at this point. Be careful when adding the toppings to avoid deflating the dough.
- Let your refrigerated toppings rest at room temperature for 45-60 minutes before topping the pizza.
- If you want your veggies a bit softer or you are adding raw sausage, I recommend parcooking them a bit before topping the pizza.
Don't add the sauce first!
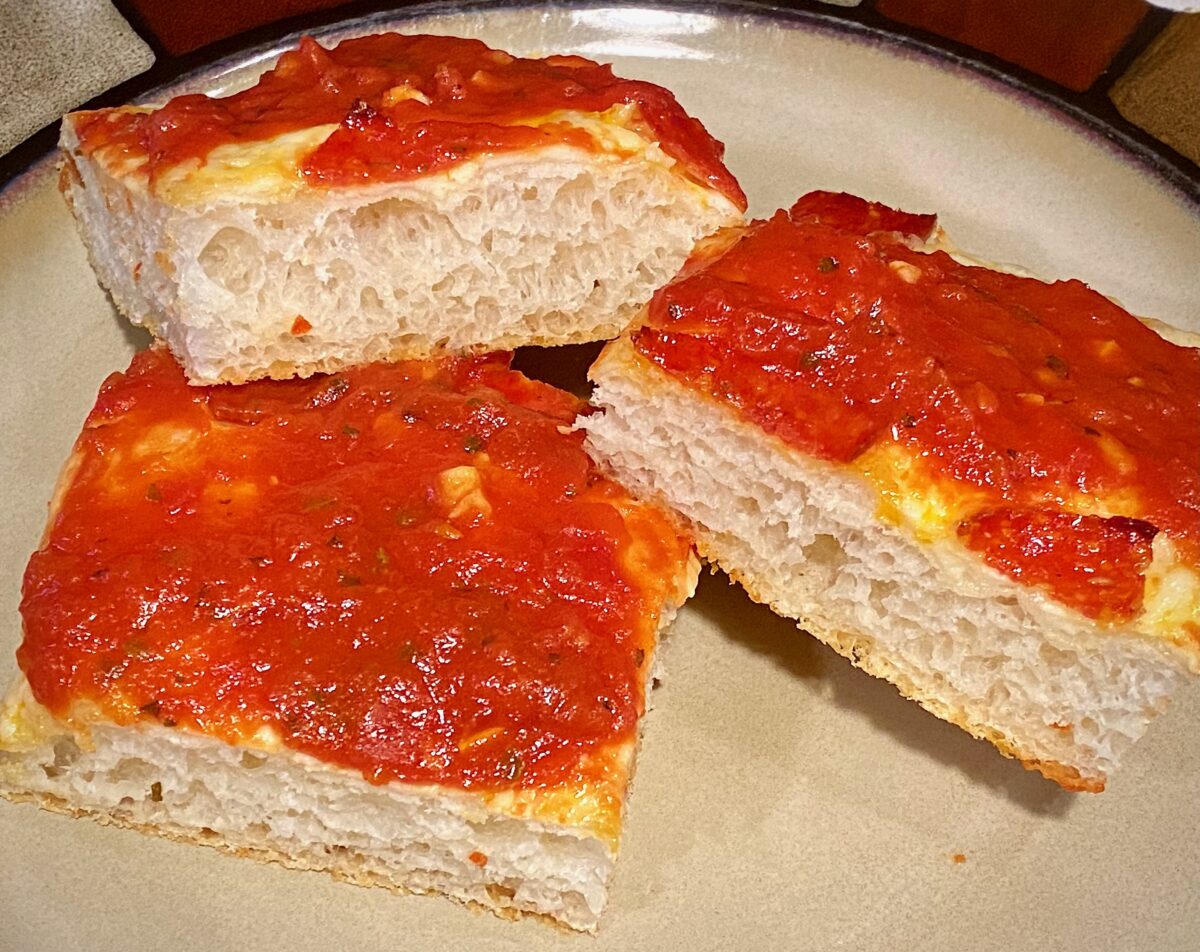
If you want an airy crust like the one below, do not add the sauce yet.
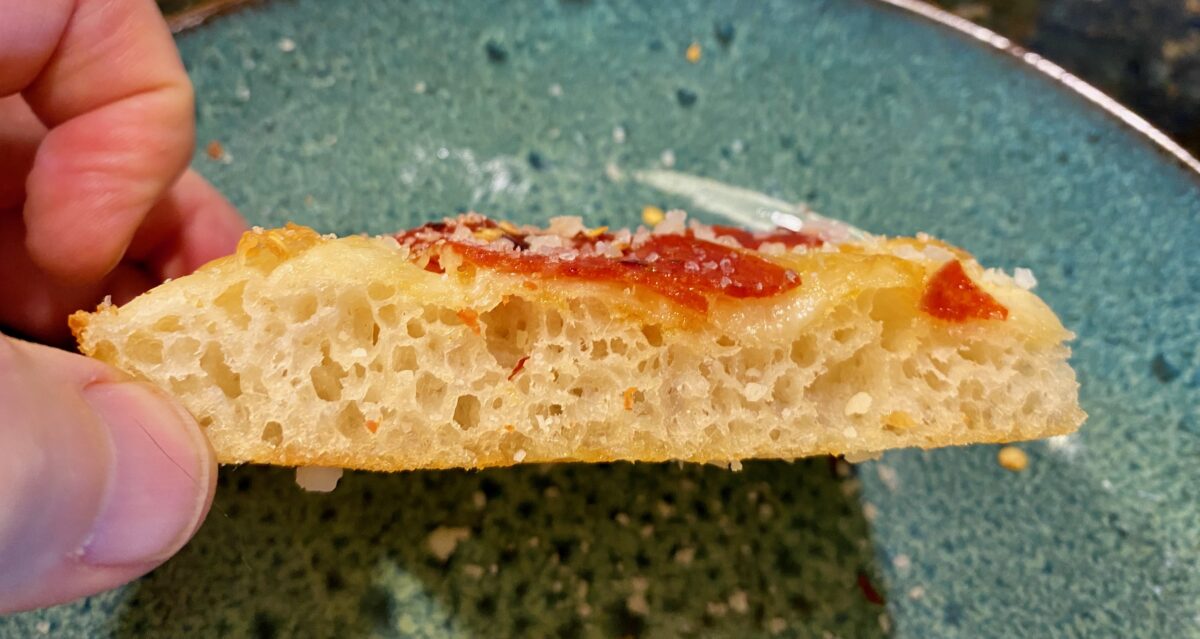
This is the MOST CRITICAL STEP in this recipe.
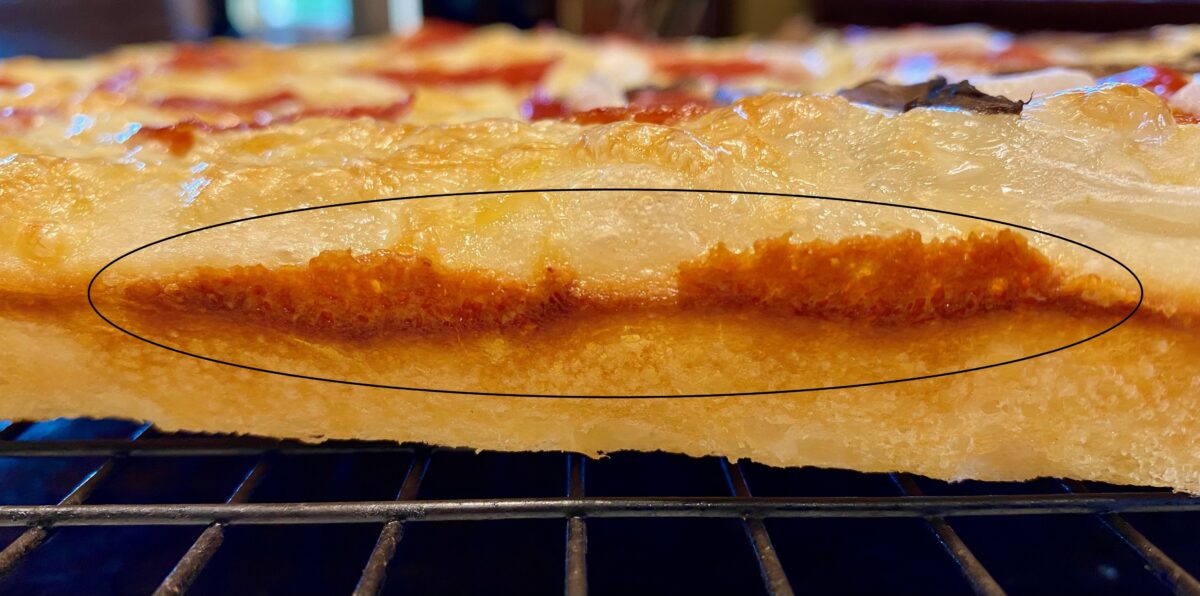
After much trial and error, I have found that if the sauce is added on top of the raw dough, it deflates the crust and creates an undesirable gum line.
Don't worry though, we will add sauce (just at the end).
Instead, start by adding the cheese
Regardless of the cheese you use, I recommend grating it from a block instead of buying pre-shredded cheese.
DID YOU KNOW that pre-shredded cheese has starch added to prevent clumping? This starch also inhibits the cheese's ability to melt properly.
DON'T OVERLOAD THE PIZZA WITH CHEESE!
Adding too much will affect the rise and airiness of the dough. Start with the recommended 6 ounces.
Notice how you can still see some of the dough in the picture below?
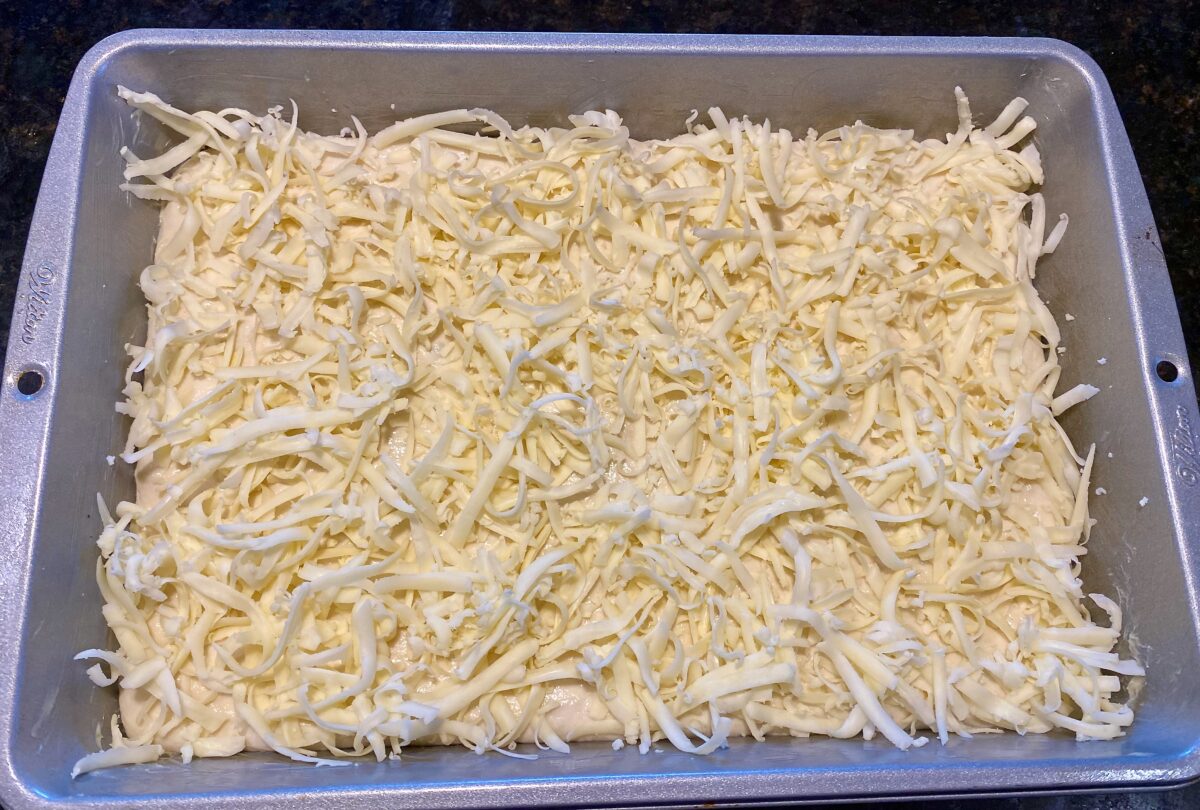
Don't worry if some of the cheese lays up against the edge of the pan. It will crisp up and taste amazing.
Don't be surprised if your family fights over these slices:
Next, add your meats and veggies
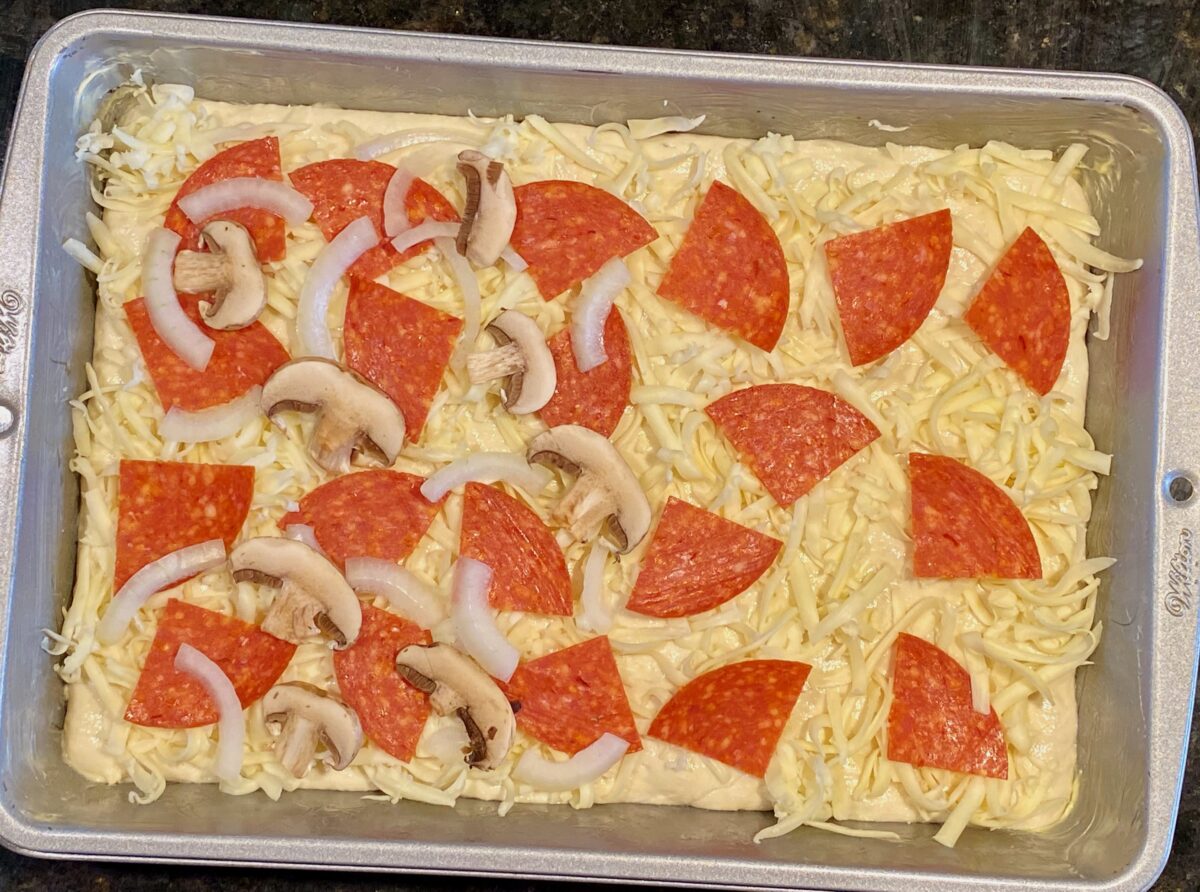
Want to kick up the flavor, add some Hot Italian Sausage, just par cook it before topping your pizza.
6. Bake the pizza in a 450º F oven
First, prep the pre-heated oven
Set your oven rack to the lowest setting.
Baking on the lowest rack ensures that we will get that fried, crunchy crust we're looking for.
Load the pizza into the pre-heated oven
Load the pan pizza onto the lowest rack and let it cook for 11-15 minutes or until done.
But that leaves a big question...
How do you know when a pan pizza is done?
You CAN'T determine when a thick crust pizza is done by simply looking at how well the cheese melted or how brown the crust looks.
You need to make sure that the pizza dough has cooked through at the centermost portion of the pizza.
There's nothing worse than an under-cooked, gooey pizza crust.
The only way to know when your pan pizza is done is by taking the internal temperature of the crust. You are looking for a temperature of 200º F - 210º F.
You will need an instant read thermometer to measure this.
But this leads to another very important question...
Where do you take the internal temperature of a thick crust pan pizza?
Contrary to what you might think, it is NOT in the middle of the crust.
You take the temperature of the crust in the center of the pizza, JUST BENEATH THE CHEESE!
Basically, you want the tip of the temperature probe to be at the very top of the crust in the center of the pizza...which is just underneath your cheese.
Start taking these temperature readings at the 11 minute mark.
Once the temp passes 200º F, the pizza is done and can be removed from the oven.
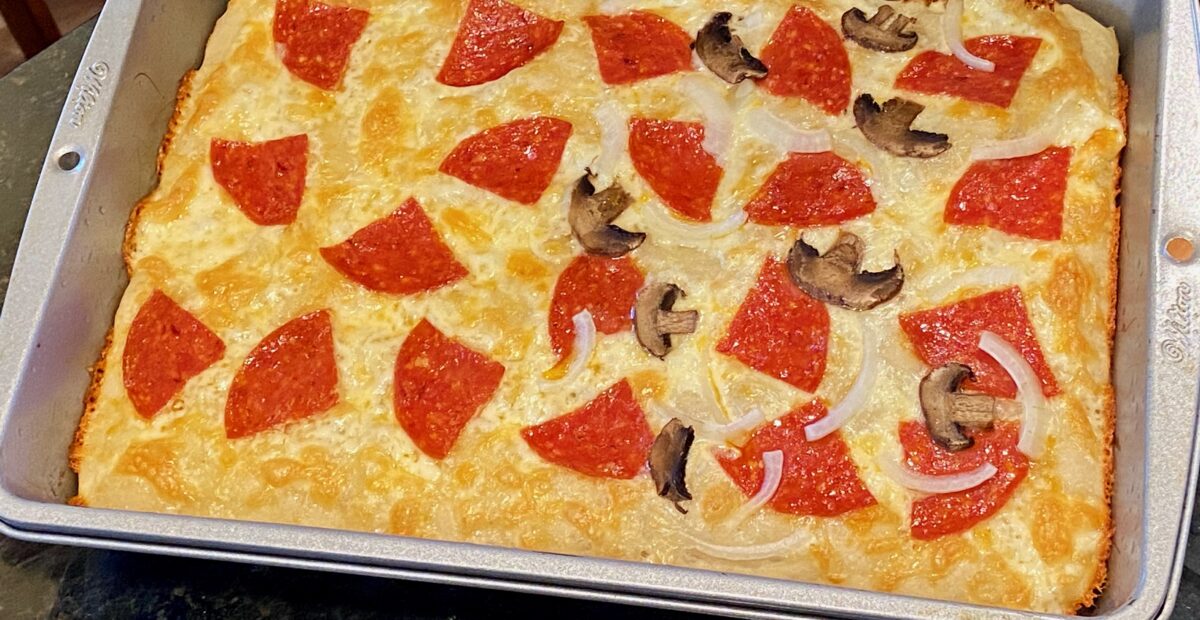
Since all ovens and pans cook differently, your cook times and oven temperature may need to vary slightly.
Remove the pizza from the pan
Once the pizza is done, immediately remove it from the pan and onto a cooling rack.
This prevents that fried, crunchy crust from getting soggy.
You should be able to work a rigid spatula around the edges and remove the pizza from the pan. Thank you Crisco oil!
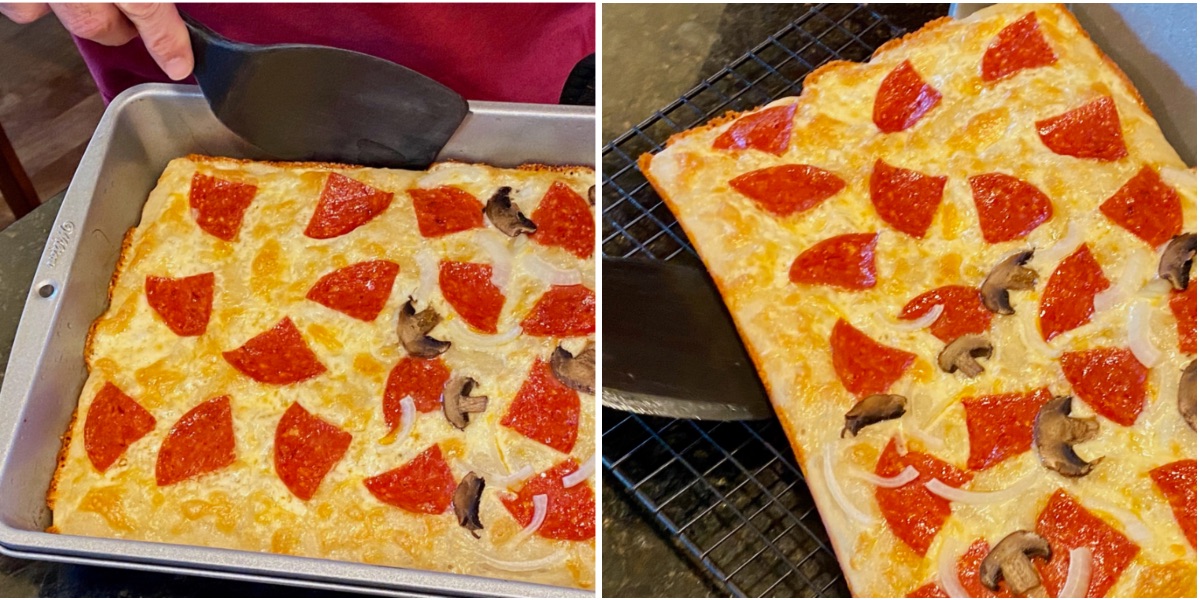
Allow the pizza to rest 5 minutes on the cooling rack.
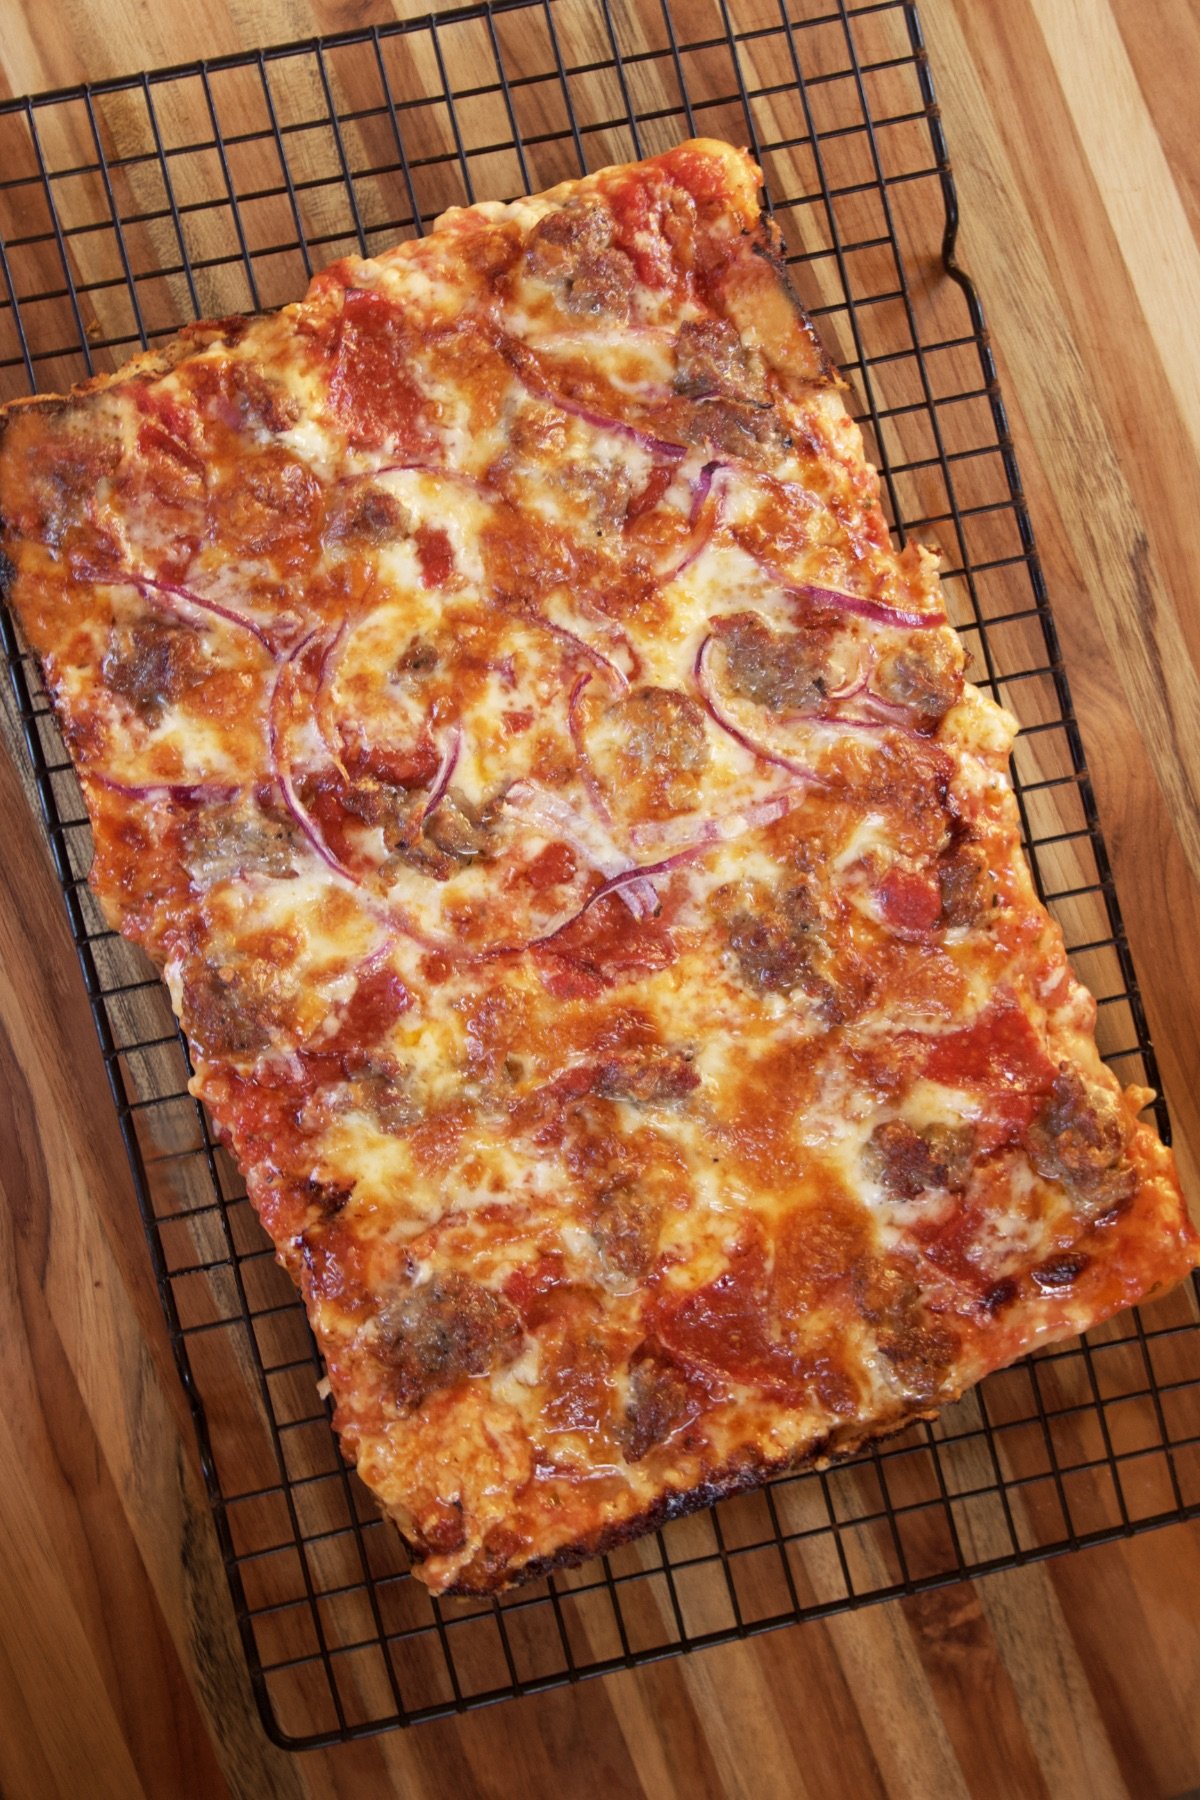
Finally, add the sauce
While your pizza is resting on the cooling rack, warm your pizza sauce in a saucepan.
Check out my zesty pizza sauce recipe. It has the perfect consistency, tons of flavor, and is easy to make.
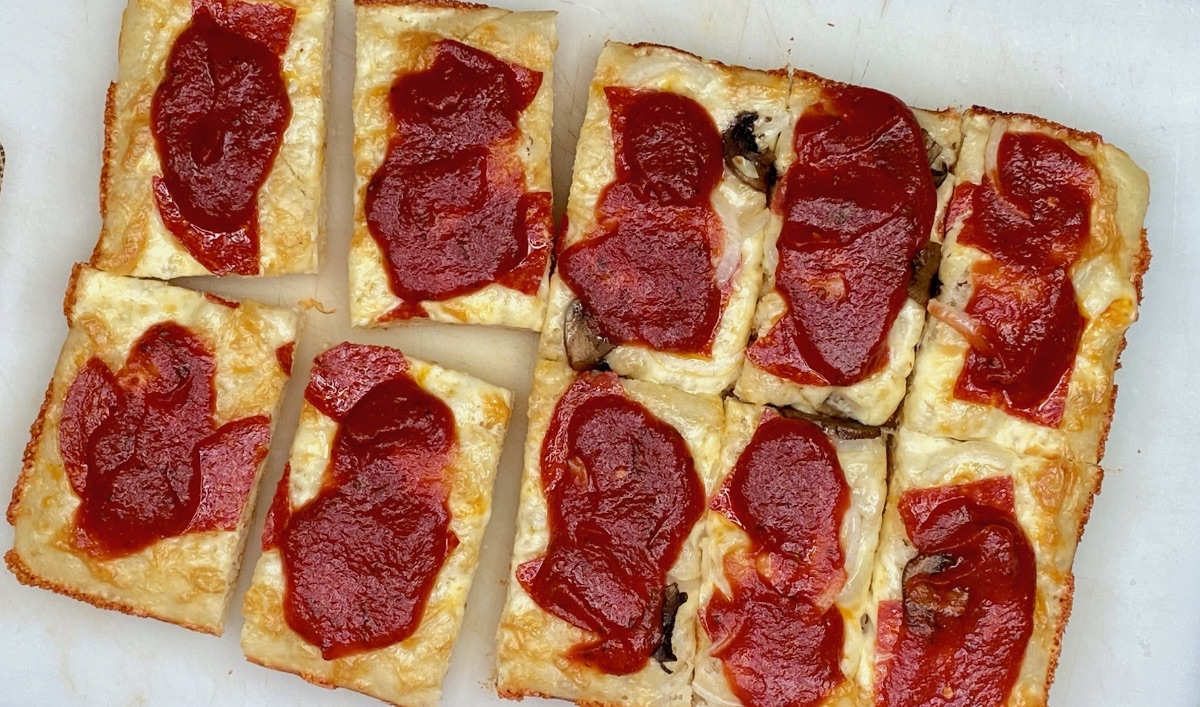
After 5 minutes, sauce it up, slice and enjoy!
Best practices for perfect pan pizza
- Be precise with your water and flour measurements. This is critical to ensure the proper dough hydration.
- Use purified bottled water instead of tap water.
- Use fine sea salt rather than table salt or kosher salt.
- Trust your instant read thermometer to know when your pizza is done.
Scale this pizza dough to any size pan
Regardless of what size pan you have, this dough recipe can be scaled up or down to fit it.
It all comes down to the surface area of your pan DIVIDED BY the surface area of the 9 x 13 pan used in this recipe.
FOR EXAMPLE:
If your pan is 10 x 10. This equals 100 square inches of surface area. (10x10)
The 9 x 13 pan equals 117 square inches of surface area (9x13)
Divide 100 by 117 and you get .85.
This means that you would multiply my ingredient quantities by .85 to get the new quantities for your 10 x 10 pan. These calculations are below.
| Ingredient | 9 x 13 | 10 x 10 |
|---|---|---|
| Bread Flour | 2 C | 1.7 C |
| Water (~85º F) | .81 C | .69 C |
| Instant Dry Yeast | .80 tsp | .68 tsp |
| Sugar | 1 tsp | .85 tsp |
| Salt | 1 tsp | .85 tsp |
| EV Olive Oil | 2 tsp | 1.7 tsp |
What if I have a round pan?
The formula for the surface area of a circle is: Radius2 x 3.14
FOR EXAMPLE:
If your round pan is 16 across, this means it has an 8 inch radius.
This equals 201 square inches of surface area.
(82 x 3.14 which is the same as 8 x 8 x 3.14)
The 9 x 13 pan equals 117 square inches of surface area (9x13)
Divide 201 by 117 and you get 1.72.
This means that you would multiply my ingredient quantities by 1.72 to get the new quantities for your 16 inch round pan. These calculations are below.
| Ingredient | 9 x 13 | 16 round |
|---|---|---|
| Bread Flour | 2 C | 3.44 C |
| Water (~85º F) | .81 C | 1.39 C |
| Instant Dry Yeast | .80 tsp | 1.38 tsp |
| Sugar | 1 tsp | 1.72 tsp |
| Salt | 1 tsp | 1.72 tsp |
| EV Olive Oil | 2 tsp | 3.44 tsp |
Re-heating leftover pan pizza
This pan pizza re-heats really well. The crust quickly regains that fabulous crunch.
Place the leftover pizza on a wire rack placed inside a rimmed baking sheet.
Then bake in a 400 ºF oven for 3-5 minutes until the cheese begins to bubble and the crust is crunchy. Yum-Yum!
Other party food favorites:
- Smash Burgers
- Chicago Style Hot Dogs
- Perfect Loaded Nachos
- Homemade Kettle Corn & Movie Theater Popcorn
- Ultimate Chili Cheese Dogs
Final Thoughts
This homemade pan pizza comes out amazing. It's better than just about anything you can get ordering out.
If you love this recipe, leave a 5 star review.
If you aren't getting stellar results, leave a comment or message us about the issues you're having (I've made so many pizzas that I should be able to guide you through what might be happening).
Happy pizza making!
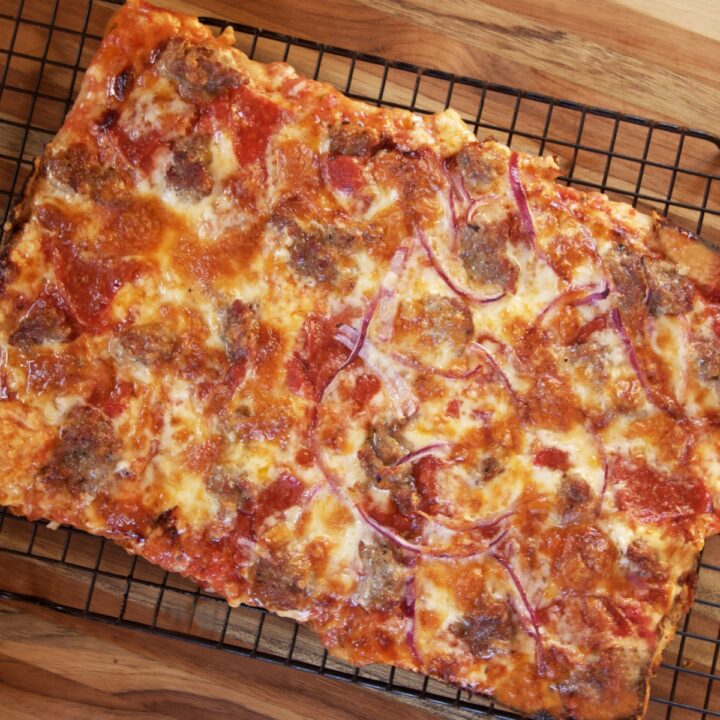
Homemade Pan Pizza
This homemade pan pizza recipe is easy to follow and comes out amazing. The crust has that crunchy fried texture while the inside is airy, soft and flavorful. Prepare to be impressed!
Ingredients
For the pizza dough
- 2 C bread flour
- ¾ teaspoon instant dry yeast (rounded)
- 13/16 C ~85º F Water (¾C + 1 Tbsp)
- 2 teaspoon olive oil
- 1 teaspoon salt (fine)
- 1 teaspoon sugar
Pizza Toppings
- 6 oz mozzarella cheese (grated)
- ¾ C pizza sauce
- Miscellaneous meats and veggies of your choice (see Recipe Note #1)
Miscellaneous
Instructions
Day 1: Making the dough and cold-fermenting
- In a stand mixer bowl add the water, salt and sugar. Whisk until dissolved.
- Add the flour and yeast (See Recipe Note #2). Mix on level 1 until dough becomes shaggy. Scrape the sides as necessary to ensure all the flour incorporates.
- Cover the bowl with plastic wrap and allow the shaggy dough to rest at room temperature for 10 minutes.
- Add the olive oil and mix on level 3 for three minutes. The dough will be very wet and sticking to the bottom of the bowl. (See Recipe Note #3)
- While this is mixing, grease a medium sized bowl with non-stick spray or olive oil.
- Once the dough has mixed 3 minutes, scrape any sticking dough from the hook into the bowl. Then use the spatula to remove the dough from the mixing bowl and into your greased medium sized bowl.
- Spray the top of the dough with non-stick spray or brush with olive oil.
- Place the bowl of dough, UNCOVERED, into the refrigerator for 2 hours.
- After 2 hours, COVER the bowl of dough with a lid or plastic wrap and allow it to ferment in the fridge for 24 hours.
Day 2: Shaping, proofing, topping, and baking
- After 24 hours, grease your pizza pan with the Crisco shortening. Then use a spatula to scrape the dough from the bowl into your greased pan. (See Recipe Note #4)
- Using greased fingers, press the dough across the entire bottom of the pan. Do your best to create one even layer of dough.
- Tightly cover the pan with plastic wrap and allow it to rest at room temperature for a total of 2 hours.
- After 1 hour and 30 minutes of resting, pre-heat your oven to 450 ºF. Make sure your baking rack is on the lowest level.
- After 2 hours of room temperature proofing, top your pizza. Start with the cheese (don't add sauce yet!), then add your meats and veggies.
- Once topped, immediately place the pizza in the oven to bake for 11 - 15 minutes. Your pizza is done when the internal temperature of the dough reaches 200 ºF - 210 ºF.
- Once done, immediately and carefully remove the pizza from the pan and onto a cooling rack to rest 5 minutes.
- While the pizza is resting, heat your pizza sauce in a saucepan (see Recipe Note #5).
- After 5 minutes of resting, transfer your pizza to a cutting board, add the warm sauce and slice it up.
Notes
Recipe Notes:
- Some of our favorite toppings include sweet Italian sausage, pepperoni, thinly sliced red onions, sliced mushrooms, and chopped green bell pepper.
- If using measuring cups for the flour, use the spoon and level method for measuring.
- We recommend that you stop the mixer periodically (3-5 times) during this 3 minute mixing stage. Use a flexible spatula to scrape the dough from the hook and to slightly reposition the dough inside the bowl. This ensures that the dough gets thoroughly kneaded.
- You can substitute a tablespoon of olive oil if you don't have Crisco.
- Our favorite sauce is this homemade Zesty Pizza Sauce, but you can also use your favorite jarred sauce.
Recommended Products
As an Amazon Associate and member of other affiliate programs, I earn from qualifying purchases.
Nutrition Information:
Yield: 8 Serving Size: 1Amount Per Serving: Calories: 220Total Fat: 9gSaturated Fat: 5gTrans Fat: 0gUnsaturated Fat: 4gCholesterol: 22mgSodium: 525mgCarbohydrates: 25gFiber: 2gSugar: 2gProtein: 9g
Nutrition data provided here is only an estimate: if you are tracking this information for medical purposes, please consult a trusted external source. Thanks!


Mrs. Melton says
I don't have a stand mixer, so I will be working the dough by hand. I'm somewhat new to baking breads, so I don't yet know how to translate the mixer instructions to by hand. Could you please help me out with kneading time instructions? I love how much information you have included in your article, and I can't wait to try this recipe.
Phil F says
Yes, you can knead this by hand. Just add the ingredients into a standard bowl and use a sturdy wooden spoon to mix them together. When shaggy, wait 2 minutes, then add the oil and mix a bit more. Then transfer the dough to a lightly floured surface and knead the dough for about 10 minutes. The dough will soak up the flour from the counter, and that is fine, only add more flour if the dough is too sticky.Here's is an article/video on kneading dough for reference. https://www.bonappetit.com/story/how-to-knead#:~:text=Kneading%20dough%20is%20as%20simple,developing%20a%20strong%20gluten%20net.
Mrs. Melton says
Thanks so much. I am eating my pizza right now and I am extremely grateful for the time that you spent experimenting to get to this amazing crust. My favorite pizza place is not only hours away, but has also gone down in quality in recent years. This is better than they ever gave me and I also get the immense satisfaction of having made it myself. So thank you very much for giving me this.
Phil F says
I am happy it worked out so well. And I agree, we have learned we can make better foods at home rather than going out. And we save a bunch of money too!