Red Enchilada Sauce is a delicious, smoky sauce made with dried guajillo chiles, charred tomatoes, onions, and garlic. Great for a weekend cooking project, then store it in the freezer for busy weeknights.
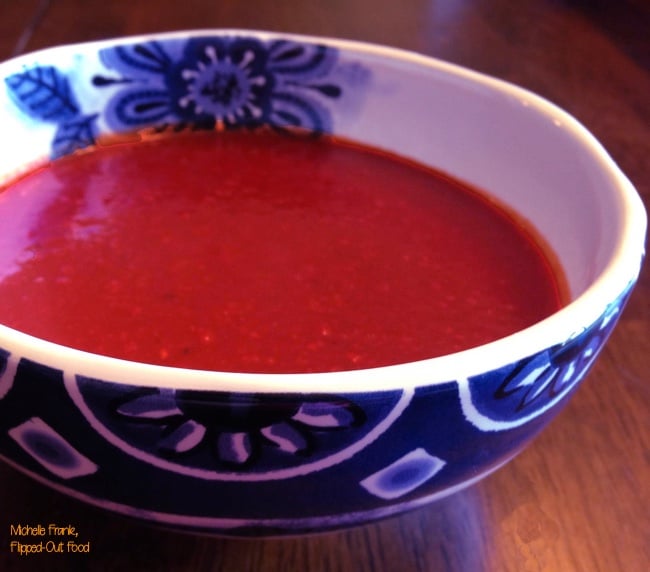
I have been making red enchilada sauce for many years. It can be a bit of a production, but it's so good and so simple that I can't even imagine buying the stuff in jars. Because it is a production, making guajillo chile enchilada sauce is a project that I save for weekends. This way, I can have the sauce in the fridge and freezer for easy meals during busy times. I call this the "saucy two-step" strategy in the Flipped-Out Food Playbook.
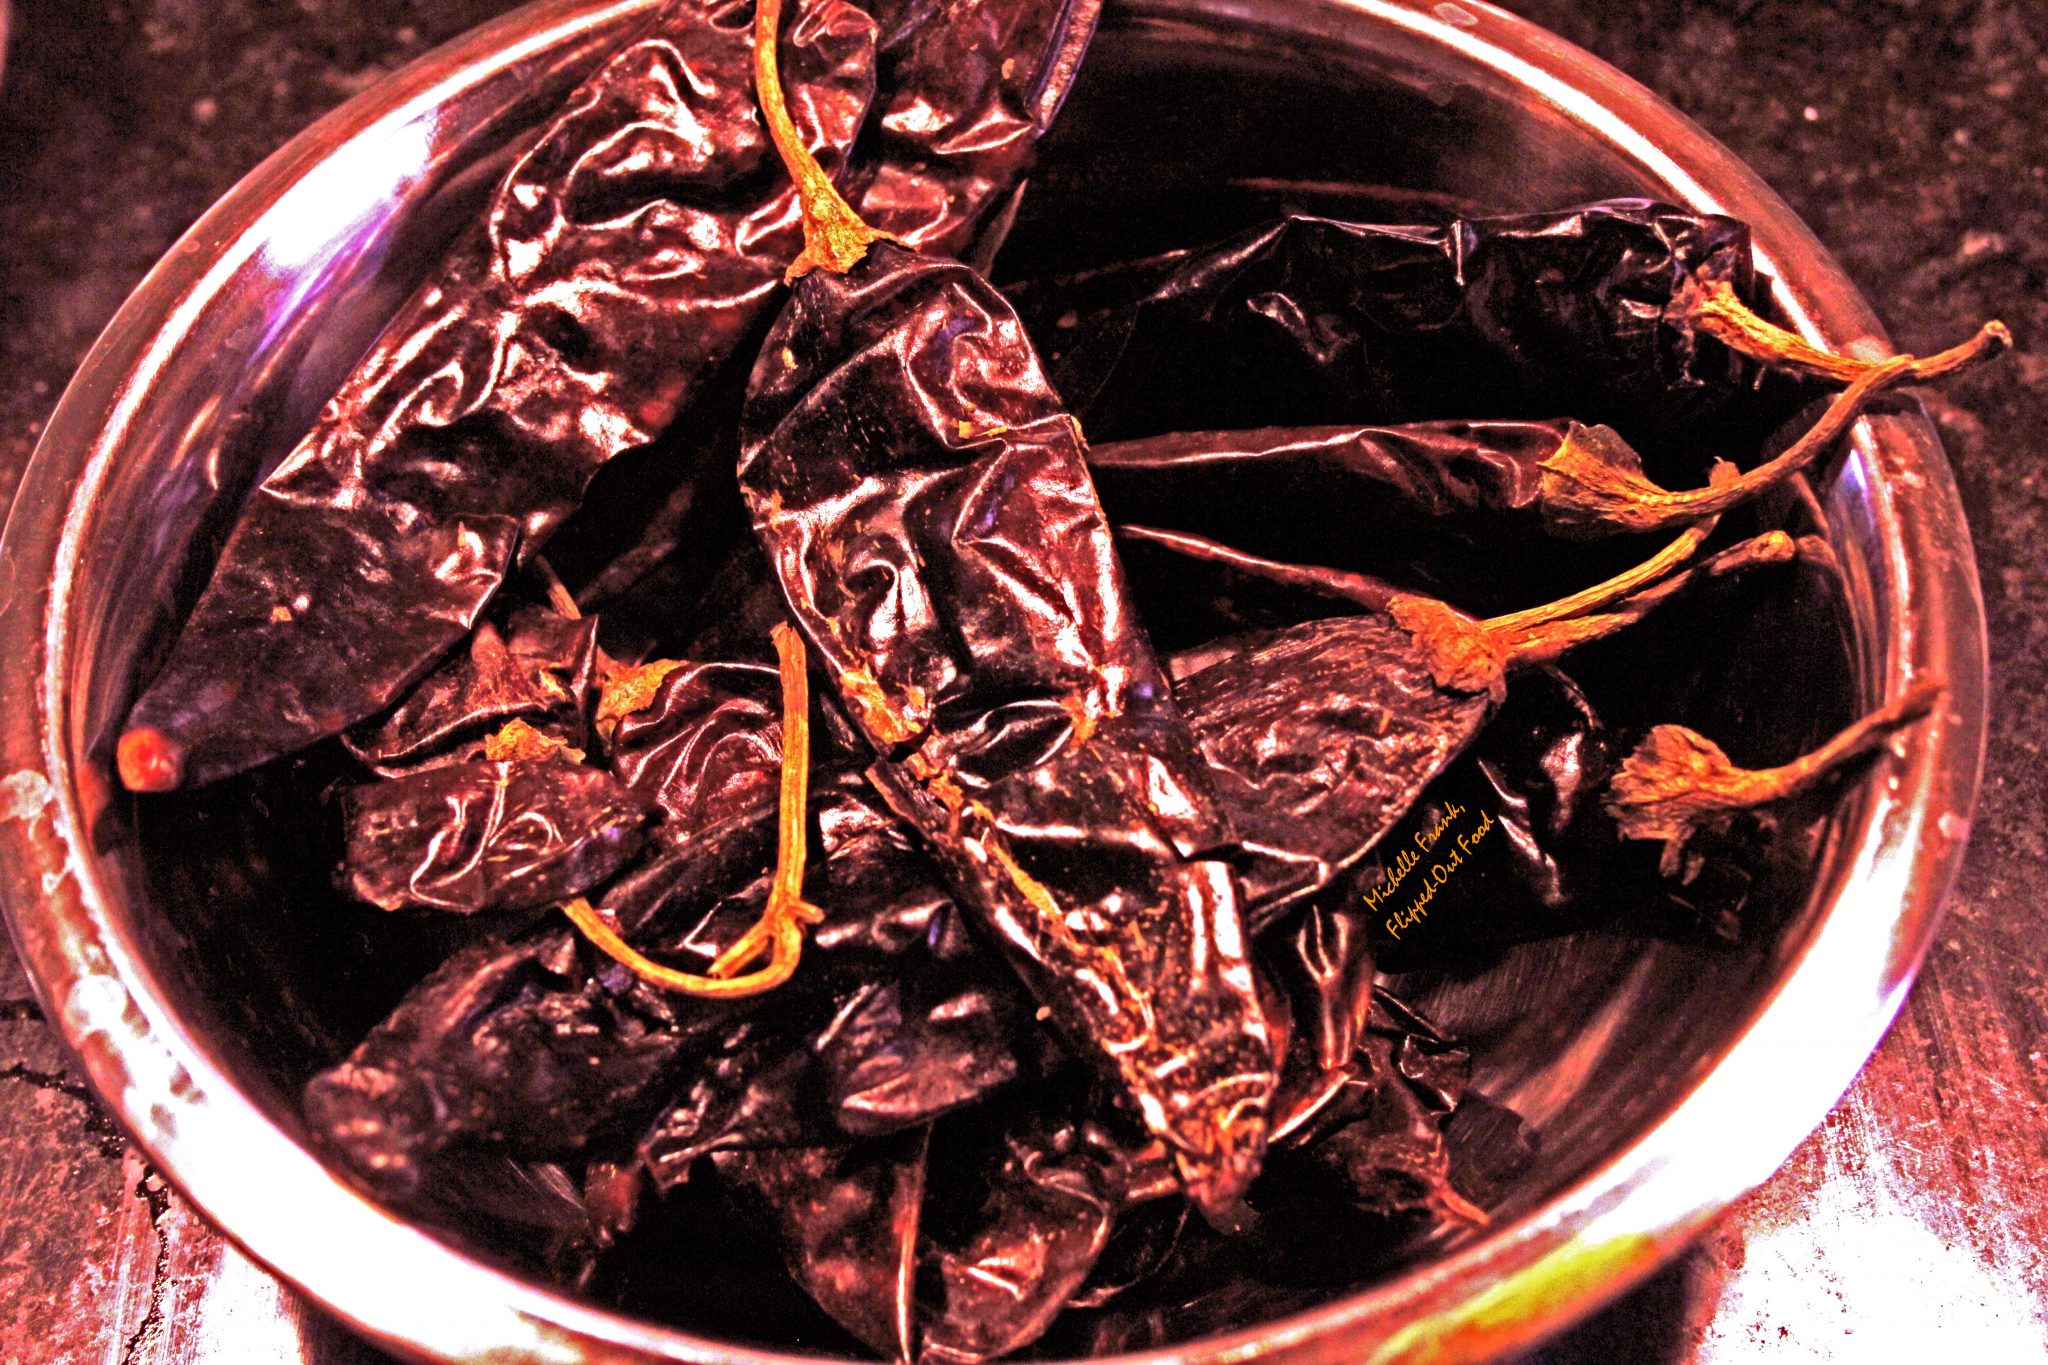
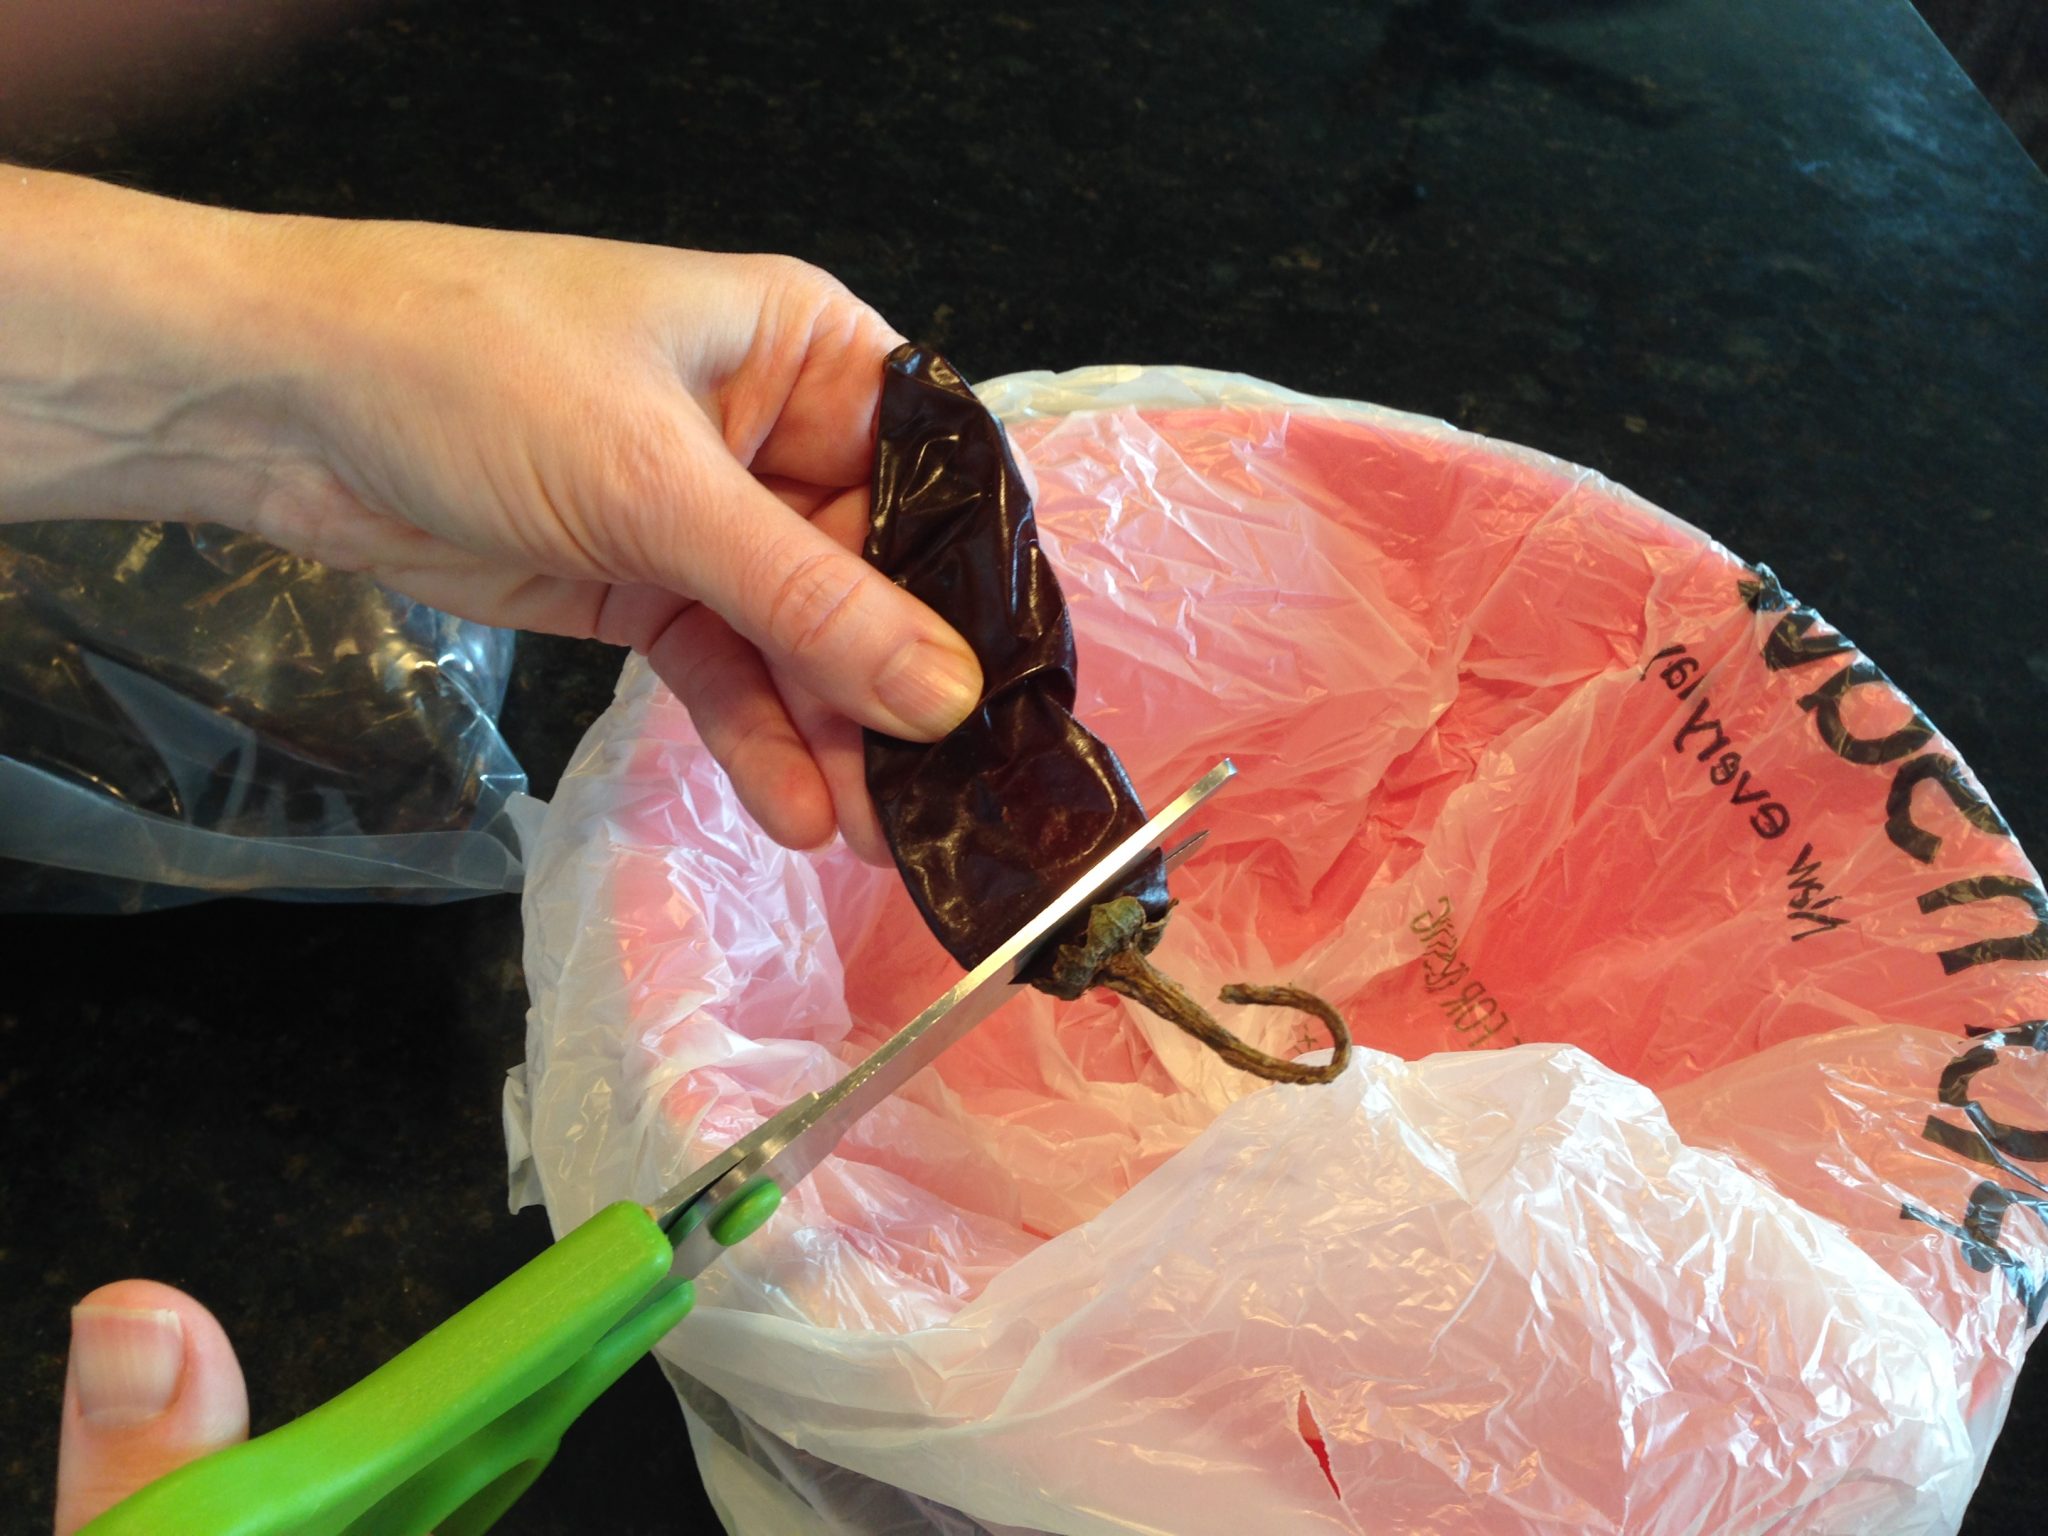
This enchilada sauce involves dried guajillo chiles. You can find these in most groceries, but definitely in Latin American markets. The chiles should still be somewhat supple—kind of like stiff leather—rather than brittle. Getting them ready for the sauce is a simple matter of cutting off the stem, emptying the seeds, and stripping off the membranes. The finished sauce is not particularly hot, but it has a rich, smoky flavor you'll love.
Making red enchilada sauce: then
When I first began making this enchilada sauce, I would simply rehydrate dried guajillo chiles in water with some garlic cloves. Then I'd buzz the entire mixture in a food processor, run it through a food mill, and simmer until thickened. The sauce often required sugar, since the rehydrated chiles tend to be a bit on the bitter side. It also lacked...something.
Making red enchilada sauce: now
I have since managed to complicate the guajillo chile enchilada sauce-making process. And granted, the sauce is a tad less authentic than it might be. It's totally worth it, though. The inspiration came, in part, from reading Rick Bayless' cookbook (Mexico, One Plate at a Time—yes, I LOVE to read cookbooks). For his red enchilada sauce recipe, Bayless quickly toasts his dried chiles (he uses anchos rather than guajillos) in a cast iron skillet before rehydrating them. Genius! This brings a bit of smokiness and caramelization to the party.
I now also like to rehydrate the toasted chiles in hot beef broth. As the chiles rehydrate, I char some additional vegetables. The caramelization adds enough sweetness that I no longer have to add sugar. To char the veggies, I lightly grease my skillet with lard (you can also use canola oil or cooking spray) and set it over medium-high heat. Next, I slice a large yellow onion into ¼"-thick rings. When the skillet is heated, I add the onion slices, 3 cloves of garlic (skins and all), and 2 medium tomatoes. Then, when the onions begin to blacken slightly, I give them a flip. I rotate the tomatoes as their skins begin to blacken, and turn the garlic when dark-brown spots begin to appear on the husk.
Puréeing and frying the red enchilada sauce
 Puréeing and straining the sauce
Then I throw the veggies into the food processor—along with the rehydrated chiles and about half of the rehydrating liquid—and purée until smooth. To remove any seeds, husks, and skins, I run the mixture through a food mill into a bowl (you could also use a coarse-mesh strainer: make sure to press on the solids to get every drop of liquid!).
Frying the sauce for extra flavor
I next melt about a tablespoon of lard in a large saucepan over medium-high heat and carefully add my sauce, letting it sizzle for about 30 seconds before turning the heat down to low. Trust me: the frying step deepens the rich flavor of the sauce—you won't want to skip it. I now simmer the sauce for about 30 minutes until it thickens slightly. Although it's not traditional, I like to add a bit of cumin to to the simmering sauce for another hit of smokiness.
If you really like smoky flavor, you could also add 1-2 chipotle chiles (the kind that comes in a can with adobo sauce) to your mixture before you purée your sauce. Proceed with caution, though: chipotle is a very strong flavor and can easily dominate the flavor profile of your sauce.
If you can't find good tomatoes, just add a cup of tomato sauce to your purée. You can also use tomato sauce to adjust the thickness to your preference.
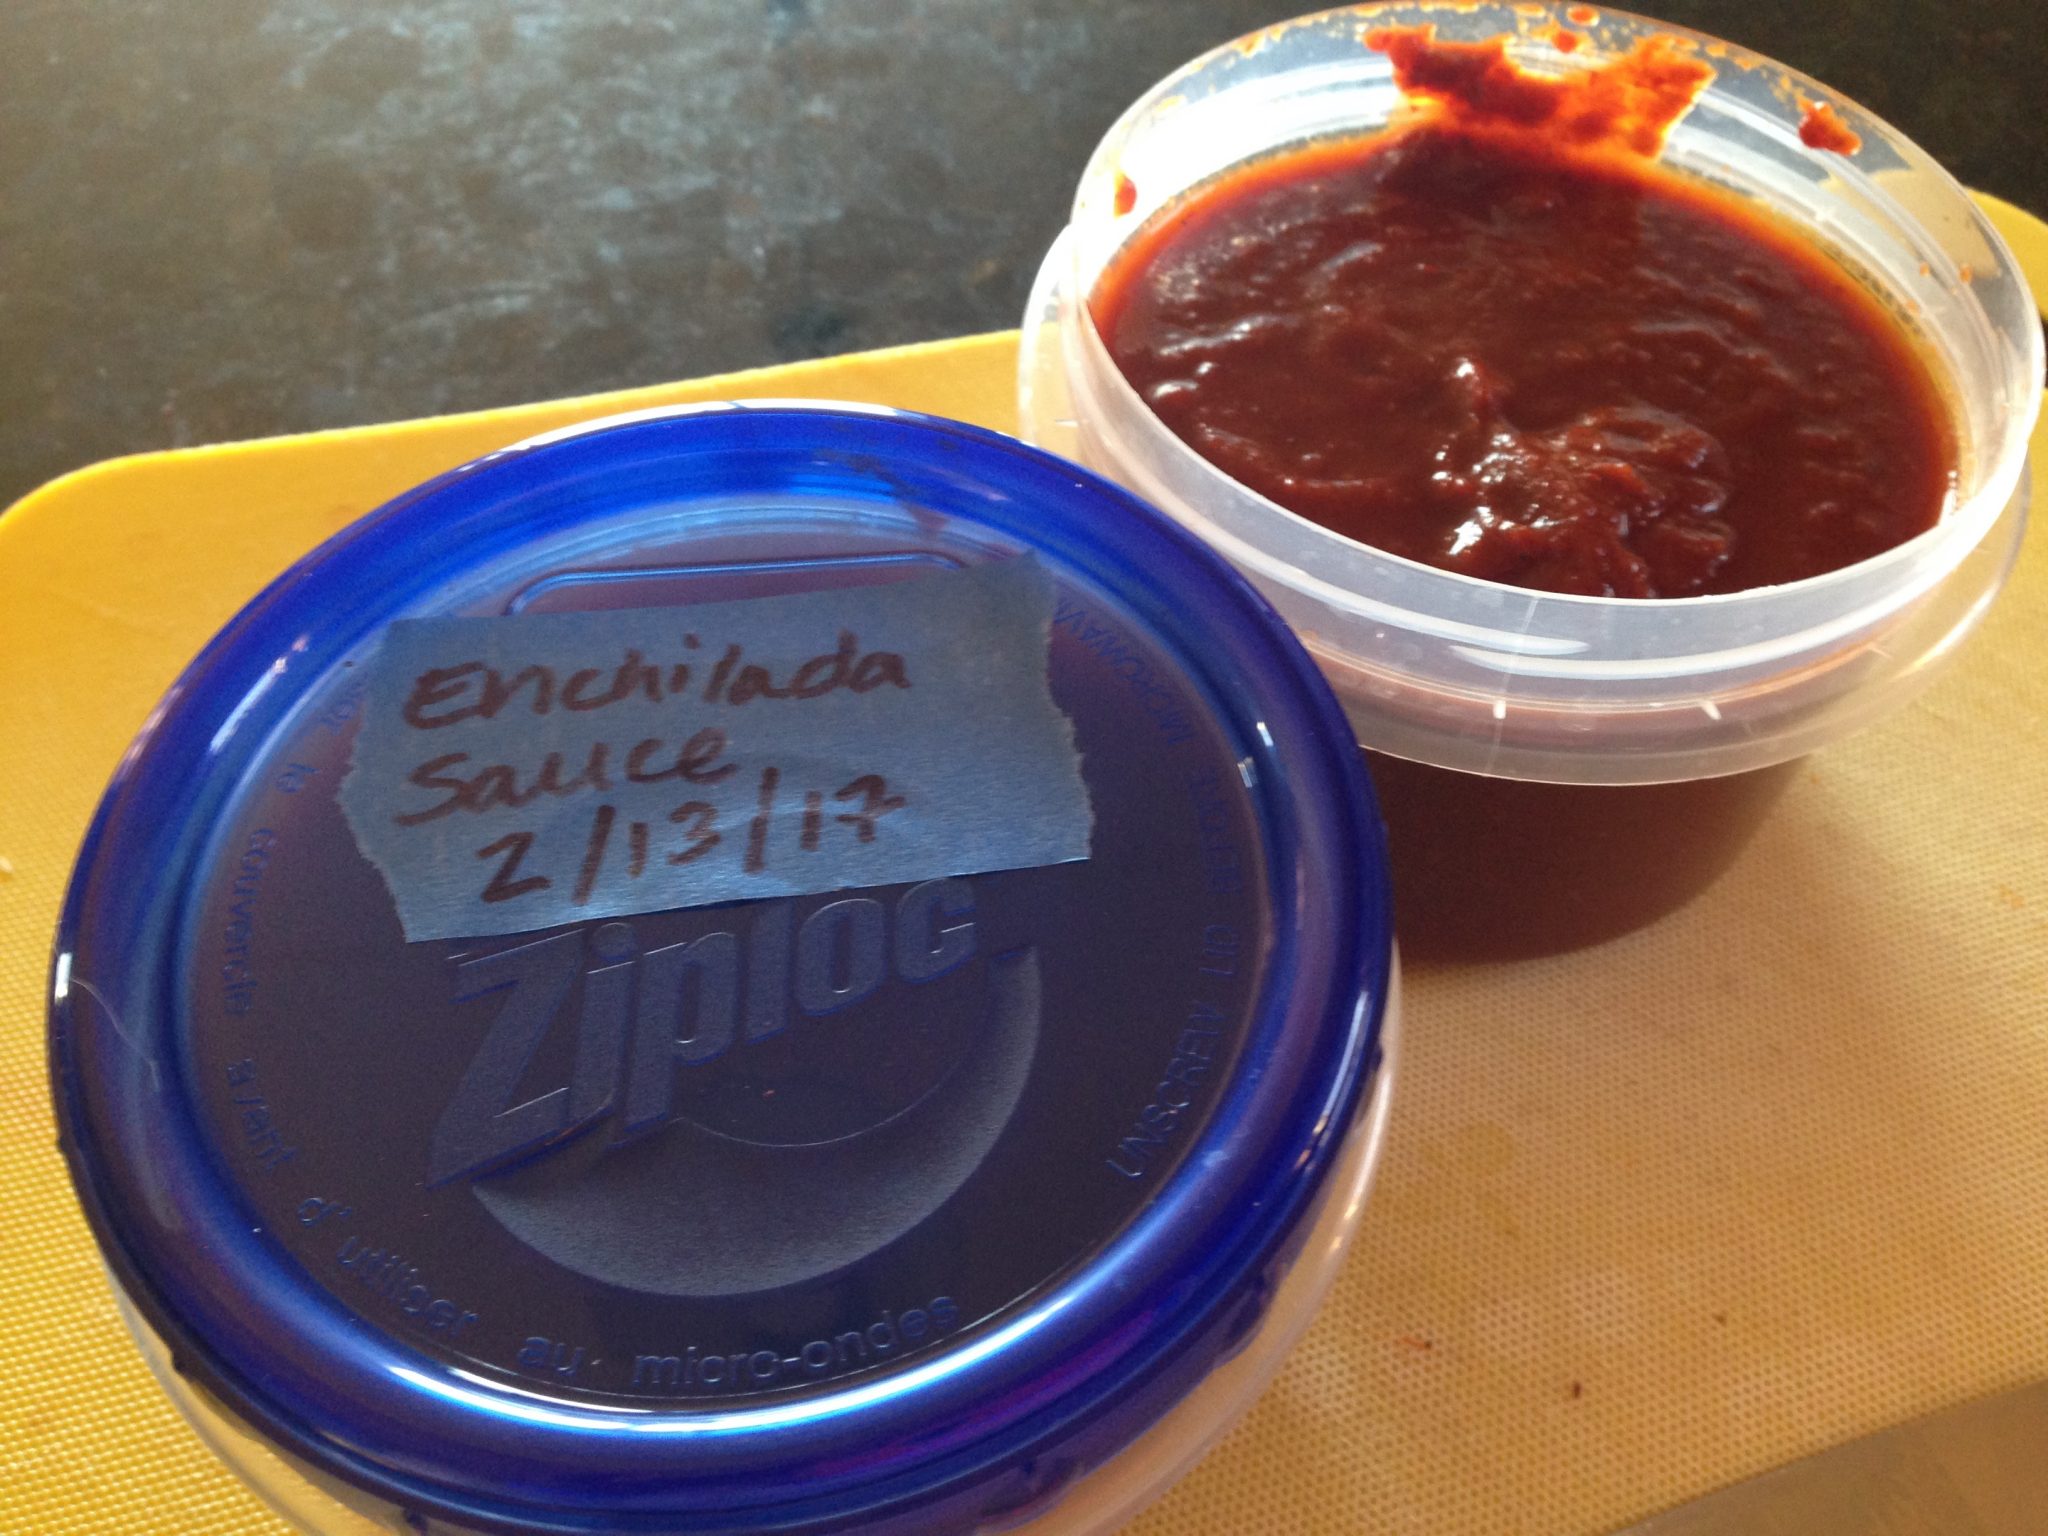
The addition of charred vegetables, rehydrating the chiles in beef broth, frying the sauce, and adding cumin—while not necessarily authentic—all deepen the flavor profile tremendously from the sauce I was making before.
Leftover sauce is even better, since the flavors have a chance to meld and get happy. If I'm not using all of my red enchilada sauce in the next 1-2 days, I freeze it for easy meals later on.
Red enchilada sauce is perfect for—obviously—enchiladas, but also chilaquiles, carne adobada, and smothered burritos. And, it is easy to make with mostly pantry staples! For more inspiration on getting the most from your pantry, see Easy Pantry Meals – Living Out of Your Pantry (and refrigerator and freezer). Be sure to check out my Mexican-Inspired Recipes for Cinco de Mayo, too!
I am linking this recipe up to CookBlogShare: check out this linky for more 4-spice and easy recipes!
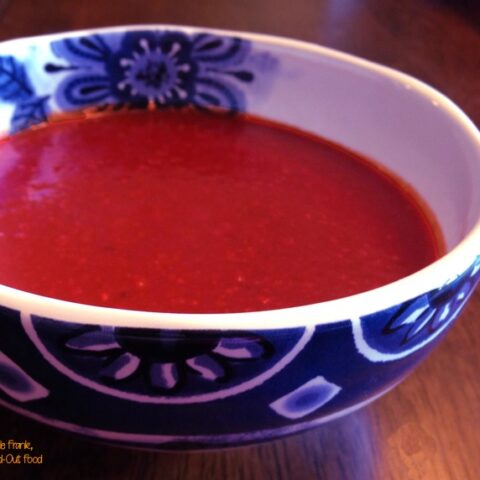
Red Enchilada Sauce
Red enchilada sauce is a delicious, smoky sauce made with dried guajillo chiles, charred tomatoes, onions, and garlic. Great for a weekend cooking project, then store it in the freezer for busy weeknights.
Ingredients
- 8-10 dried guajillo chiles
- 1 medium onion,, cut into ¼" rings
- 2-3 medium tomatoes
- 3 medium garlic cloves in their husks
- 1 tbsp. flavorful lard,, divided
- 2 cups beef broth
- ¼ tsp. salt,, or to taste
- 1-2 canned chipotle chiles, (optional)
- 1 cup tomato sauce, (optional)
- 1 tsp. cumin, (optional)
Instructions
- Bring the beef broth to a simmer over medium heat. Cut the tops off of the guajillo chiles and empty the seeds. Cut the chiles into pieces that can lay flat in a skillet; strip out the membranes.
- Set a cast iron skillet over medium-high heat. Using a paper towel, spread about ⅓ of the lard evenly on the bottom of the skillet. Working in batches, add the pieces of chile to the skillet. Toast briefly until the chile becomes fragrant and begins to darken in color (this takes about 15 seconds). Flip and repeat on the other side. Add to the beef broth. Repeat until the chiles are all toasted. Remove the broth and chiles from the heat.
- Meanwhile, re-coat the skillet with another ⅓ of the lard. Add the onion slices, tomatoes, and garlic cloves. Rotate or flip the vegetables as they begin to develop a dark brown char. Remove and set aside. When the chiles have rehydrated for 45 minutes, add them to a food processor along with the charred vegetables, the chipotle chiles (if using), and half of the broth. Purée until smooth. Pass through a food mill or a coarse-mesh sieve into a bowl, pressing on the solids to extract as much liquid as possible. Pour the remainder of the beef broth over the solids and into the bowl (pressing once again on the solids).
- Place a large saucepan over medium-high heat. Add the remaining lard. When the lard is melted and sizzling, CAREFULLY add the purée (use extreme caution because the sauce tends to splatter). Fry the sauce for 30 seconds and reduce heat to low. Add the cumin (if using) and salt. Simmer for 30 minutes, or until the sauce darkens and thickens slightly. Check the seasoning, adjusting as necessary. Cool and keep in the refrigerator or freezer.
Notes
If you can't get good tomatoes, use canned tomato sauce and add to the puréed sauce just before frying.
Nutrition Information:
Serving Size: 1 gramsAmount Per Serving: Unsaturated Fat: 0g
Related:
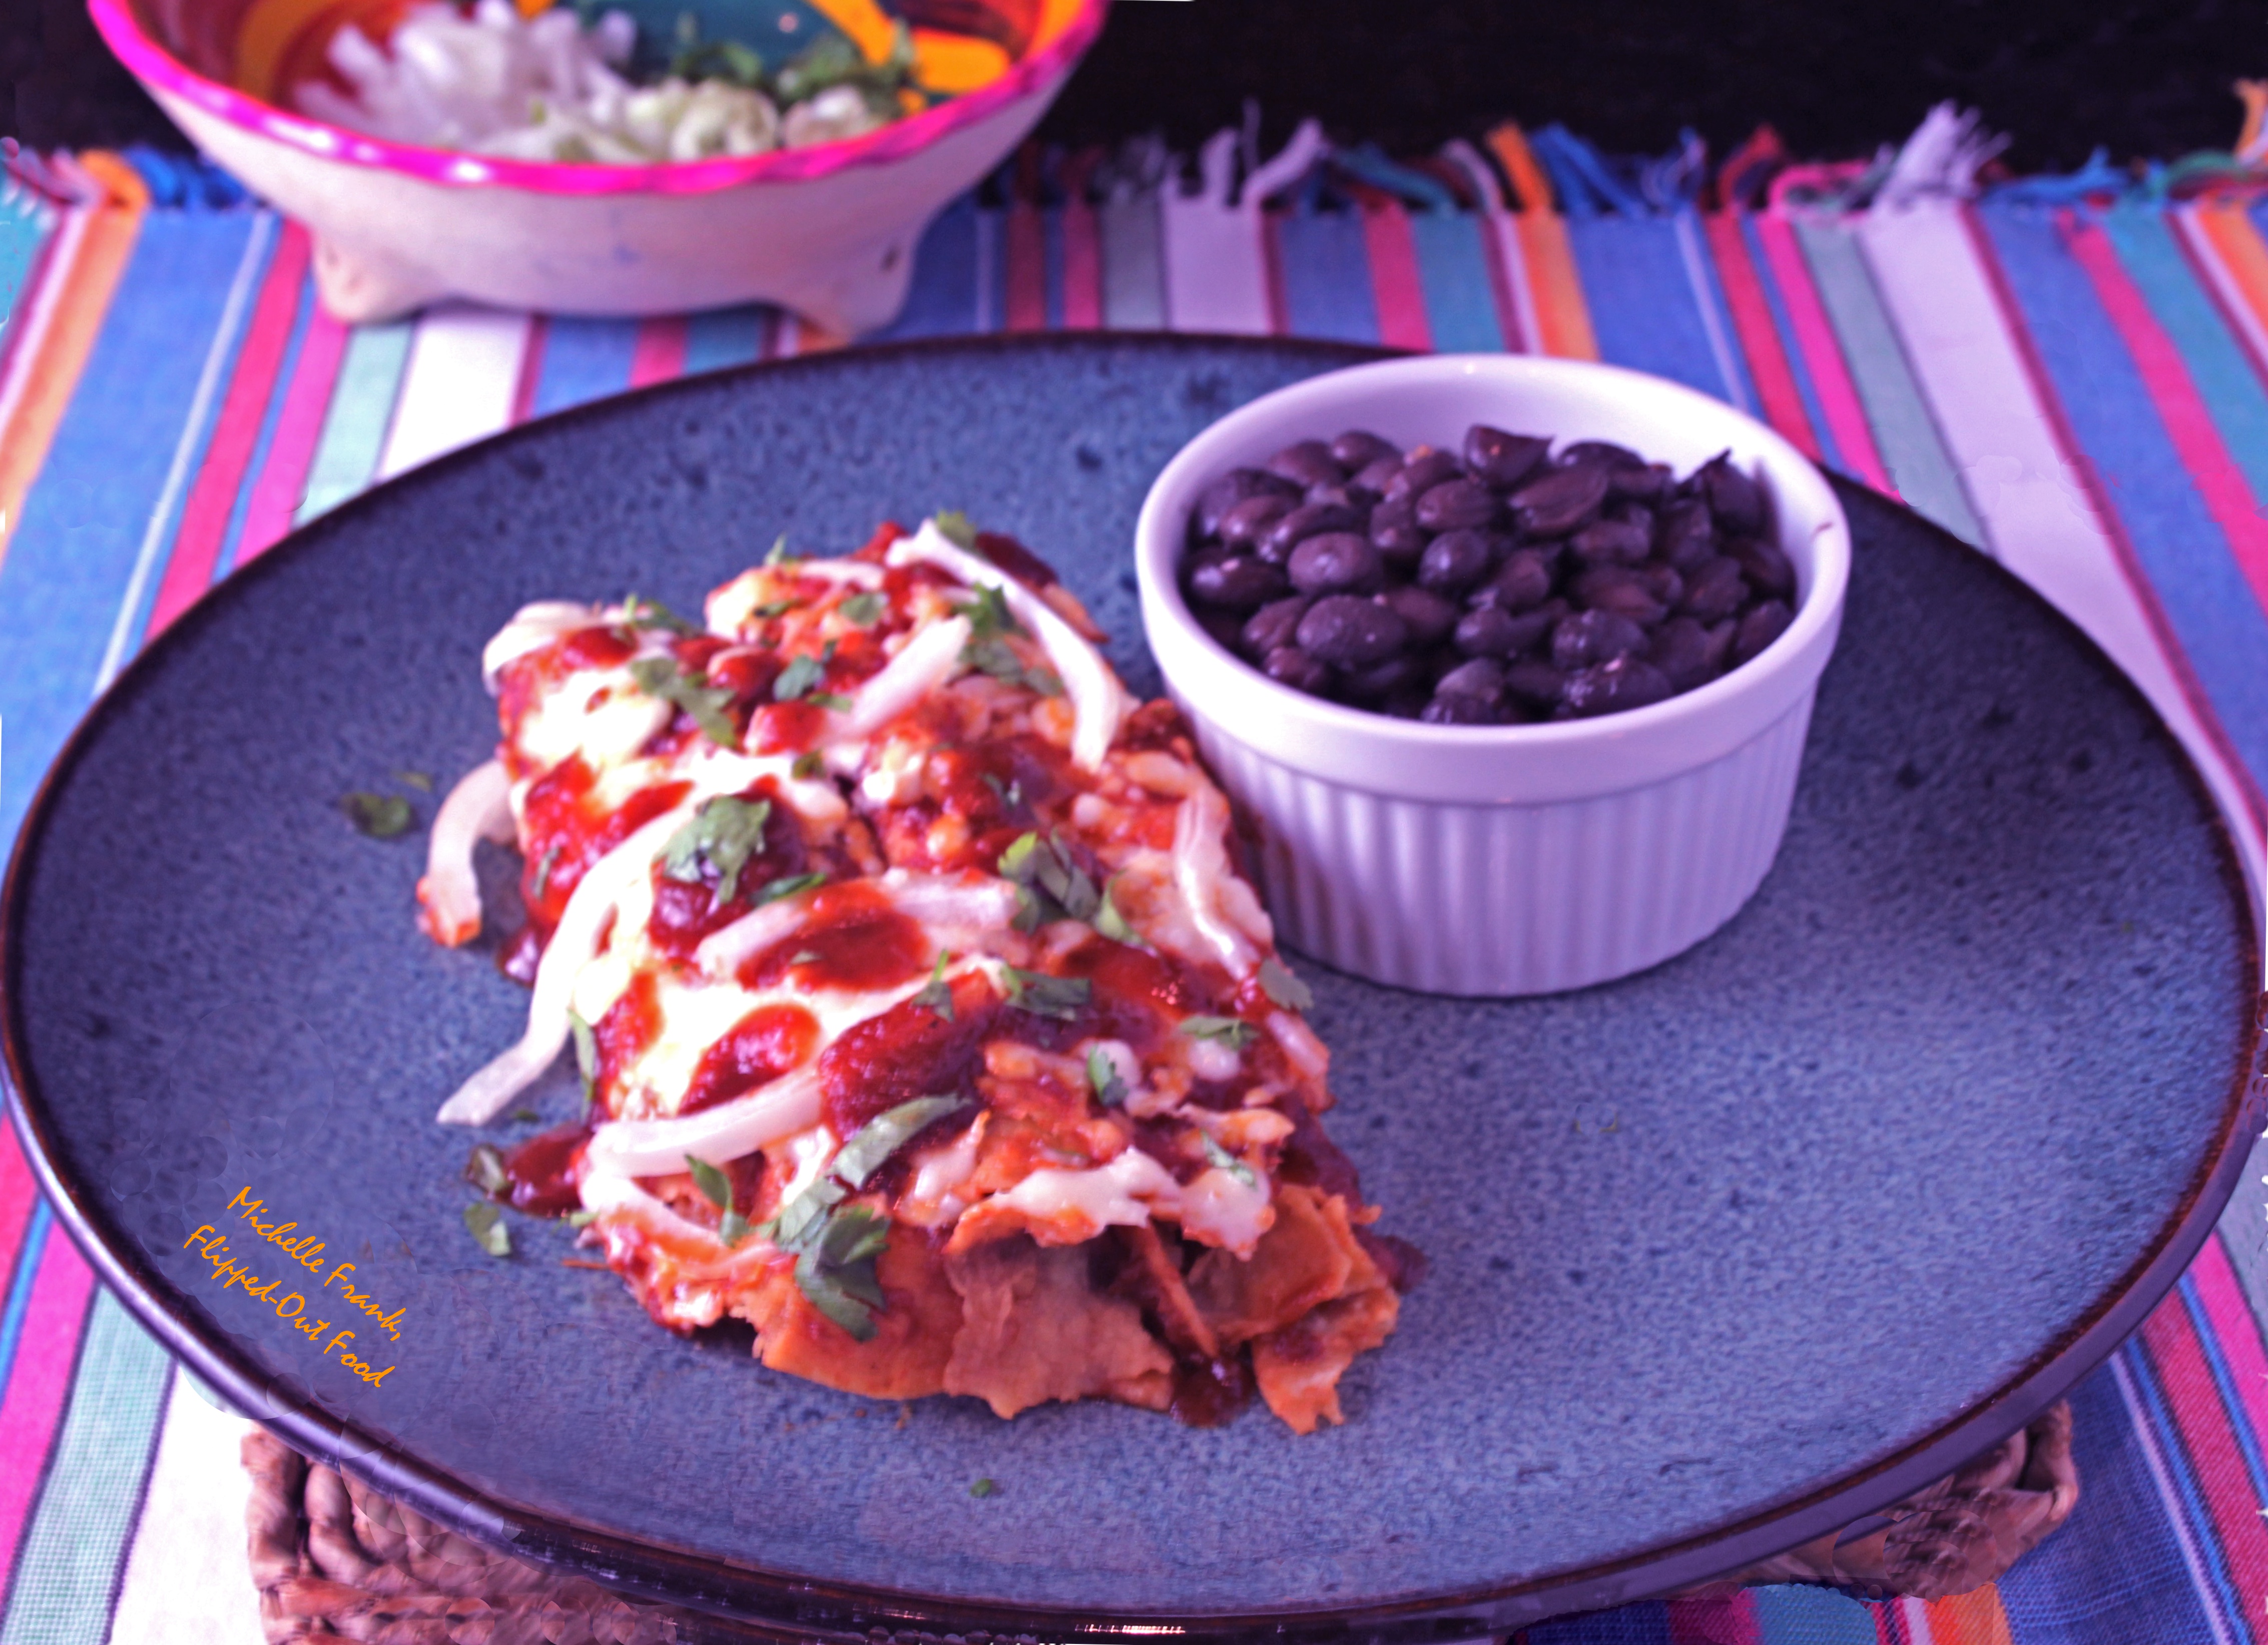 | Red Enchiladas or Chilaquiles: These easy red enchiladas come out of the oven bubbly and delicious—AND they're a great way to use up your leftover meat! Turn them into chilaquiles for an even easier meal. | |
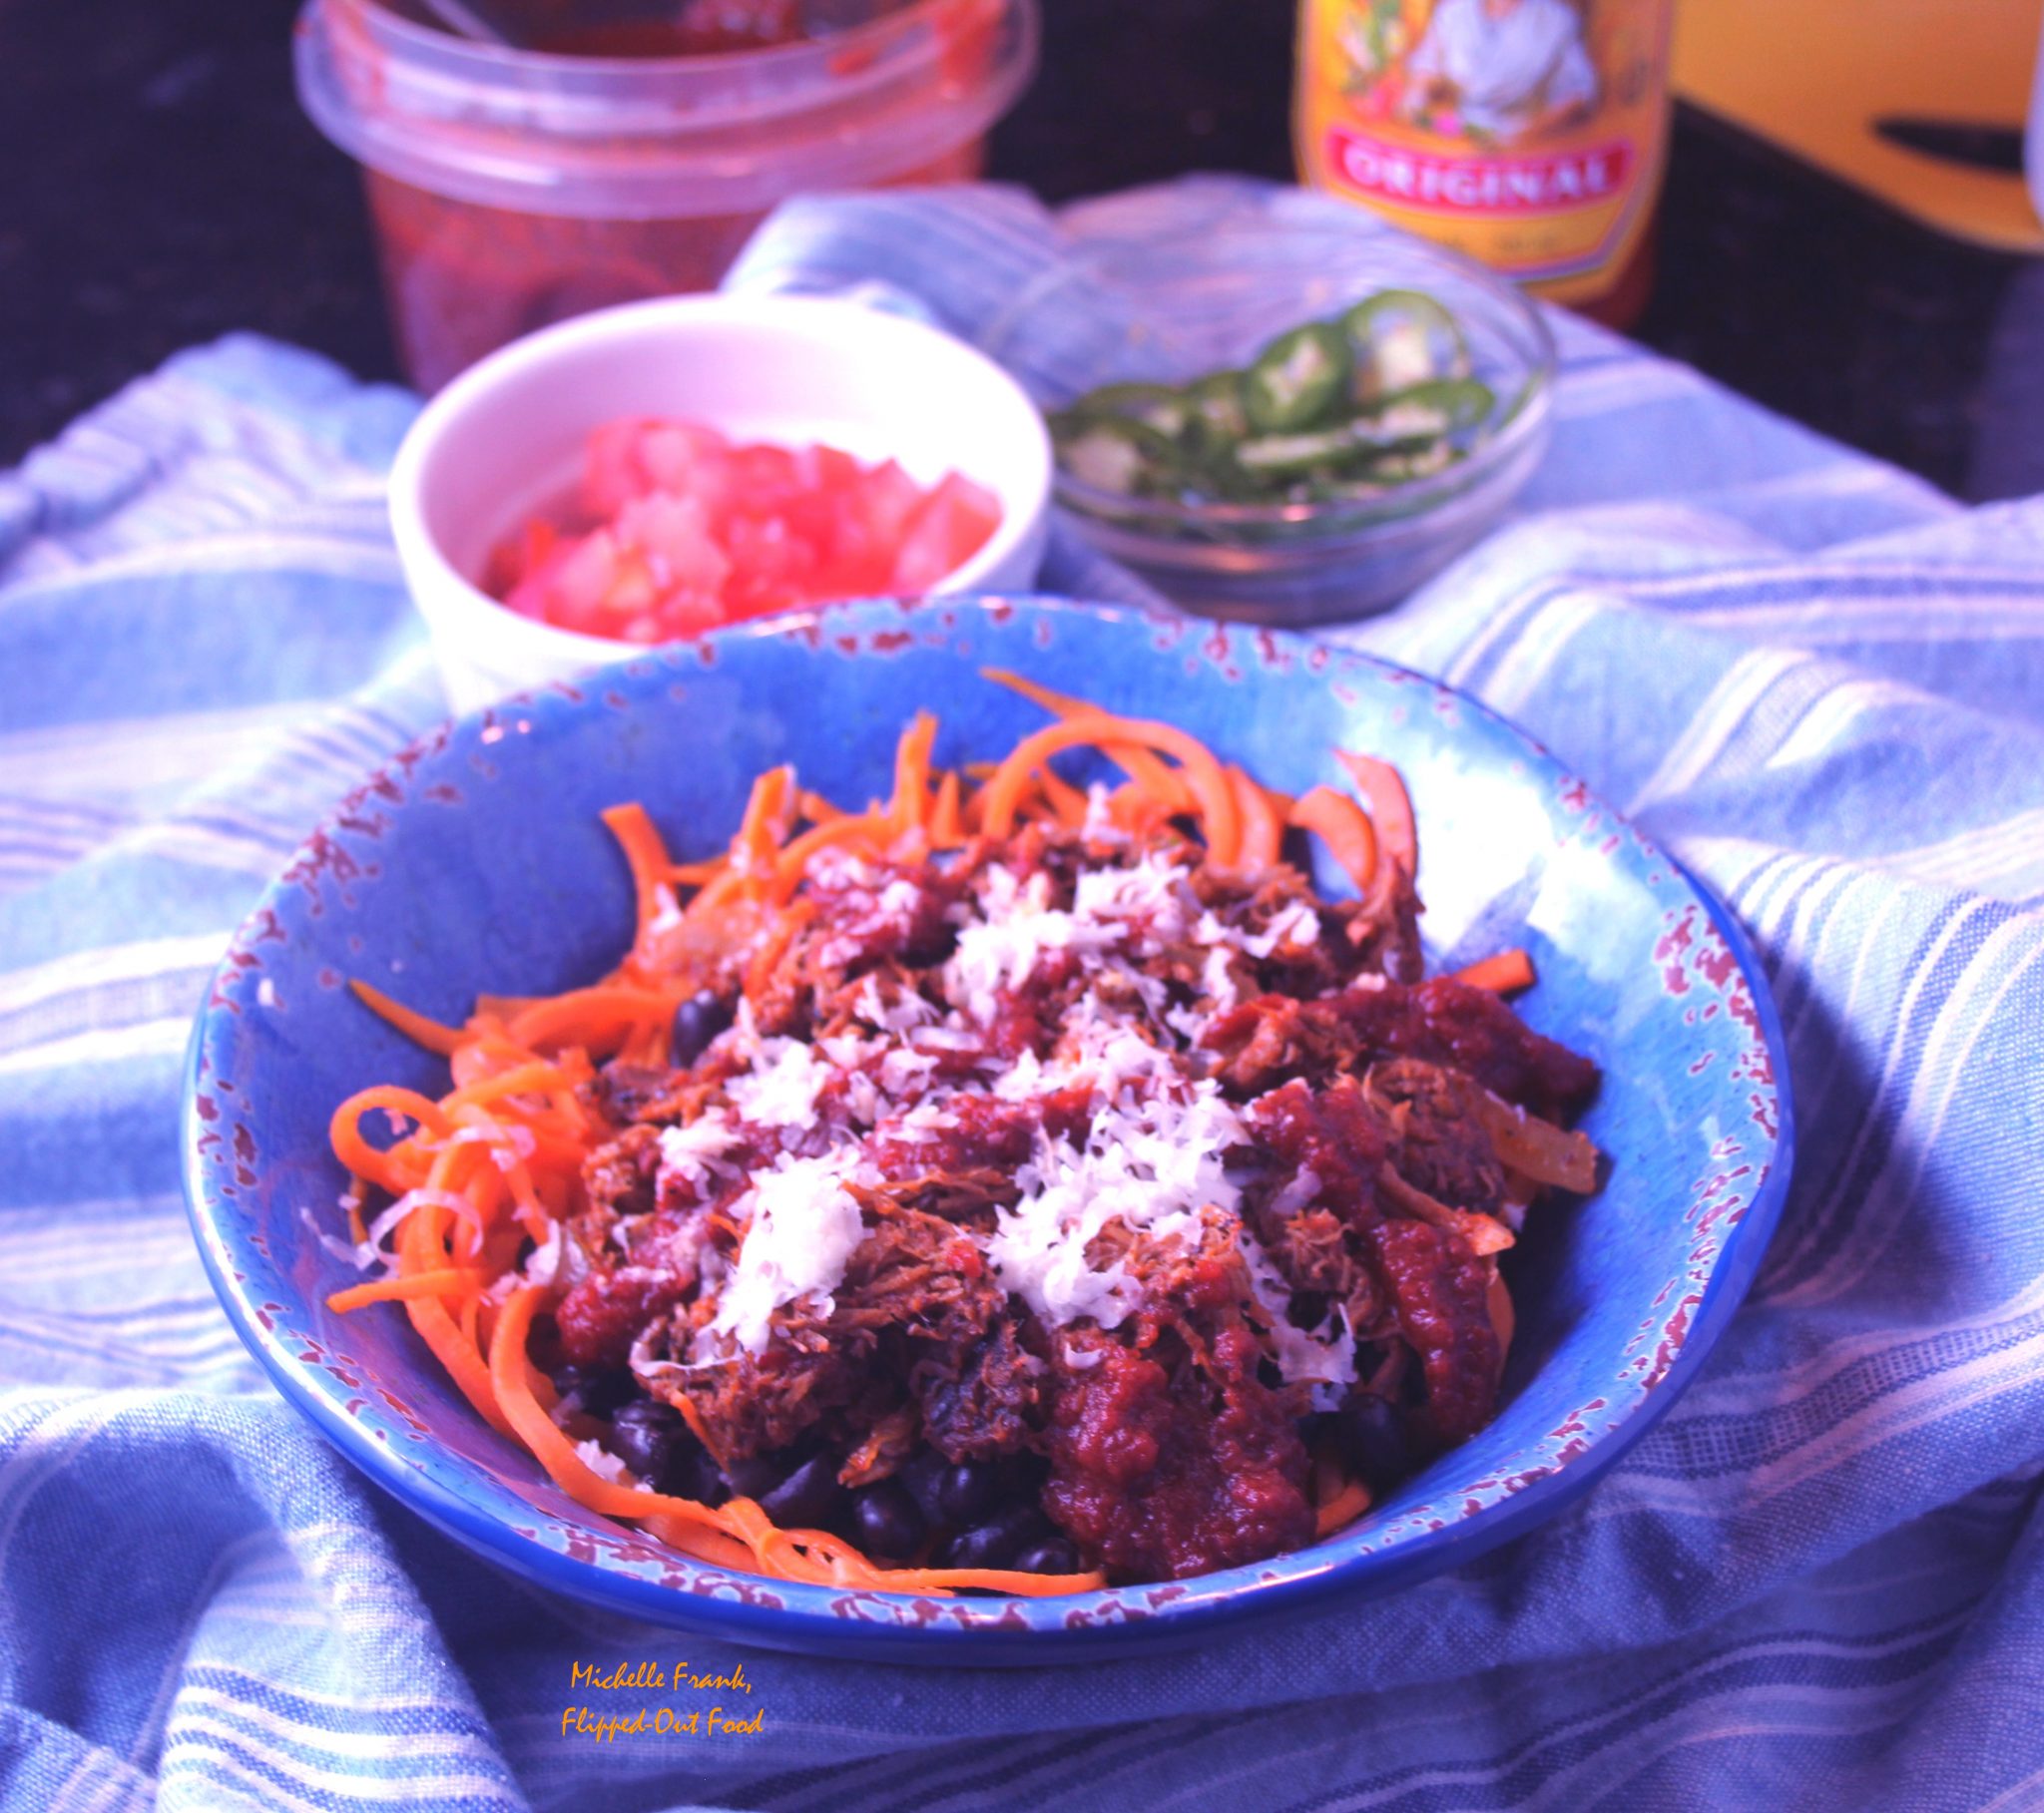 | Enchilada Bowls with Sweet Potato Noodles: A healthier version of the enchilada bowls from Chipotle. Served with homemade red enchilada sauce, black beans, cheese, and any fixings you like. |


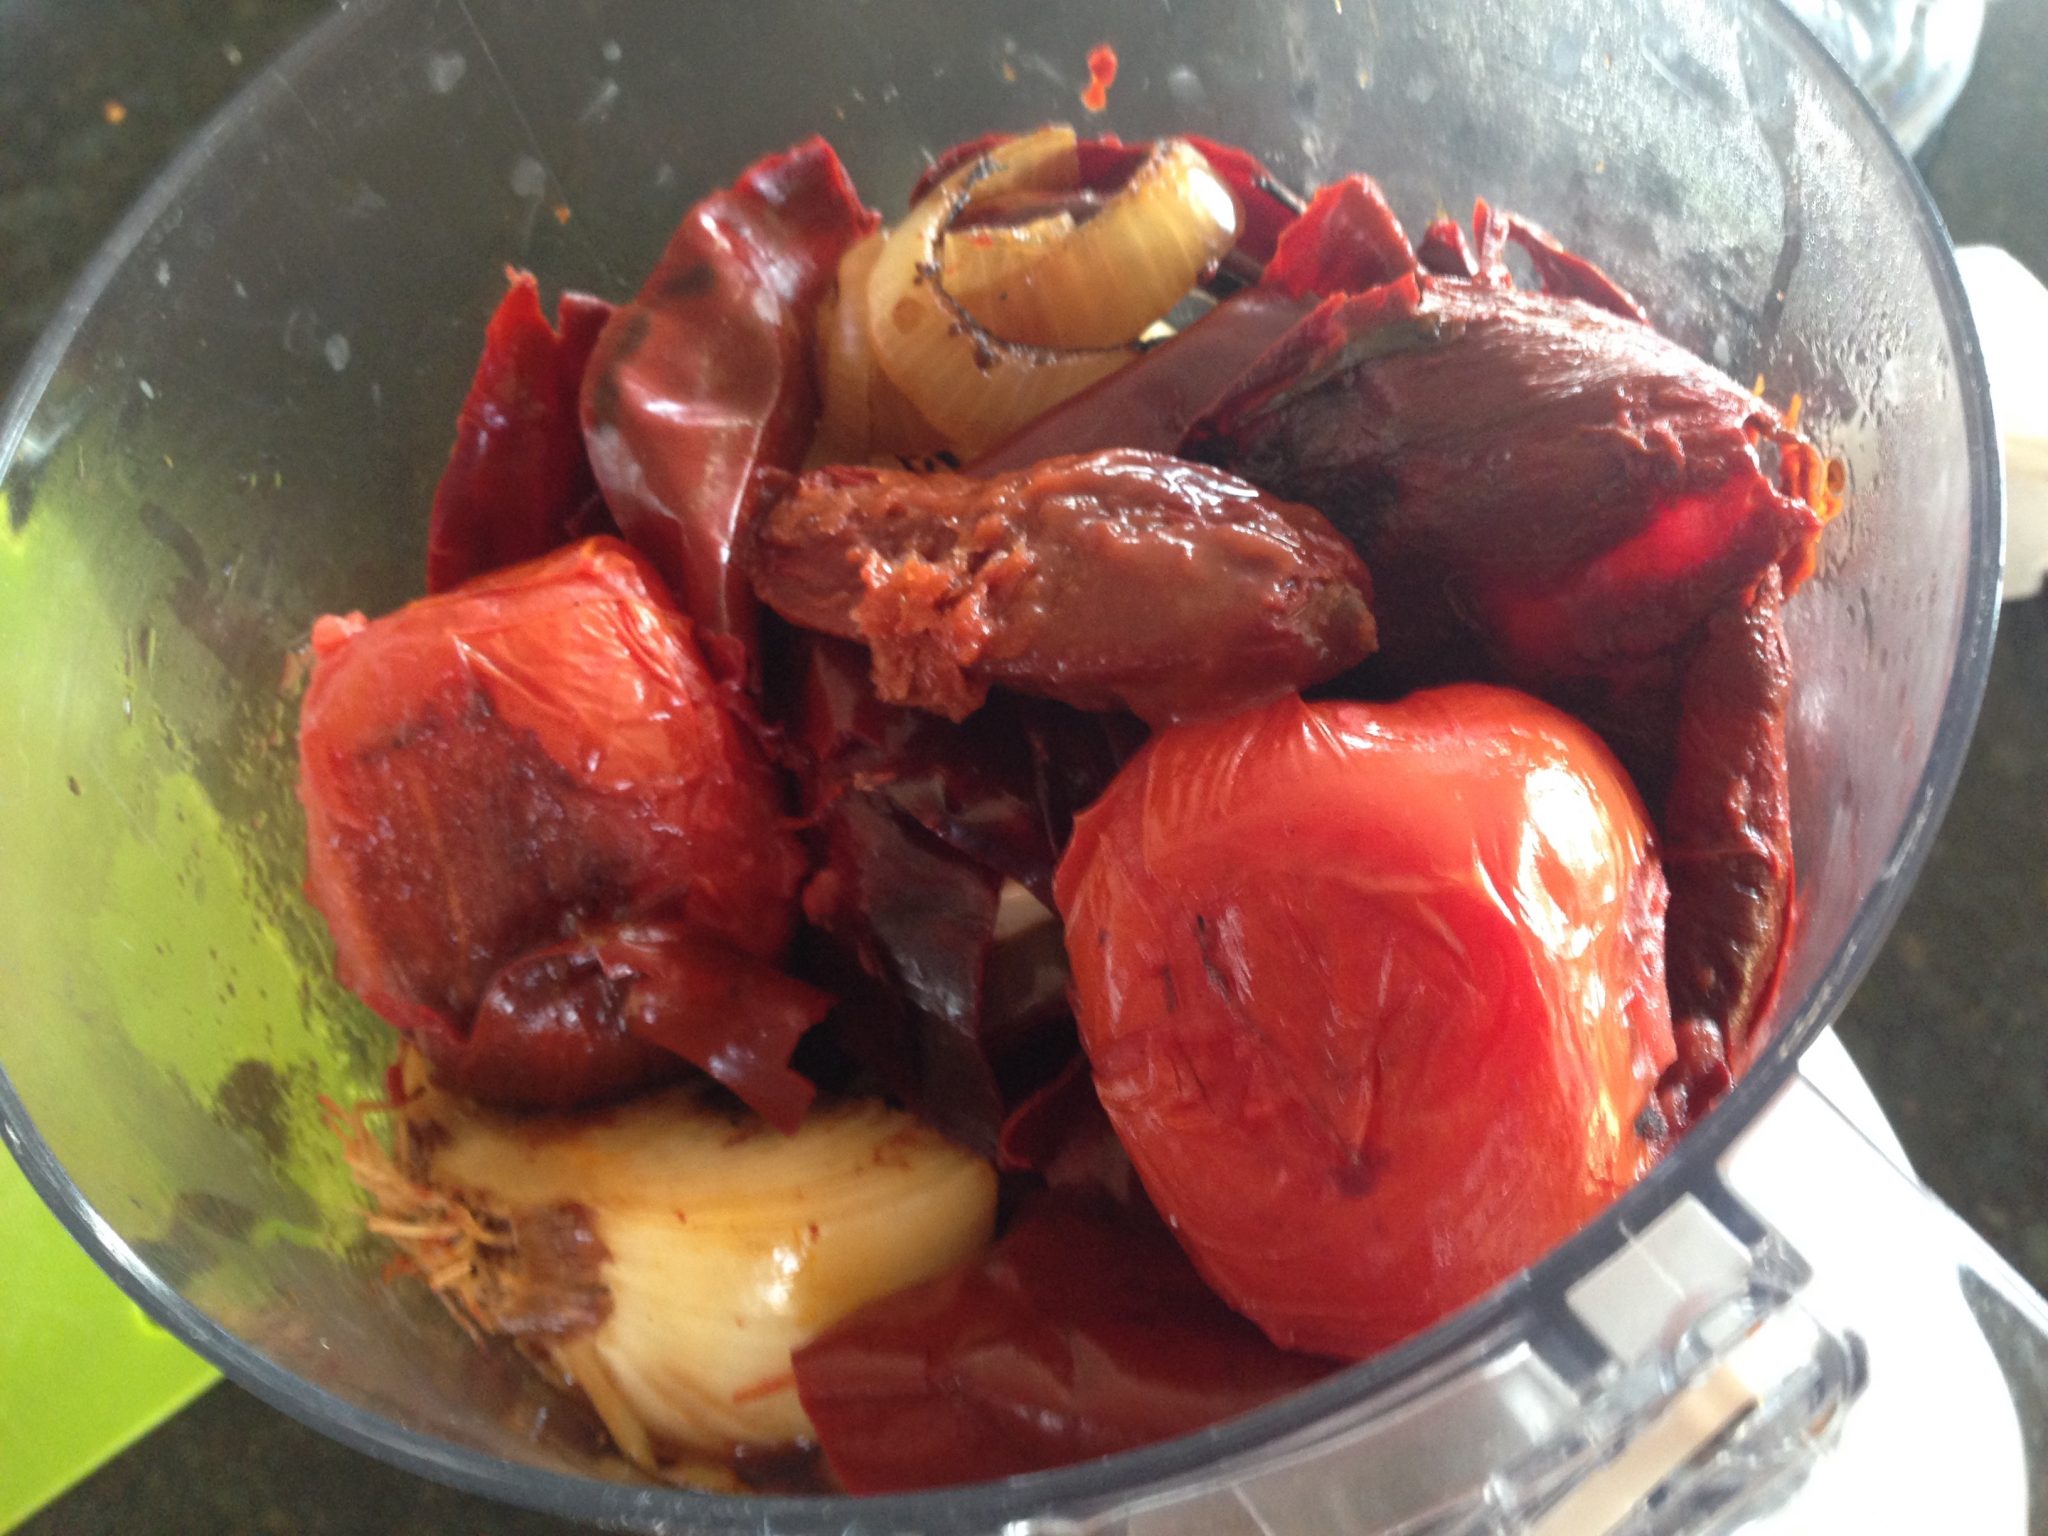 Puréeing and straining the sauce
Monika Dabrowski says
Looks delicious and so easy to make too! #CookBlogShare
Michelle says
Thank you, Monika!
Angela / Only Crumbs Remain says
It certainly seems that that extra time and love dedicated to your chilli sauce is definitely worth it Michelle,...and don't get me started on the colour it turns out - such a lovely deep shade of pink. #CookBlogShare
Angela x
Michelle says
Why, thank you, Angela!! It definitely IS worth it. 🙂
Jacqui says
Hi Michelle
Thank you for linking up to #CookBlogShare. This sauce sound amazing. Im going to try track down the correct chilli and give it a go.
Michelle says
Thanks, Jacqui!! I'm so glad you stopped by. If you can't find guajillos, you can make pretty much any mild, dried red chili work. Good luck, and I hope you love it!
Mandy says
Sounds really good - love the idea of toasting the chillis before putting them in the sauce. #CookBlogShare
Michelle says
Thanks, Mandy! Toasting the chiles really does make a difference because of the smoky/caramelized flavor. YUM!
Veena Azmanov says
Must admit I have never made my own Enchilada sauce.. now I have the recipe. Thanks
Michelle says
You're welcome, Veena!
Gloria @ Homemade & Yummy says
Yeah I am with you on this. The bought stuff is not great. I will have to go to an ethnic market and try to find some of those peppers. We love Mexican food.
Michelle says
Thanks, Gloria! It's totally worth it.
Lucy @ Supergoldenbakes says
This sounds good - that's a great tip for boosting the smoky flavour - thanks.
Michelle says
Thanks, Lucy!
Erren says
I love that vibrant color, I'd love to try this too!
Michelle says
Thank you, Erren! 🙂
Sarah says
Even though it can be a production, as you say, it looks simple enough and sounds delicious!!! Great idea to make it ahead of the busy work week!
Michelle says
Thanks, Sarah!
Platter Talk says
I love the tip of rehydrating the dry chilis with hot beef broth. Beautiful color and flavors. This is a keeper.
Michelle says
Thank you, Dan!
Luci's Morsels says
What a fun idea! I have never considered making my own enchilada sauce.
Michelle says
Thanks, Luci! It is actually a fun project for the weekend. 😉
Geoffrey @ Spoonabilities says
Great idea to make this ahead of time and keep some in the fridge and freezer for when needed. I just might have to double your recipe and fill my freezer
Michelle says
Thanks, Geoffrey! Absolutely double it: just work in batches so you don't overfill your food processor. 🙂