Best-Ever Waffles are a frequent weekend treat in my house, but I often make them ahead of time and freeze them in single servings for an easy breakfast on busy weekdays.
How are best-ever waffles "flipped-out food"?
Waffles? WAFFLES from SCRATCH? How do waffles figure into the Flipped-Out Food M.O.? Simple: it's a more complicated cooking project that you do on the weekend, so that you can have an easy-but-indulgent breakfast during the busy workweek. I do have to make a confession, though: these waffles are such a hit in my family that I rarely have any left to freeze! So for us, the do-it-yourself waffle bar is more of a once-in-while weekend treat.
The waffles also fit into the work-ahead strategy of the F-OF Playbook: I like to measure out the dry ingredients for a few batches of these waffles and store them in zip-top bags in my pantry. I also make the optional berry sauce the night before.
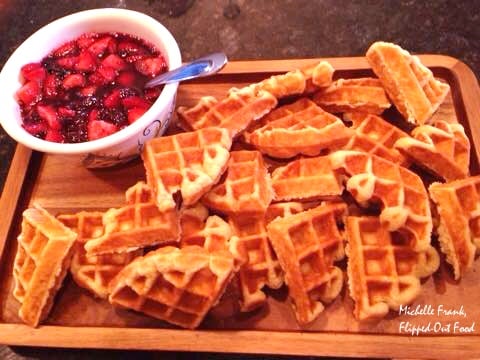
 Best-Ever Waffles make a great special-occasion brunch
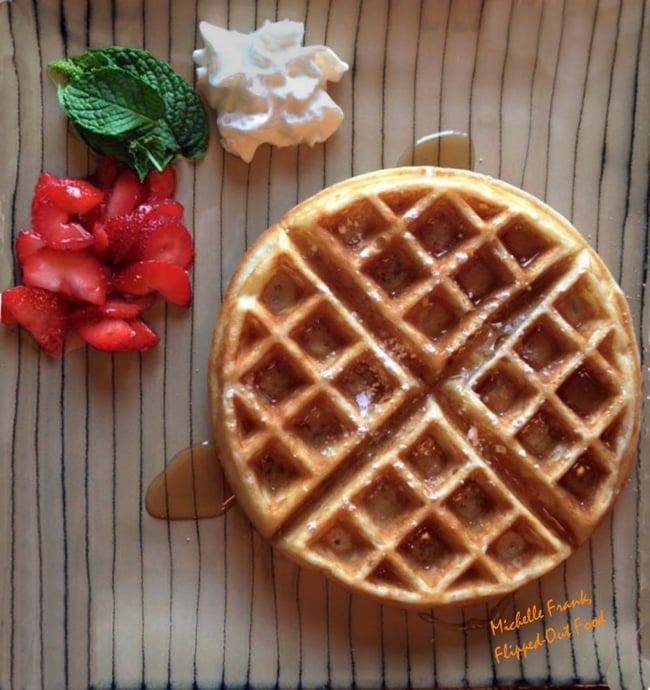
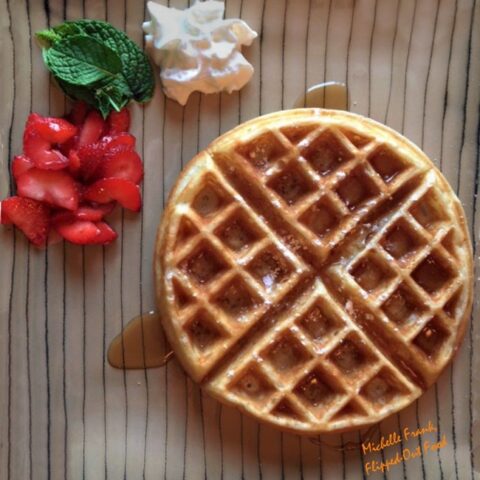
These best-ever waffles are also fantastic for special occasions like Easter Sunday, Mother's Day, or Christmas Morning. For a brunch with guests, I usually have another dish—for example, a breakfast casserole—so everyone gets a bit of both worlds. Quartering the waffles (as pictured here) minimizes the waste if a guest bites off more than they can chew.
The inspiration for my best-ever waffles recipe comes from Fine Cooking (Light, Crispy Waffles). For my variation, I amp up the decadence a bit by cutting the oil significantly and using butter instead. Waffles are a decadent treat anyway (besides: good as it was, I could taste the oil in this recipe's former incarnation). I won't lie to you: this recipe is work. But it's worth it, and you'll never want to shell out for I-Hop waffles again.
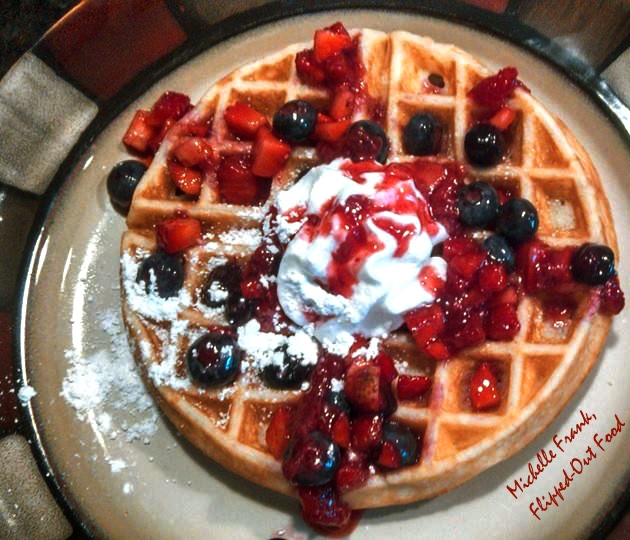
 "These waffles are heaven pillows"
The light, airy quality of these best-ever waffles results from clouds of meringue that are folded into the waffle batter just before it hits the iron. The crispiness comes about after a rest in a 200°F oven before serving. The first time he tasted them, Phil raved that these waffles were heaven pillows.
Preparing Best-Ever Waffles
I've tried to make this recipe as low-chaos as possible by organizing the ingredients into their respective bowls. I set out 3 bowls: one medium-big for the dry ingredients, a smaller one for the wet ingredients, and a medium-sized mixing bowl for the meringue. A couple of small ramekins come in handy to measure out sugar and vanilla in advance so I don't have to futz with it after I get started.
In the spirit of containing my mess, my set-up includes a garbage bowl for easy disposal of eggshells and wet paper towels for wiping up excess flour. I put together my mixer and set it next to my "meringue bowl." After mixing the dry ingredients, I separate my eggs: the yolks go into the "wet ingredients bowl" and the whites go into the "meringue bowl." I set the oven to 200°F and plug in my waffle iron. I also set out a paper plate and a fork (more on this later).
I mix up my wet ingredients: the butter needs to be melted and cooled slightly beforehand. A note on the butter: it will clump up slightly when you add it to the cold buttermilk and milk. That's fine, because little clumps of butter turn into sheer deliciousness when they're cooked in the waffles.
Then I get to work on making the meringue. It doesn't take long with a hand mixer before I start getting soft, white peaks. Then I add the sugar and beat some more until I've made firm, lustrous clouds. I add the vanilla and beat just until mixed in, and then I set the meringue aside. My wet ingredients get added to my dry ingredients, getting a stir until just incorporated. Then, working in large dollops, I fold the meringue into the batter with a rubber spatula.
Now it's waffle-iron time! This recipe contains enough butter and oil to ensure that the waffle won't stick to the iron: no cooking spray needed. For my waffle iron, 1 heaping cup of batter makes one complete waffle with no holes (kids HATE holes, as I've come to find out!).
Usually, manufacturers' instructions will tell you that the waffle is done when the indicator light goes off. (Definitely DO NOT lift the lid until that happens, or you will have a mess on your hands.) But I like to let the waffle continue to cook about 30-45 seconds after the indicator light goes off: I like them golden-brown and crispy! Of course, your waffle iron is different from mine, so you will need to tinker a bit to find its sweet spot.
Crisping the best-ever waffles
When each waffle is done, I use a fork to loosen them and transfer to a paper plate. I quickly add another cup of batter to the iron, close 'er up, set my timer, and put the cooked waffle into the preheated oven to crisp. This repeats until all the batter is gone!
If I'm planning to freeze the best-ever waffles, I let them cool completely before putting them into plastic wrap to avoid condensation. More often than not, though, we call the kids out and serve the waffles when the last one comes out of the iron. I start with the oldest waffles: this gives the newest ones a chance to sit in the oven and finish crisping.
My family will reliably snarf down 5 best-ever waffles. This past weekend, I made waffles for the family before running off to a baby shower/brunch up the street. I didn't have time to eat one myself. When I got home, I found one quarter of a waffle left. Thanks, guys!
The recipe below makes 5 best-ever waffles on my round Belgian waffle iron. Someday, I'll make waffles when everyone is gone so that I actually have some to freeze!
Best-Ever Waffles
These waffles are fluffy, crispy, heaven-pillows. They freeze great as a make-ahead strategy for delivering breakfast on busy weekdays. They're fancy enough for a special-occasion brunch, especially when accompanied by a mixed-berry sauce. Set them out in a do-it-yourself waffle bar format, with the berry sauce, chocolate and maple syrups, butter, powdered sugar, and whipped cream: this breakfast really becomes a fun event.
Ingredients
DRY INGREDIENTS BOWL: mix together
- 1 ½ cup bleached all-purpose flour
- ½ cup cornstarch
- 1 tsp. salt
- 1 tsp. baking powder
- ½ tsp. baking soda
WET INGREDIENTS BOWL: mix together
- 1 ½ cup buttermilk
- ½ cup milk
- 4 tablespoon vegetable oil
- 8 tablespoon butter, melted & cooled slightly
- Yolks from 2 large eggs, save the whites for meringue, below
MERINGUE INGREDIENTS: don't mix yet! (But you'll need a medium-sized mixing bowl)
- 2 Tbs. sugar
- 1 tsp. vanilla extract
- Whites from 2 large eggs
MIXED BERRY SAUCE (optional)
- ½ pint blueberries, plus ¼ cup (reserved)
- ½ pint strawberries, plus ¼ cup (reserved)
- 3 tablespoon sugar
- 1 lemon,, zested and juiced
Instructions
- Make the mixed-berry sauce . Add all ingredients (except the reserved berries) to a small saucepan set over medium heat. Stir and allow to simmer until the berries begin to break down slightly. Turn off the heat and allow to cool for 10 minutes. Add in the reserved berries; stir to combine. (This can be done 1-2 days in advance: just allow the sauce to return to room temp before serving.)
- Preheat your oven to 200°F and plug in your waffle iron. Mix the flour, cornstarch, salt, baking powder, and baking soda in your (medium) dry-ingredients bowl.
- Measure your buttermilk, milk, and vegetable oil into your wet-ingredients bowl. Mix in the melted, cooled butter and the egg yolks; set the bowl aside.
- In a third bowl, beat the reserved egg whites until soft peaks form. Add in the sugar and continue to beat until the peaks are firm. Add in the vanilla and beat until just mixed in.
- Pour the contents of the wet ingredients bowl into the dry ingredients bowl, and stir until just incorporated. Add large dollops of meringue to the bowl of batter, folding in as you go with a rubber spatula.
- Open the waffle iron and add waffle batter (mine takes 1 heaping cup—you'll need to adjust this according to your manufacturer's instructions). Close the iron and wait for the indicator light to signal that the waffle is done. At this point, based on your preference, you can remove the waffle to the oven (set it directly on the oven rack), or allow 30-45 additional seconds for a crispier waffle. Repeat with remaining waffles.
- Serve DIY-style with mixed-berry sauce and other toppings. Enjoy!
Notes
To work ahead, mix the dry ingredients and store in a zip-top bag.
Nutrition Information:
Yield: 5 Serving Size: 1 gramsAmount Per Serving: Unsaturated Fat: 0g
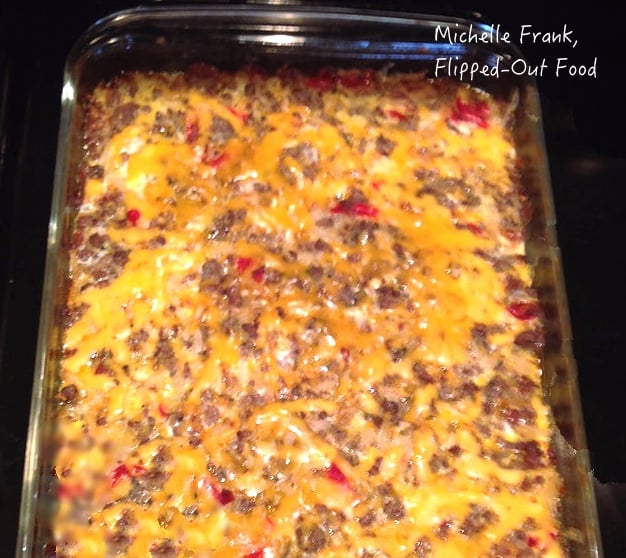 | Breakfast Casserole: This make-ahead breakfast casserole features sausage, peppers, onions, potatoes, and cheese. It's great for serving a small crowd. I've served it alongside a DIY waffle bar for Easter and Mother's Day brunch. I've also carted the assembled casserole to a cabin in Northern Wisconsin, then baked it off there for a fantastic vacation breakfast! | |
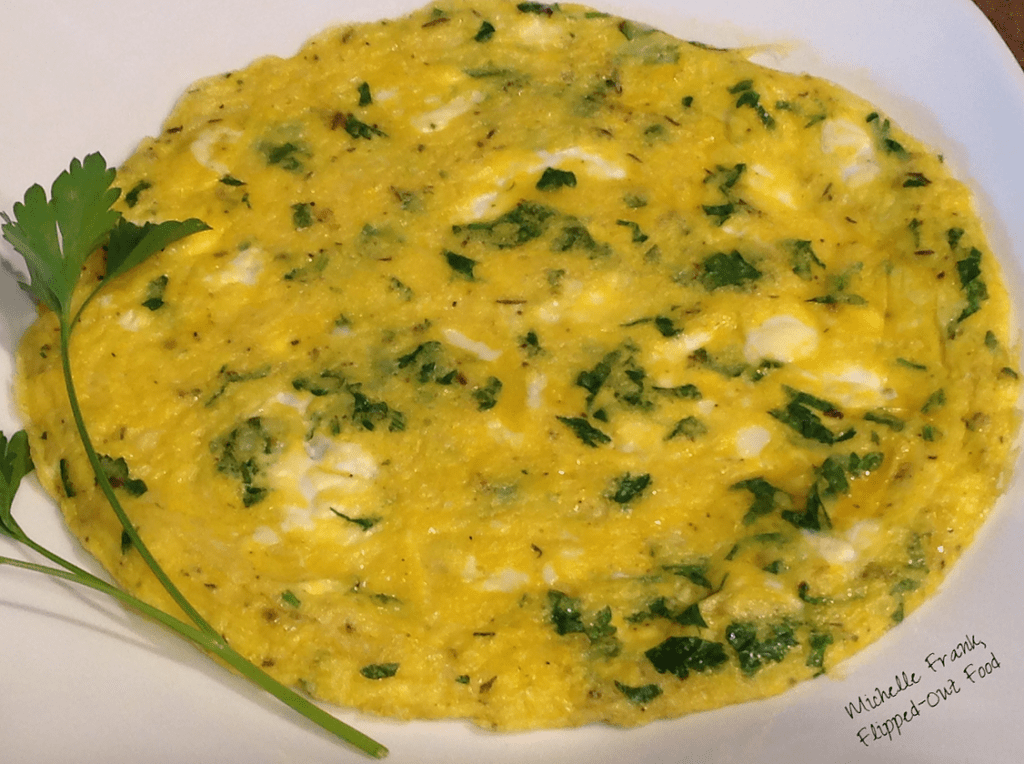 | Confessions of a Former Skipper: I used to skip breakfast on a regular basis because I felt like I just didn't have the time to deal with it on busy mornings. These are the strategies I've learned over the years to deliver breakfast at even the busiest of times. Plus: brunch ideas and making breakfast for a small crowd. |


 Best-Ever Waffles make a great special-occasion brunch
 "These waffles are heaven pillows"
Leave a Reply